The last two days have been a blur. We have been busy. Even with 4 people on the farm working hard, we still have more stuff to do before everything is been planted.
We are on still on a rapid learning curve as we work hard. The garden area in the pictures below was pasture for decades so we had to work to plow up the grassy area and then build new beds.
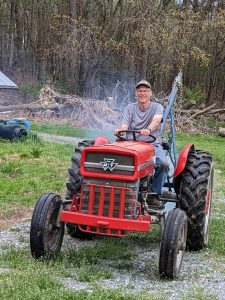
Using the BCS Tractor
The BCS tiller was also a new piece of equipment for us. The biggest challenge we’ve had with the BCS is laying out beds so that the rows come out the width that we want. Our BCS tractor has the 5.5 inch extensions added to the the 749 tractor. This makes the tractor wider by 11 inches.
The vegetable garden beds are on a sloped face. To help minimize any erosion issues during rain events, we kept a 10 foot ribbon of grass between each plot. Each plot was laid out to have 2 rows per plot (30″ wide rows) with an 18″ wide walkway between each row. When I added up 3 walkways plus a quantity of 2 of the 30″ wide rows, then we should need a plot that is 9.5 feet wide. In practice, it just isn’t working out that way. I suspect we’ll have to till and hill a plot and measure to see where I’m off in my estimation of the total width of each 2 row plot. There is definitely a learning curve to becoming a better farmer.
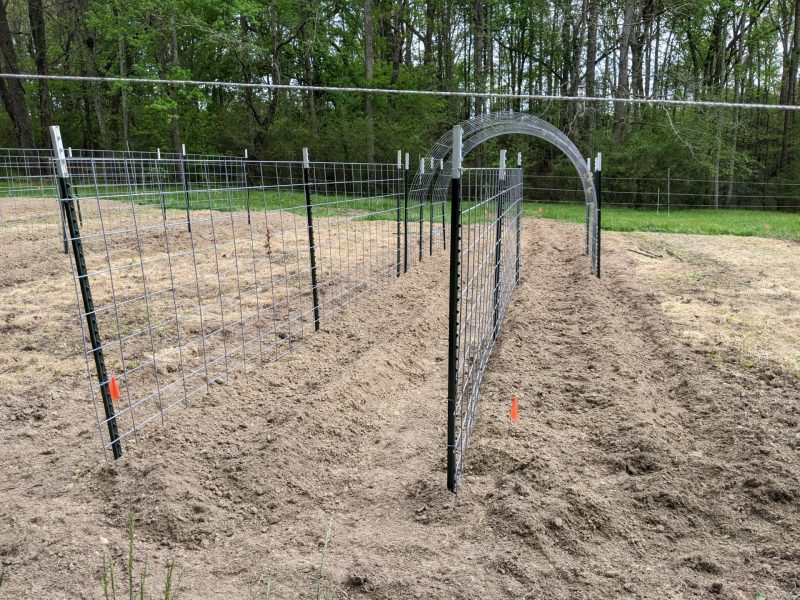
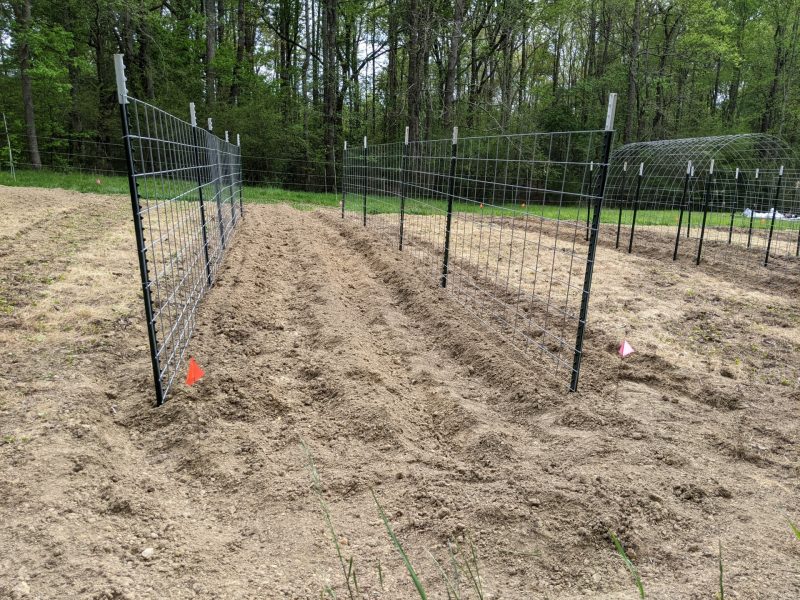
Trellis
We just installed rows of trellis for pole beans and tromboncino squash. We are using a curved trellis for the tromboncino squash and pole beans. I keep seeing videos and picture of the curved and over trellis configuration, so we wanted to see at try and find out if it works as well as we keep hearing. The curved trellis (when covered with tromboncino squash) should provide provide shade for the young rhubarb.
One of my projects for this summer is to install posts in the field, near the rows, where we can hang the cattle panels (used in the trellis) this fall after we take the trellis down and store it for the winter.
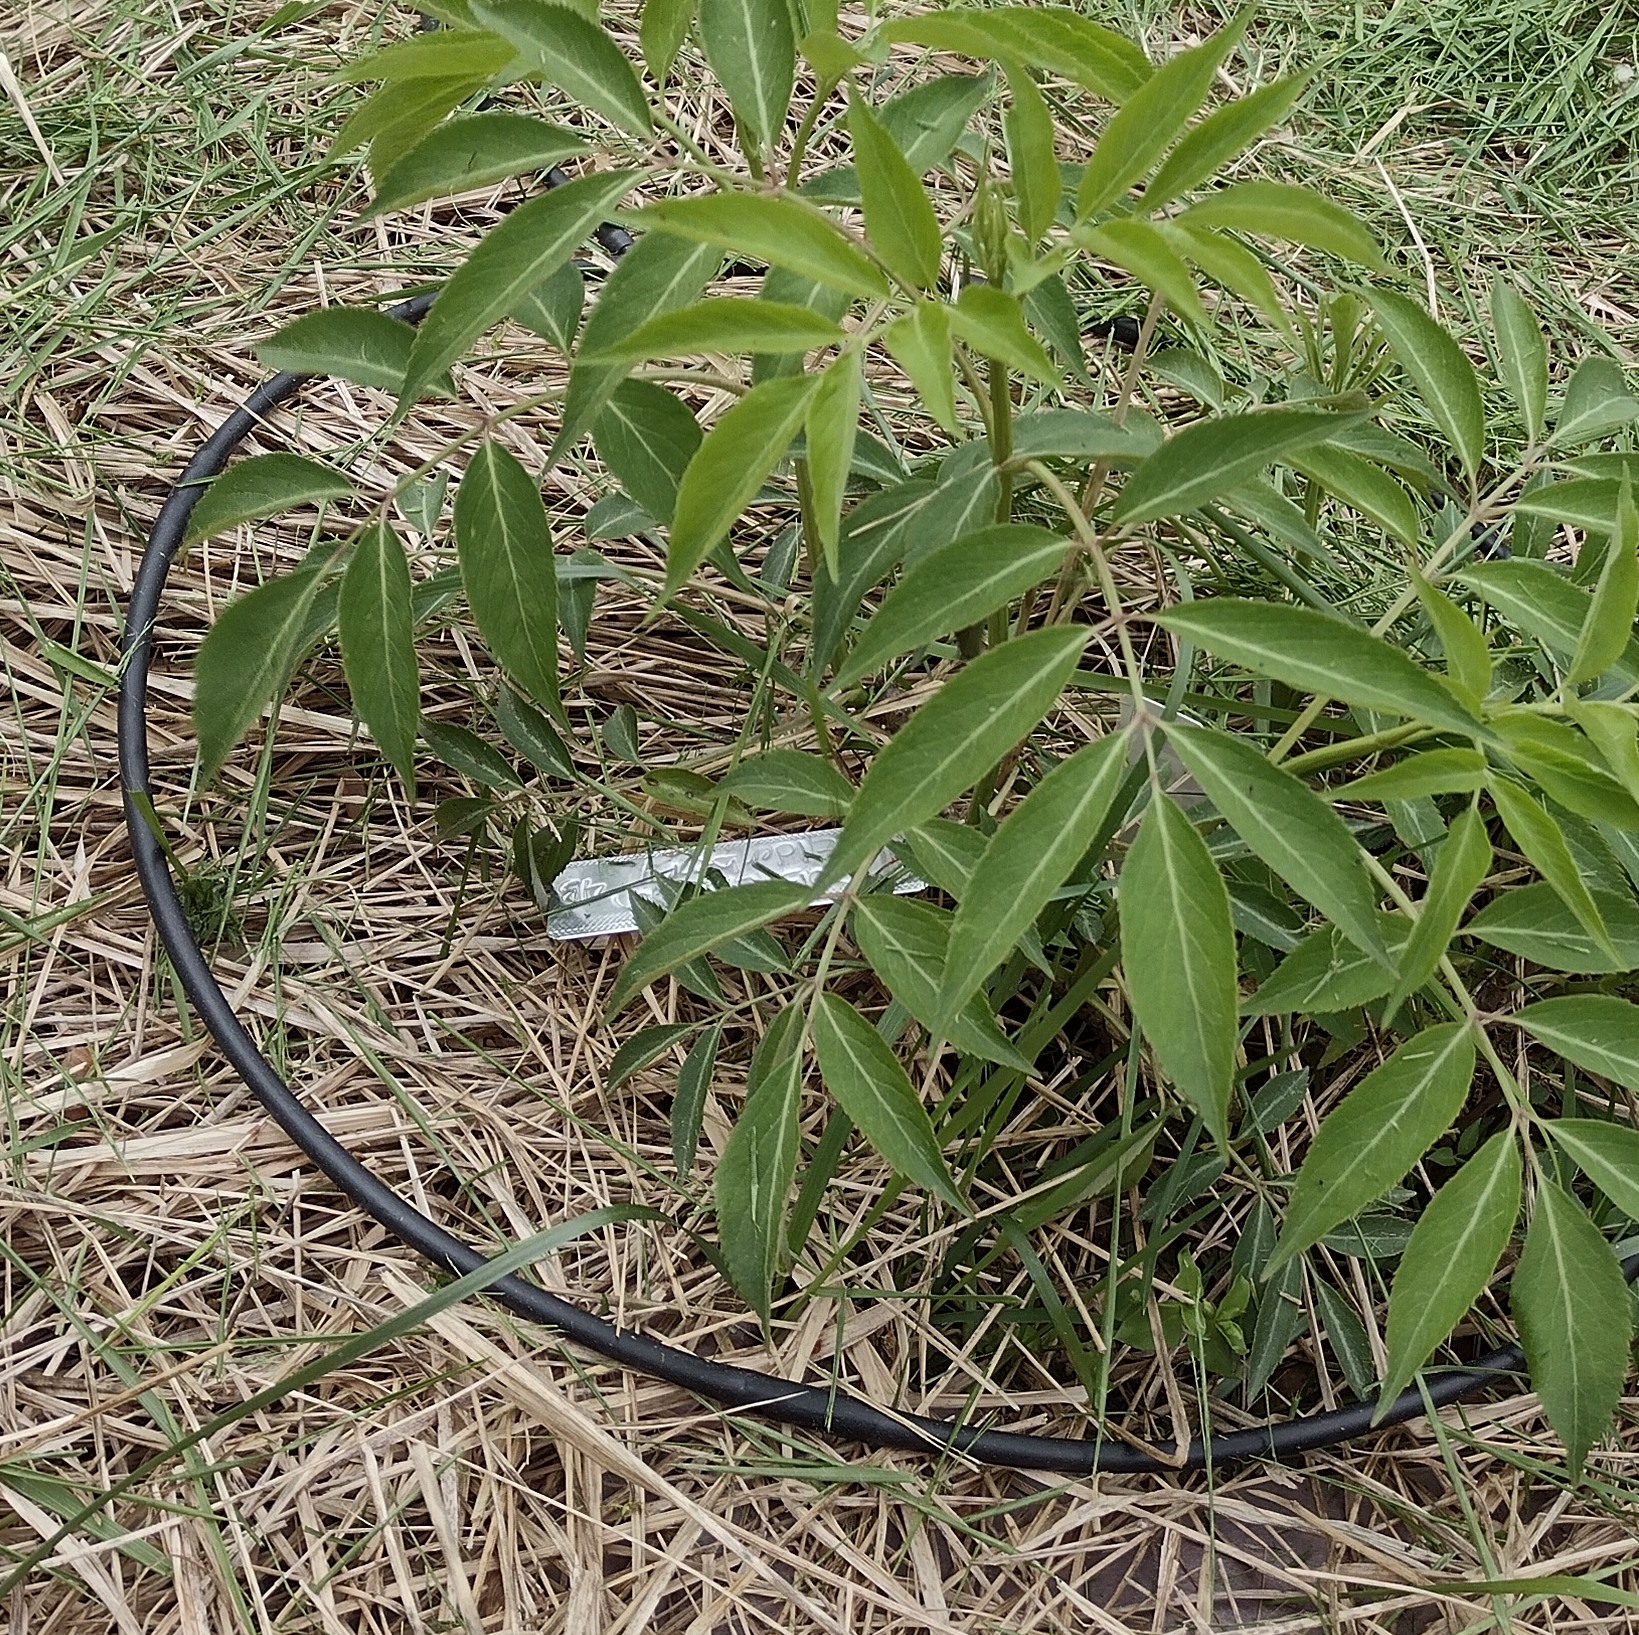
Tagging Each Fruit Bearing Tree and Bush
One of the projects this month was to map and tag each fruit bearing tree and bush. My wife took this project and ran with it. We now have a map that shows the location of each fruit bearing tree and bush, indicated by a unique tag number. The unique tags number are recorded in a spreadsheet. Information about each plant is recoded with the tag number, such as variety and date planted. This will also us to track historical data about each plant. This data is also useful when we propagate cuttings, allowing us to properly identify plants for sale.

 I’m a mechanical engineer turned weekend farmer, so I’m just smart enough to know that there is a lot that I don’t know especially when it comes to farming, permaculture and food forests. I’ve been heavily influenced in my love of farming and permaculture by my Mom and Dad and also by people like
  Connie has her certificate in Sustainable Agriculture from CCCC. She really enjoyed the classes at the community college and learned a lot. The program was a mixture of classes and work on the school farm. What she learned has really added to our technical proficiency on the farm.