This is a busy time of year on the farm. One of the tasks is getting the blueberries ready for summer. We use pine straw as a mulch. Using pine straw as a mulch is a good example of function stacking. The pine straw helps to lower the soil ph (blueberries like low ph soil), regulate moisture in the soil, supresses the growth of weeds and amends the soil as it breaks down adding nutrients and organic matter. The pine straw settles during the next few months, so we pile it deep.
Pine straw getting ready to go into the blueberry area / hugelkultur mound
Pine straw ready to go around the blueberries on the HugelKultur mound
Blueberries with pinestraw around them on the Hugelkultur mound
Gold raspberries with pine straw around them
Pine straw wrapping around the gold raspberry trellis on the HugelKultur mound
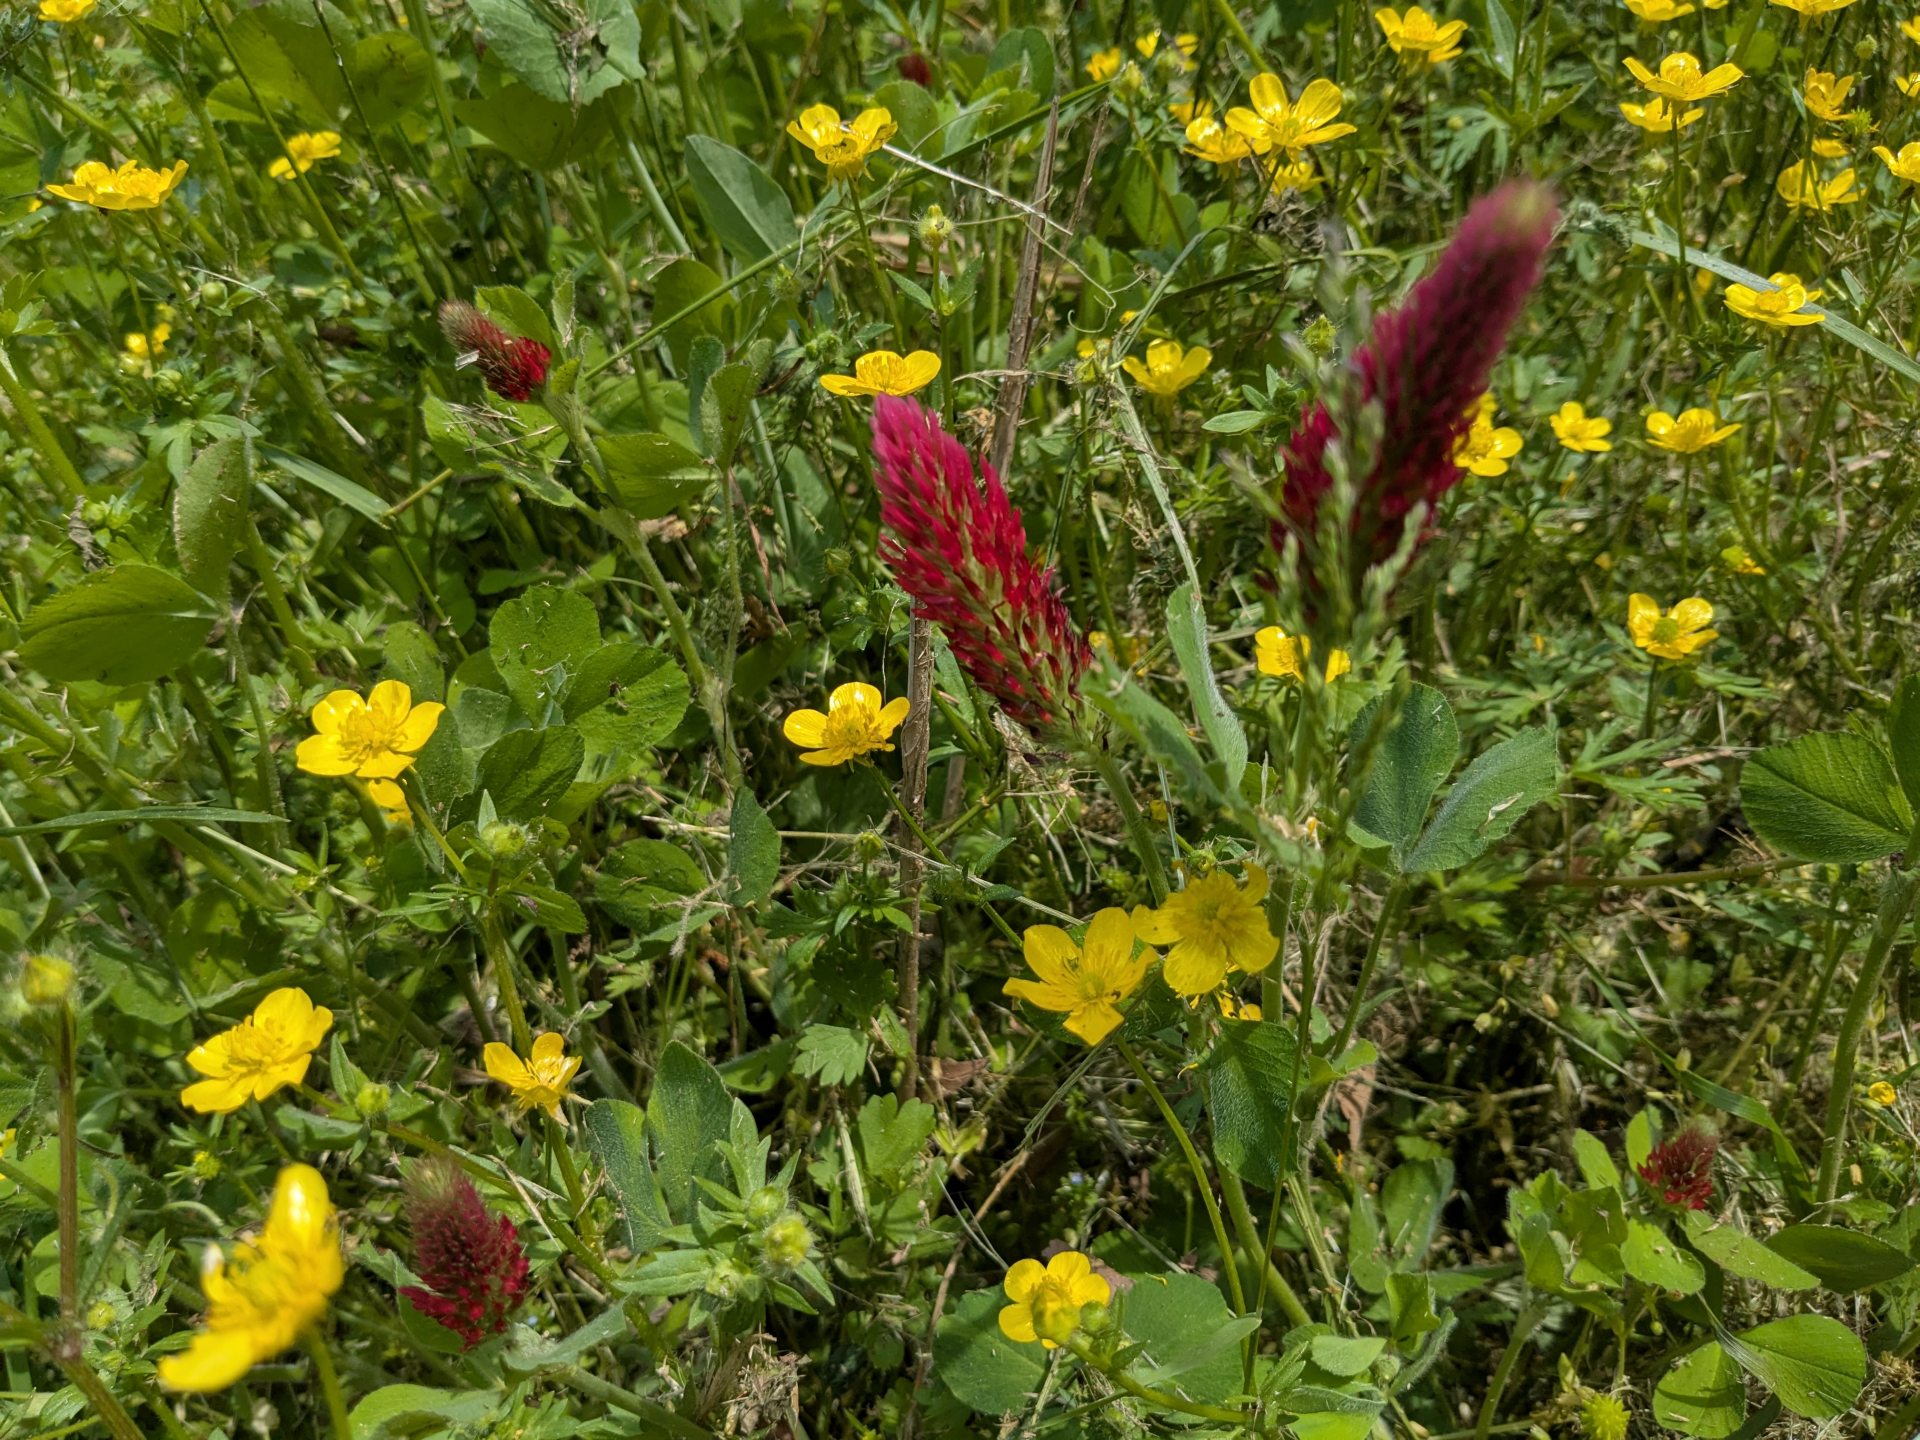
The iris, comfrey, clover and wildflowers are blooming. This year we created a natural area. This was a previously cultivated area that is now fallow. The wildflowers that came up are great.
Wildflowers
More wildflowers and clover in the natural area
Wildflowers and clover in the natural area – worked out nicely
Wildflowers and clover in the natural area
The amazing iris
Iris petals
Another iris opened this morning
Iris blooming,what a joy
Comfrey blooms
Iris blooming!
Comfrey blooming
The last couple of days have been spent mowing grass (grows amazingly quick this time of year), trimming under fences and around plants. We’ve also been watering new plantings and fertilizing. Sometimes new trees and plants don’t thrive but that is vastly offset by the wonderful growth on the farm right now.
Fruit trees and garlic growing
Fruit trees, garlic and elderberries (background) are growing
Food forest is coming alive for spring
Garlic to be proud of
Wild flowers among the mulberry, hazelnut and pawpaw trees
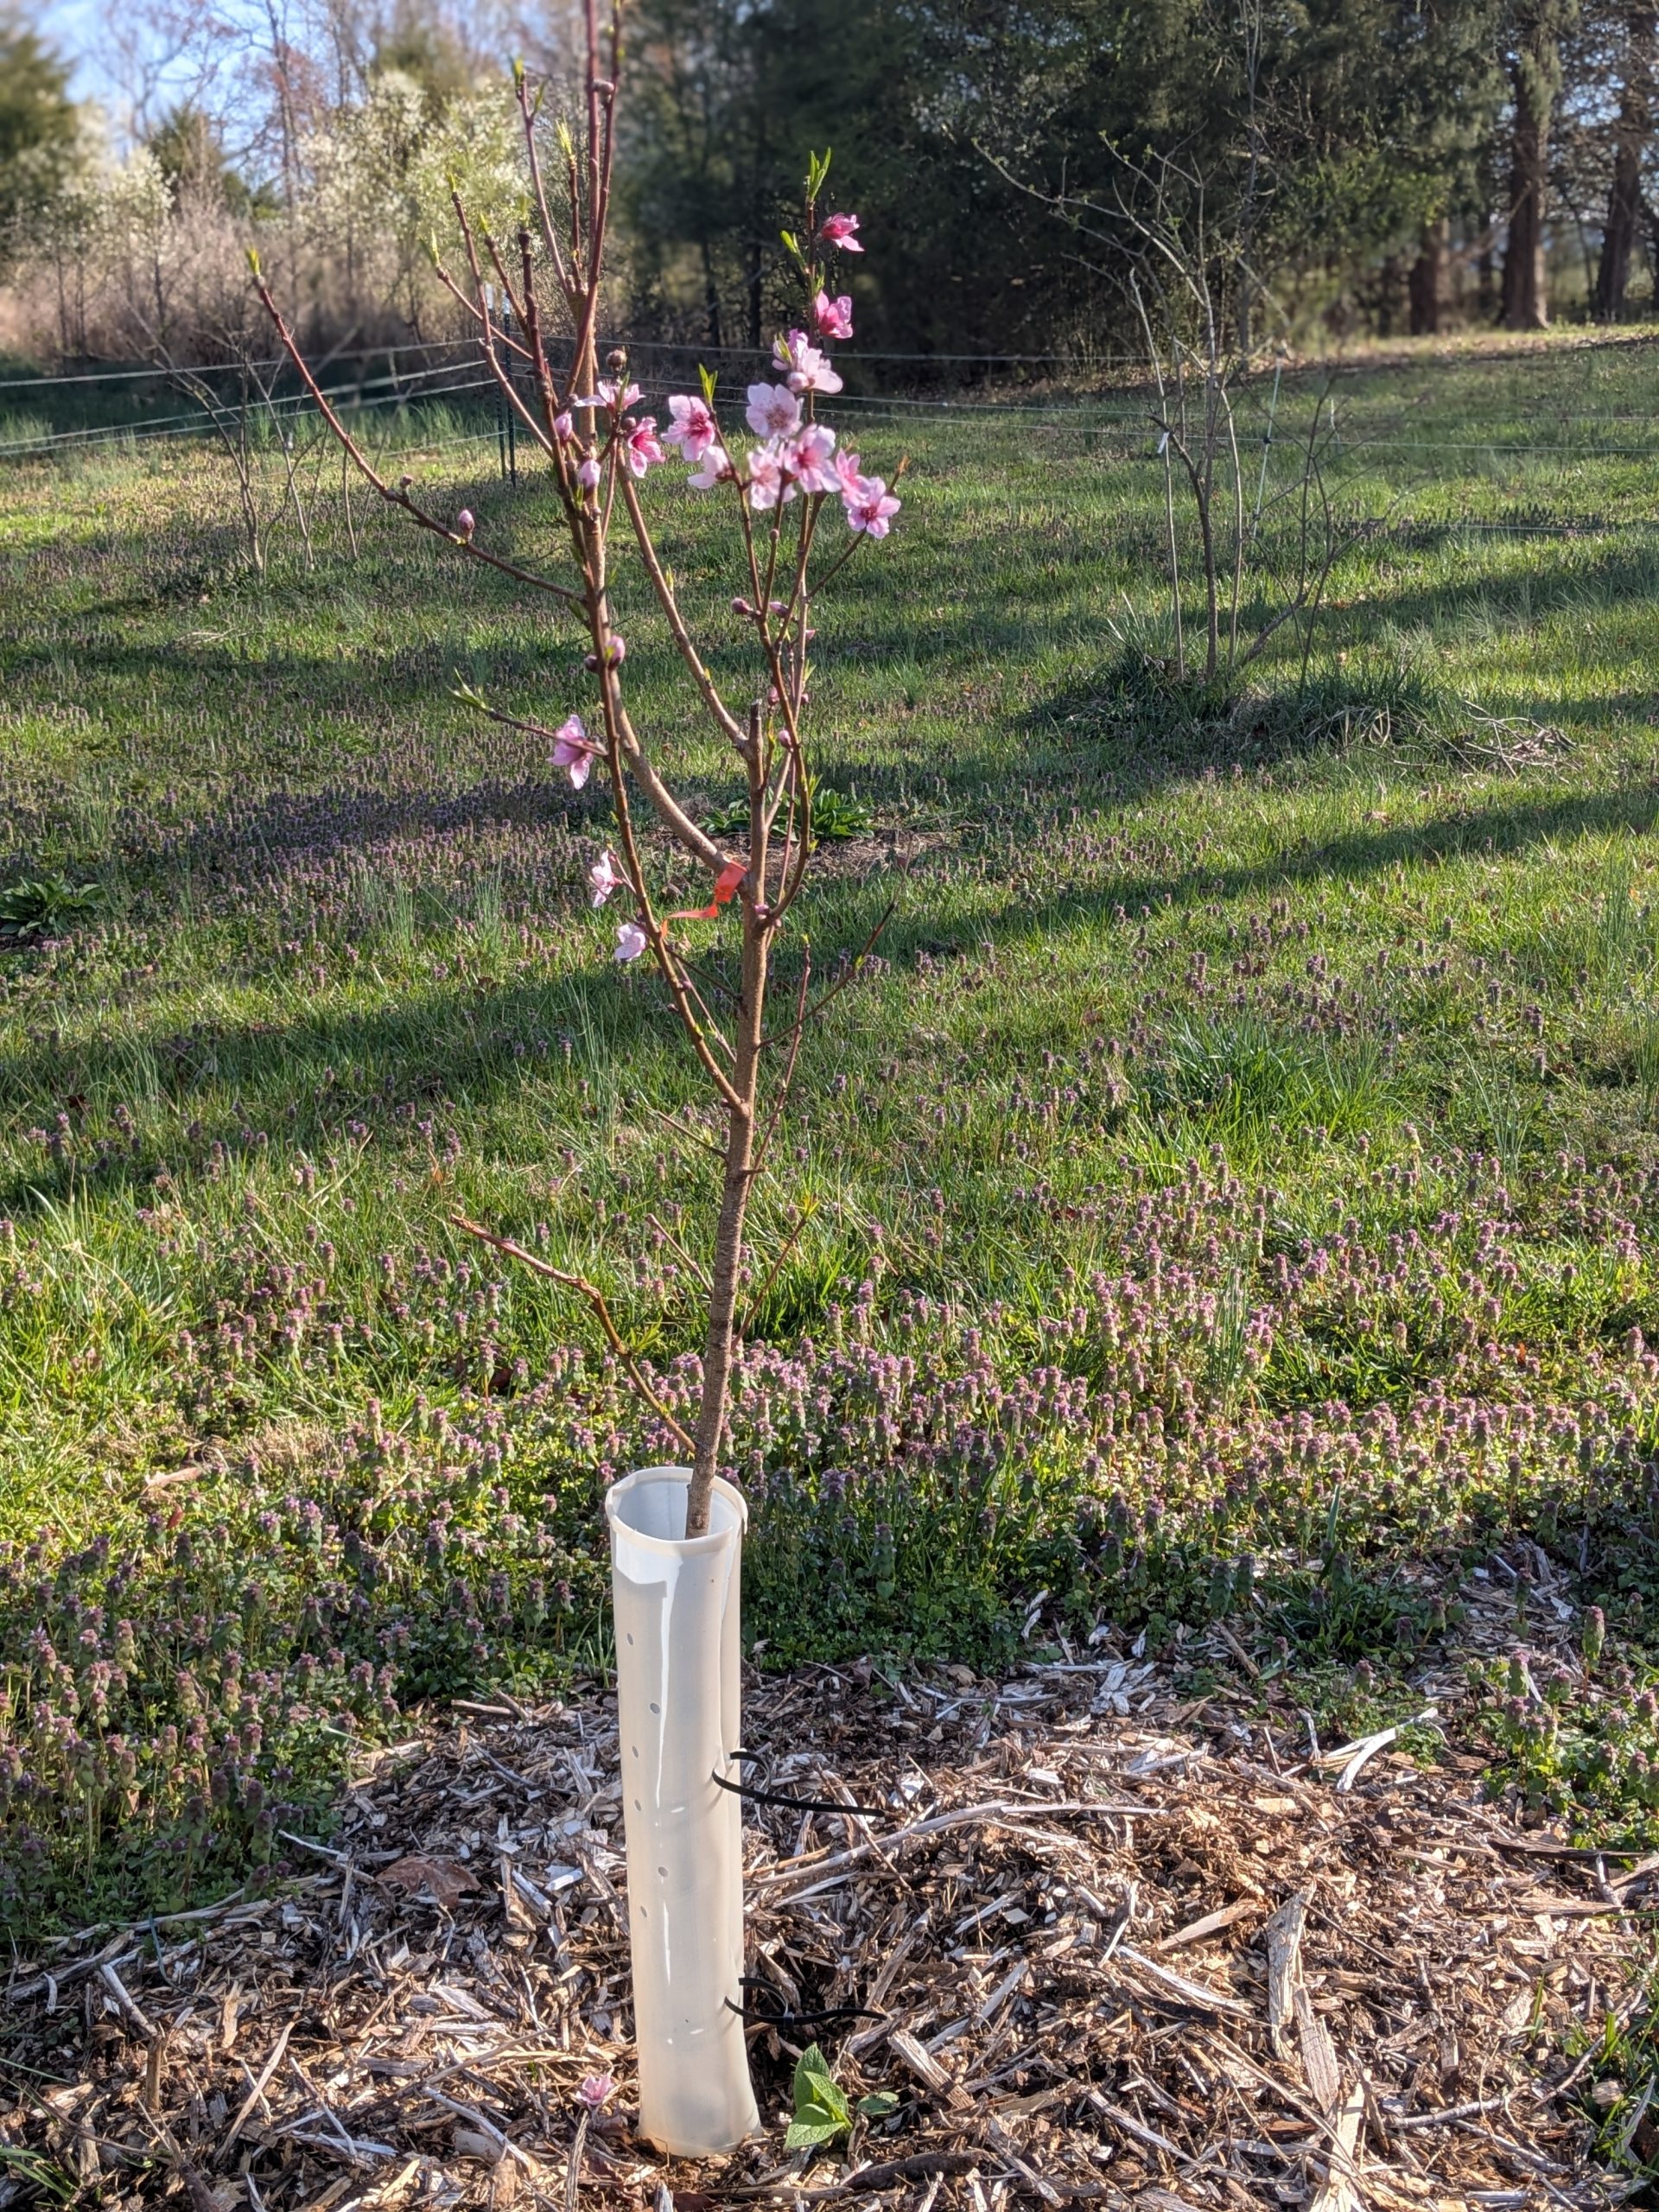
Peaches – we are looking forward to eating them
Karla Rose nectarines are growing quickly
Redhaven peaches are growing, looking forward to eating them
Our plan with the trees and bushes we planted this fall and spring has 4 elements
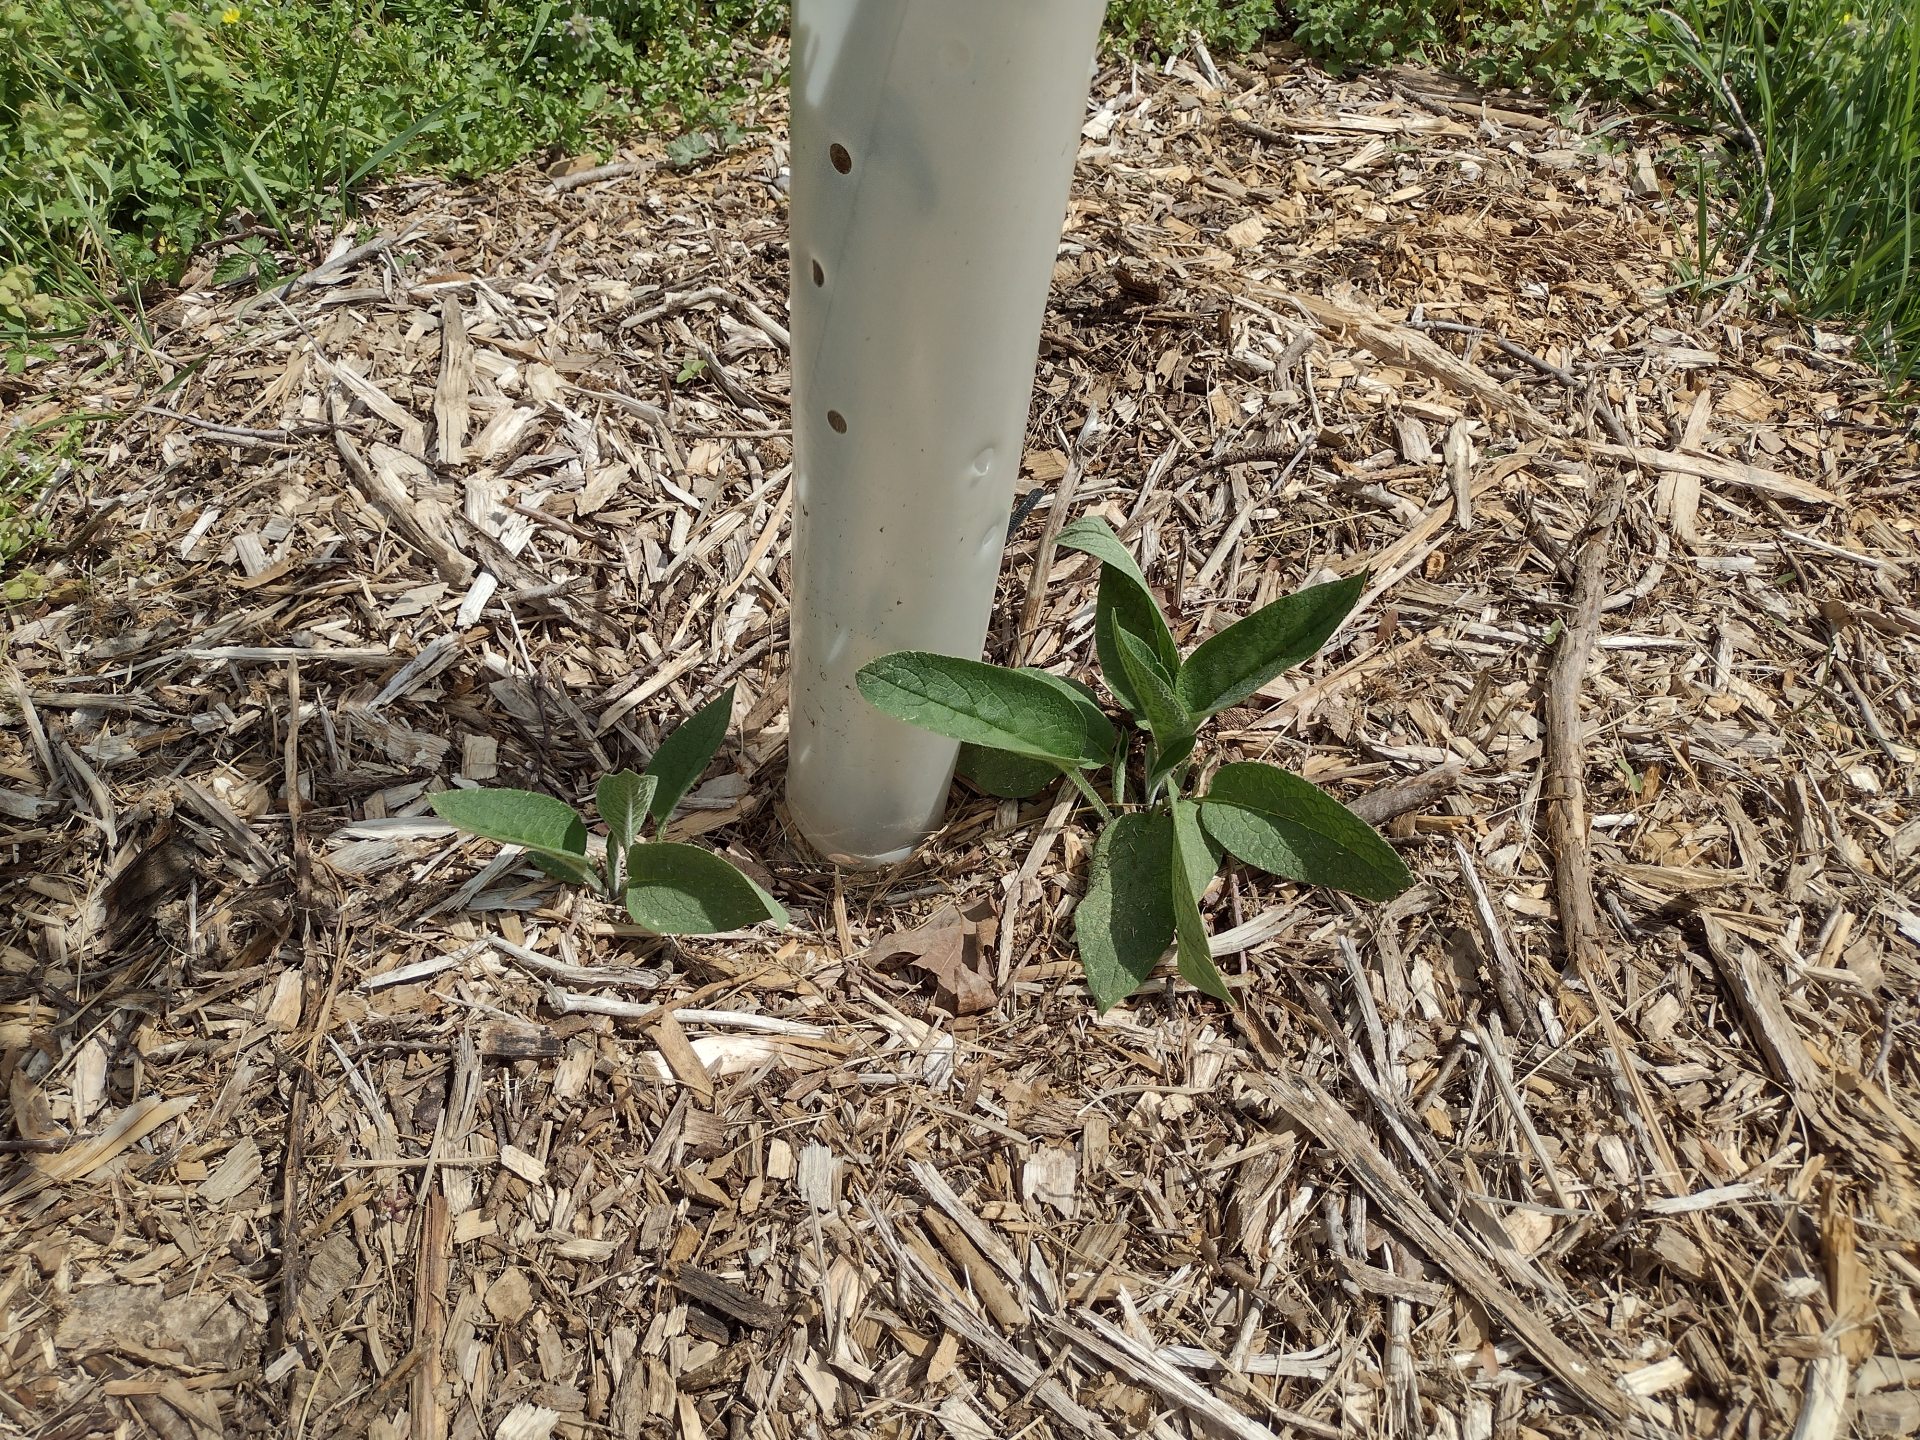
co-plant with comfrey
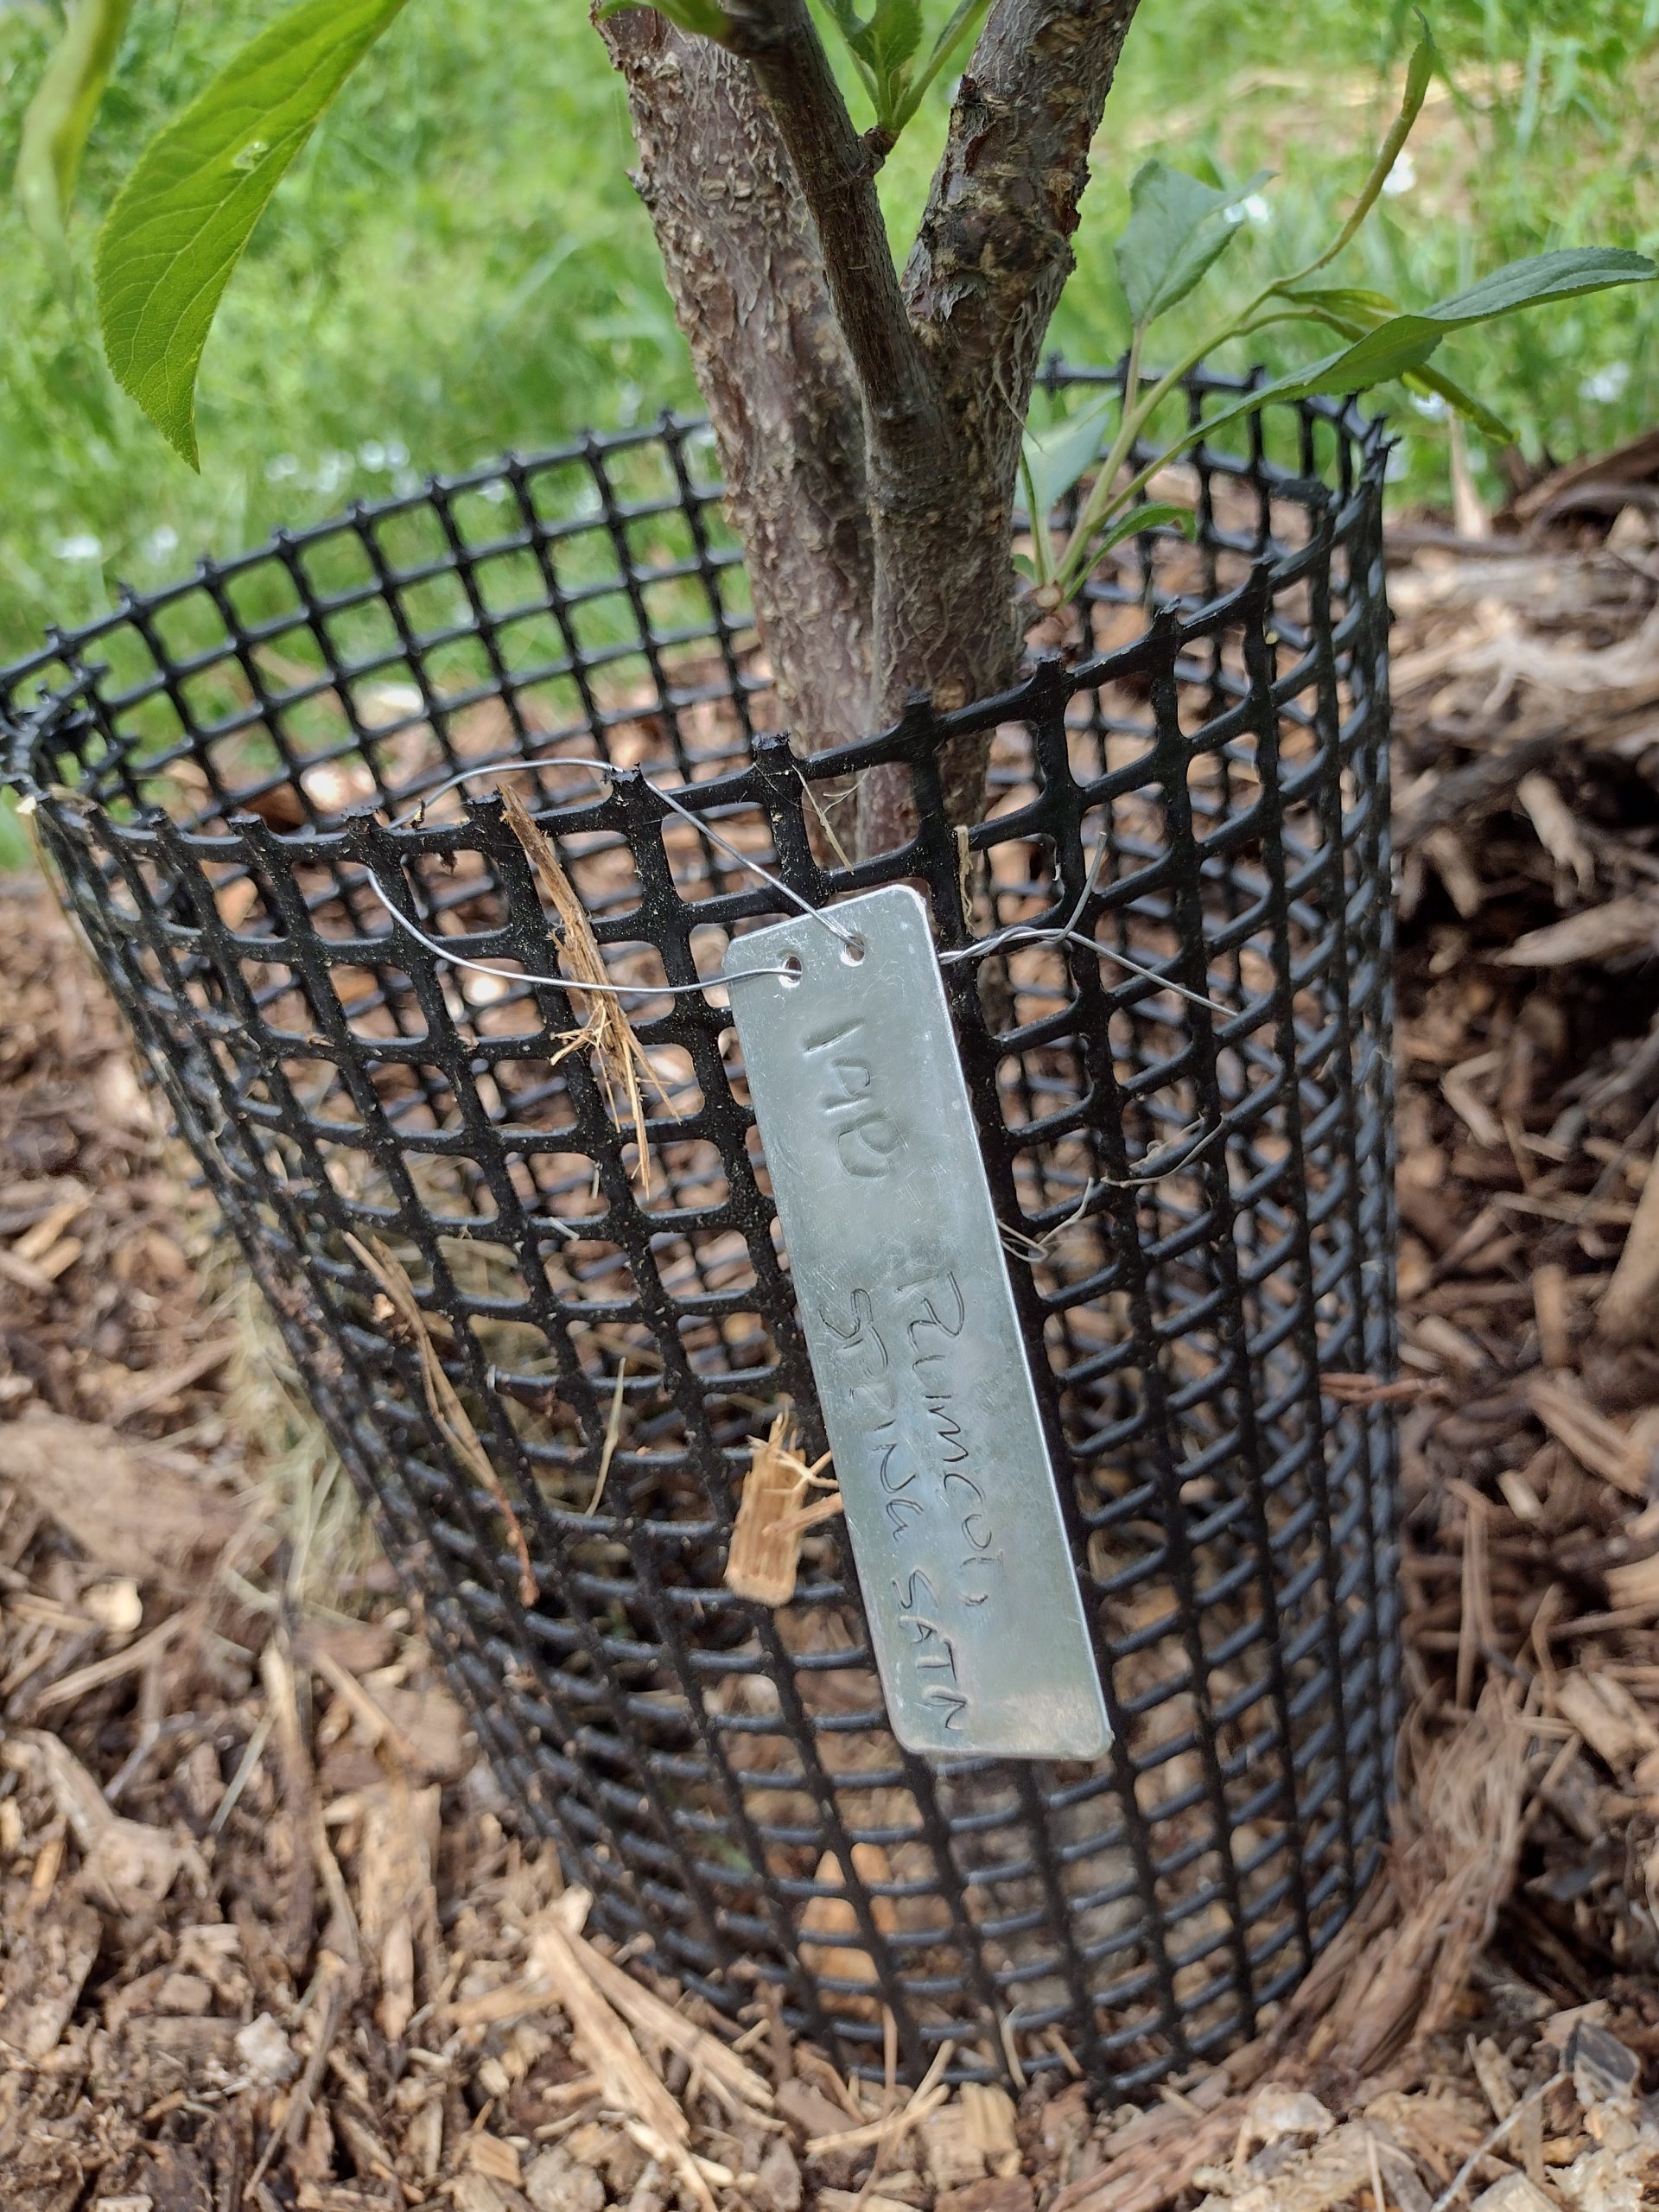
use metal tag with a plant number, type and variety
protect the tender trunk with a plastic cage or tube
placing wood chips around the trees and bushes
Metal tags everywhere
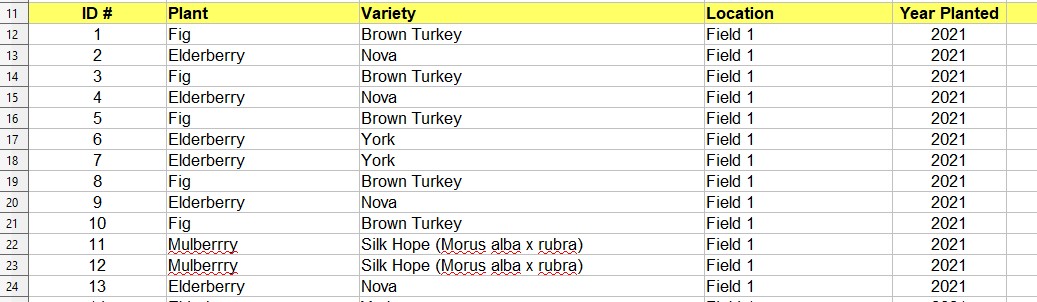
We have used the metal tag system from the beginning of our farm. This has been a great way to track trees and bushes on the farm. We also have maps where the individual plant locations are noted.
Spreadsheet where we track planted trees and bushes
One of the tasks for today was installing metal tags on trees that were planted last fall and this spring. The plastic tag that came with the tree is removed and a metal tag is put in place. This gives us a permanent way to identify a plant and know its history.
Using lots of wood chips
We are still in the process of putting woodchips around all the new trees and bushes. The woodchips helps regulate the moisture of the soil, while keep summer temperatures down at the root ball. They also amend the soil with nutrients and organic matter as the wood chips break down. All of these items help to build healthy soil, which greatly improves the conditions for the tree as it grows. The goal is to put at least woods in a circular pattern around the tree to depth of 8-12 inches.
Metal tag with a number, tree type and variety plus a plastic guard against critters
Tree with tree protector, tag and comfrey
Metal tag with unique identifier and tree type and variety
Comfrey at the base of young tree, growing through the mulch
Here are some pictures from today on the farm
The view from above – young tree, tree protector, mulch
The “cushaw patch” is changing over to a small orchard with medlar, quince, plumcot and plums
Nice to see the trees growing
Amazing how quicky things change and grow this time of year
The variety of flowers and leaves is nice
Flowers are finishing up their job and the fruiting begins
It is really nice to spend the day surrounded by all of the springtime explosion of blooms and new growth. The weather this time of year is spectacular and it makes the hard work on the farm seem much easier. Being outside and having the privilege of managing this property is wonderful. Watching everything grow is nice. Sometimes things don’t grow and there is a lesson to be learned. Sometimes that lesson is a technical one. Other times, it becomes obvious, once again, that I can’t impose my will on the farm.
Working on the farm also gives me time to think. It is humbling to know that I’m just a caretaker of the farm. There are trees that we have planted that will still be growing and thriving long after our season has passed.
A great feeling comes as standing in the middle of a growing ecosystem. The goal is to build abundance. Part of that abundance goes back to the land as a way to build better soil and strong plants and trees for future abundance. The rest leaves the farm as food.
Standing there and looking at the trees and plants at the end of the day with sun getting lower, there is a peaceful feeling. What is happening in a crazy world, is still important but is in perspective. That is such a blessing. You can’t buy peace. Sure having a farm is a lot of work and expense but having peace in our lives is priceless.
Orchard with young pears, nectarines, peaches and plums
Hugelkultur mound with blueberries, raspberries and goji berries
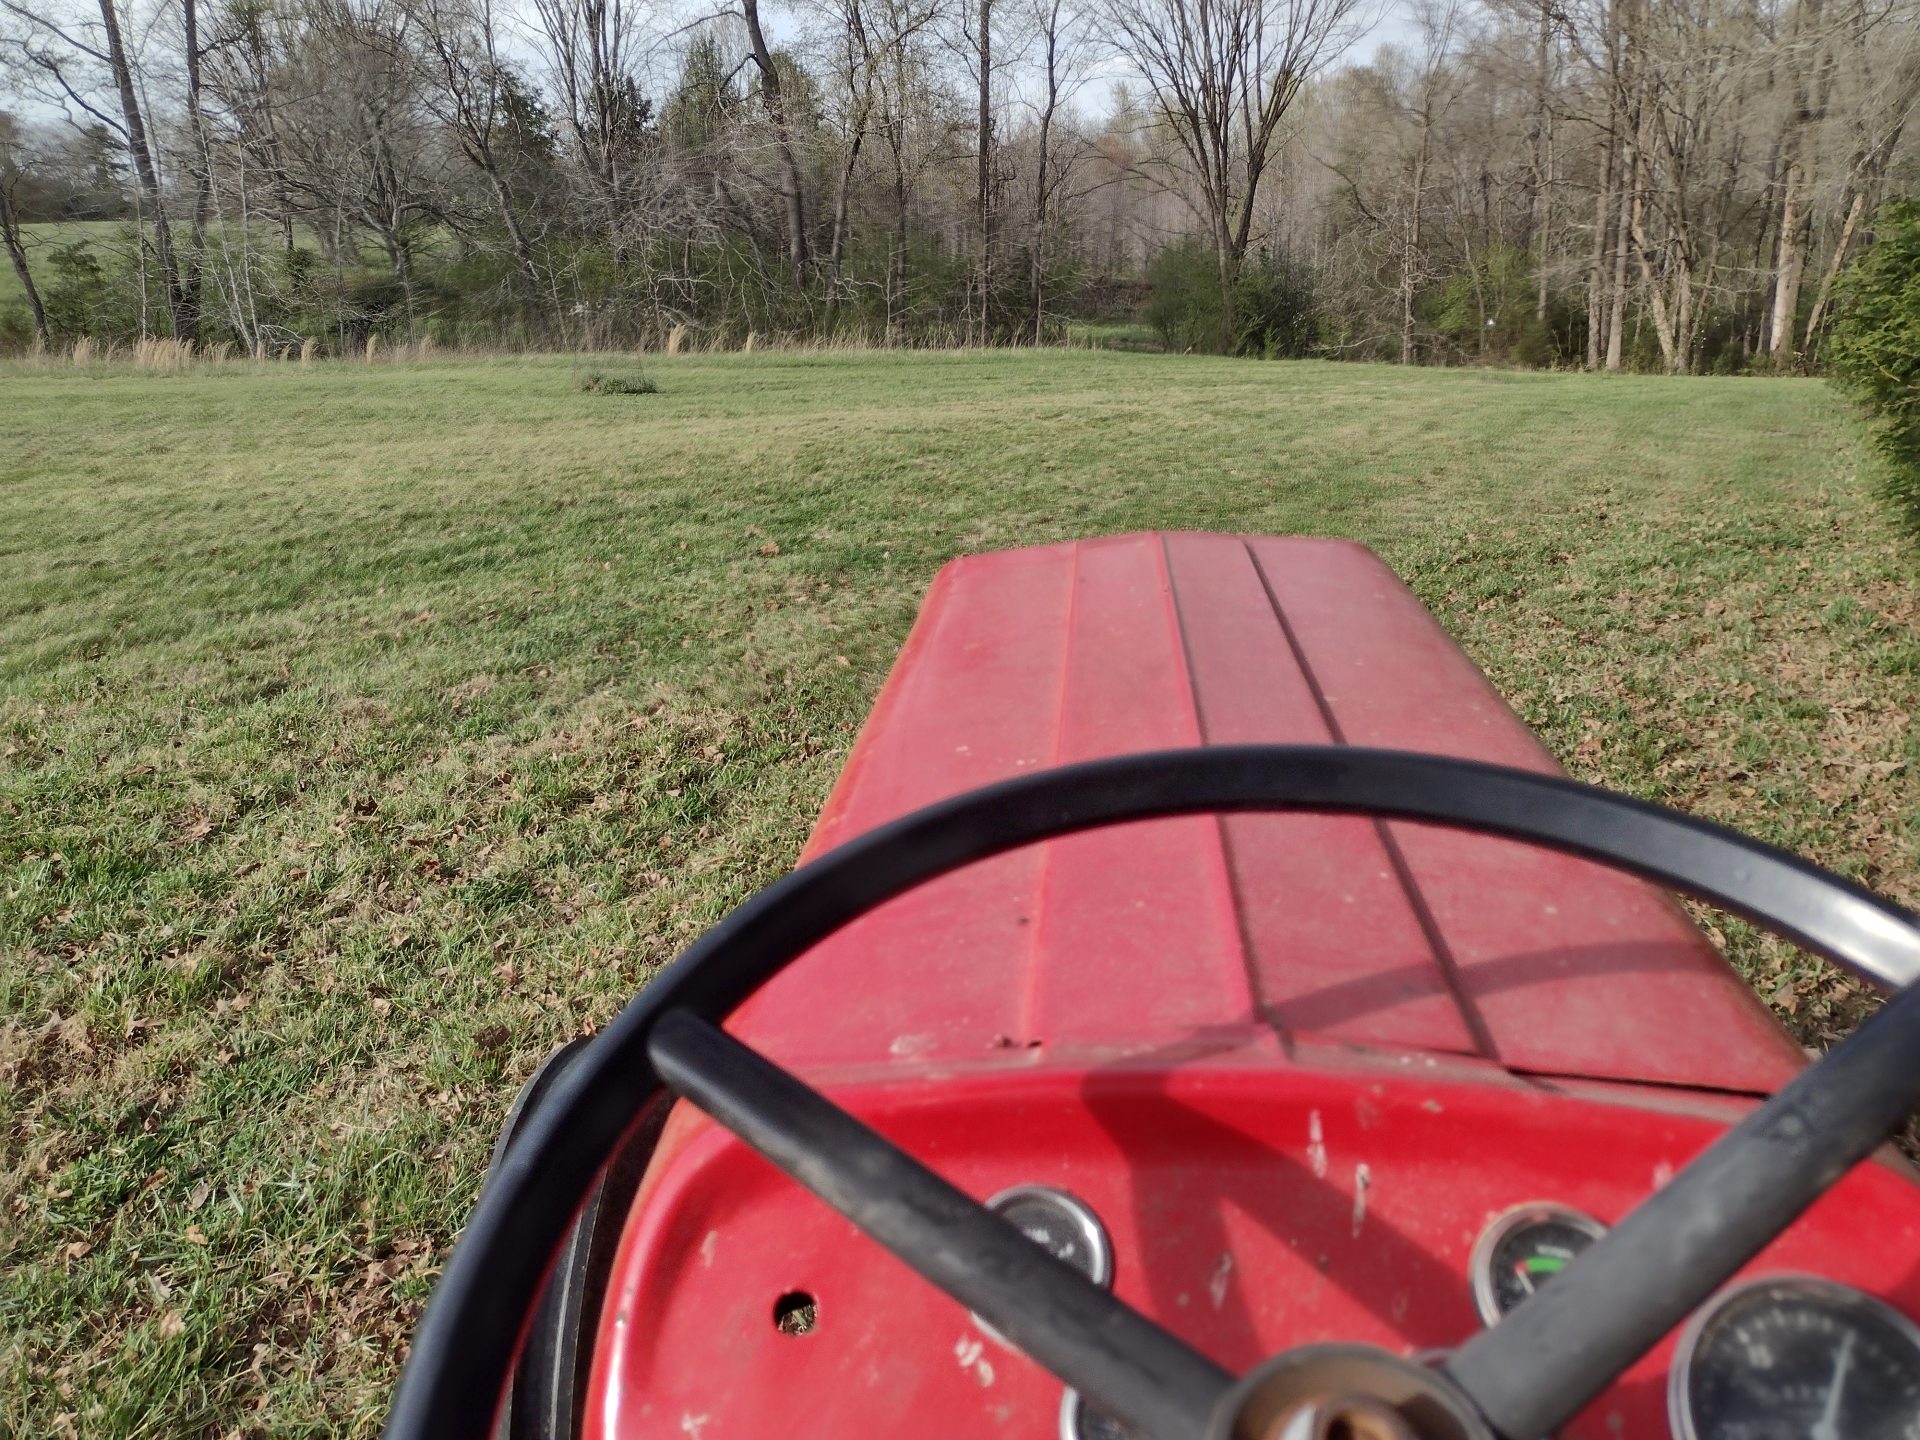
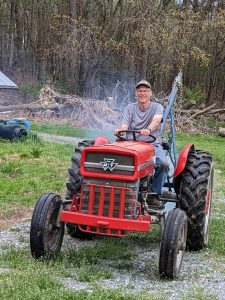
Driving back across the field at the end of the day, tired but relaxed
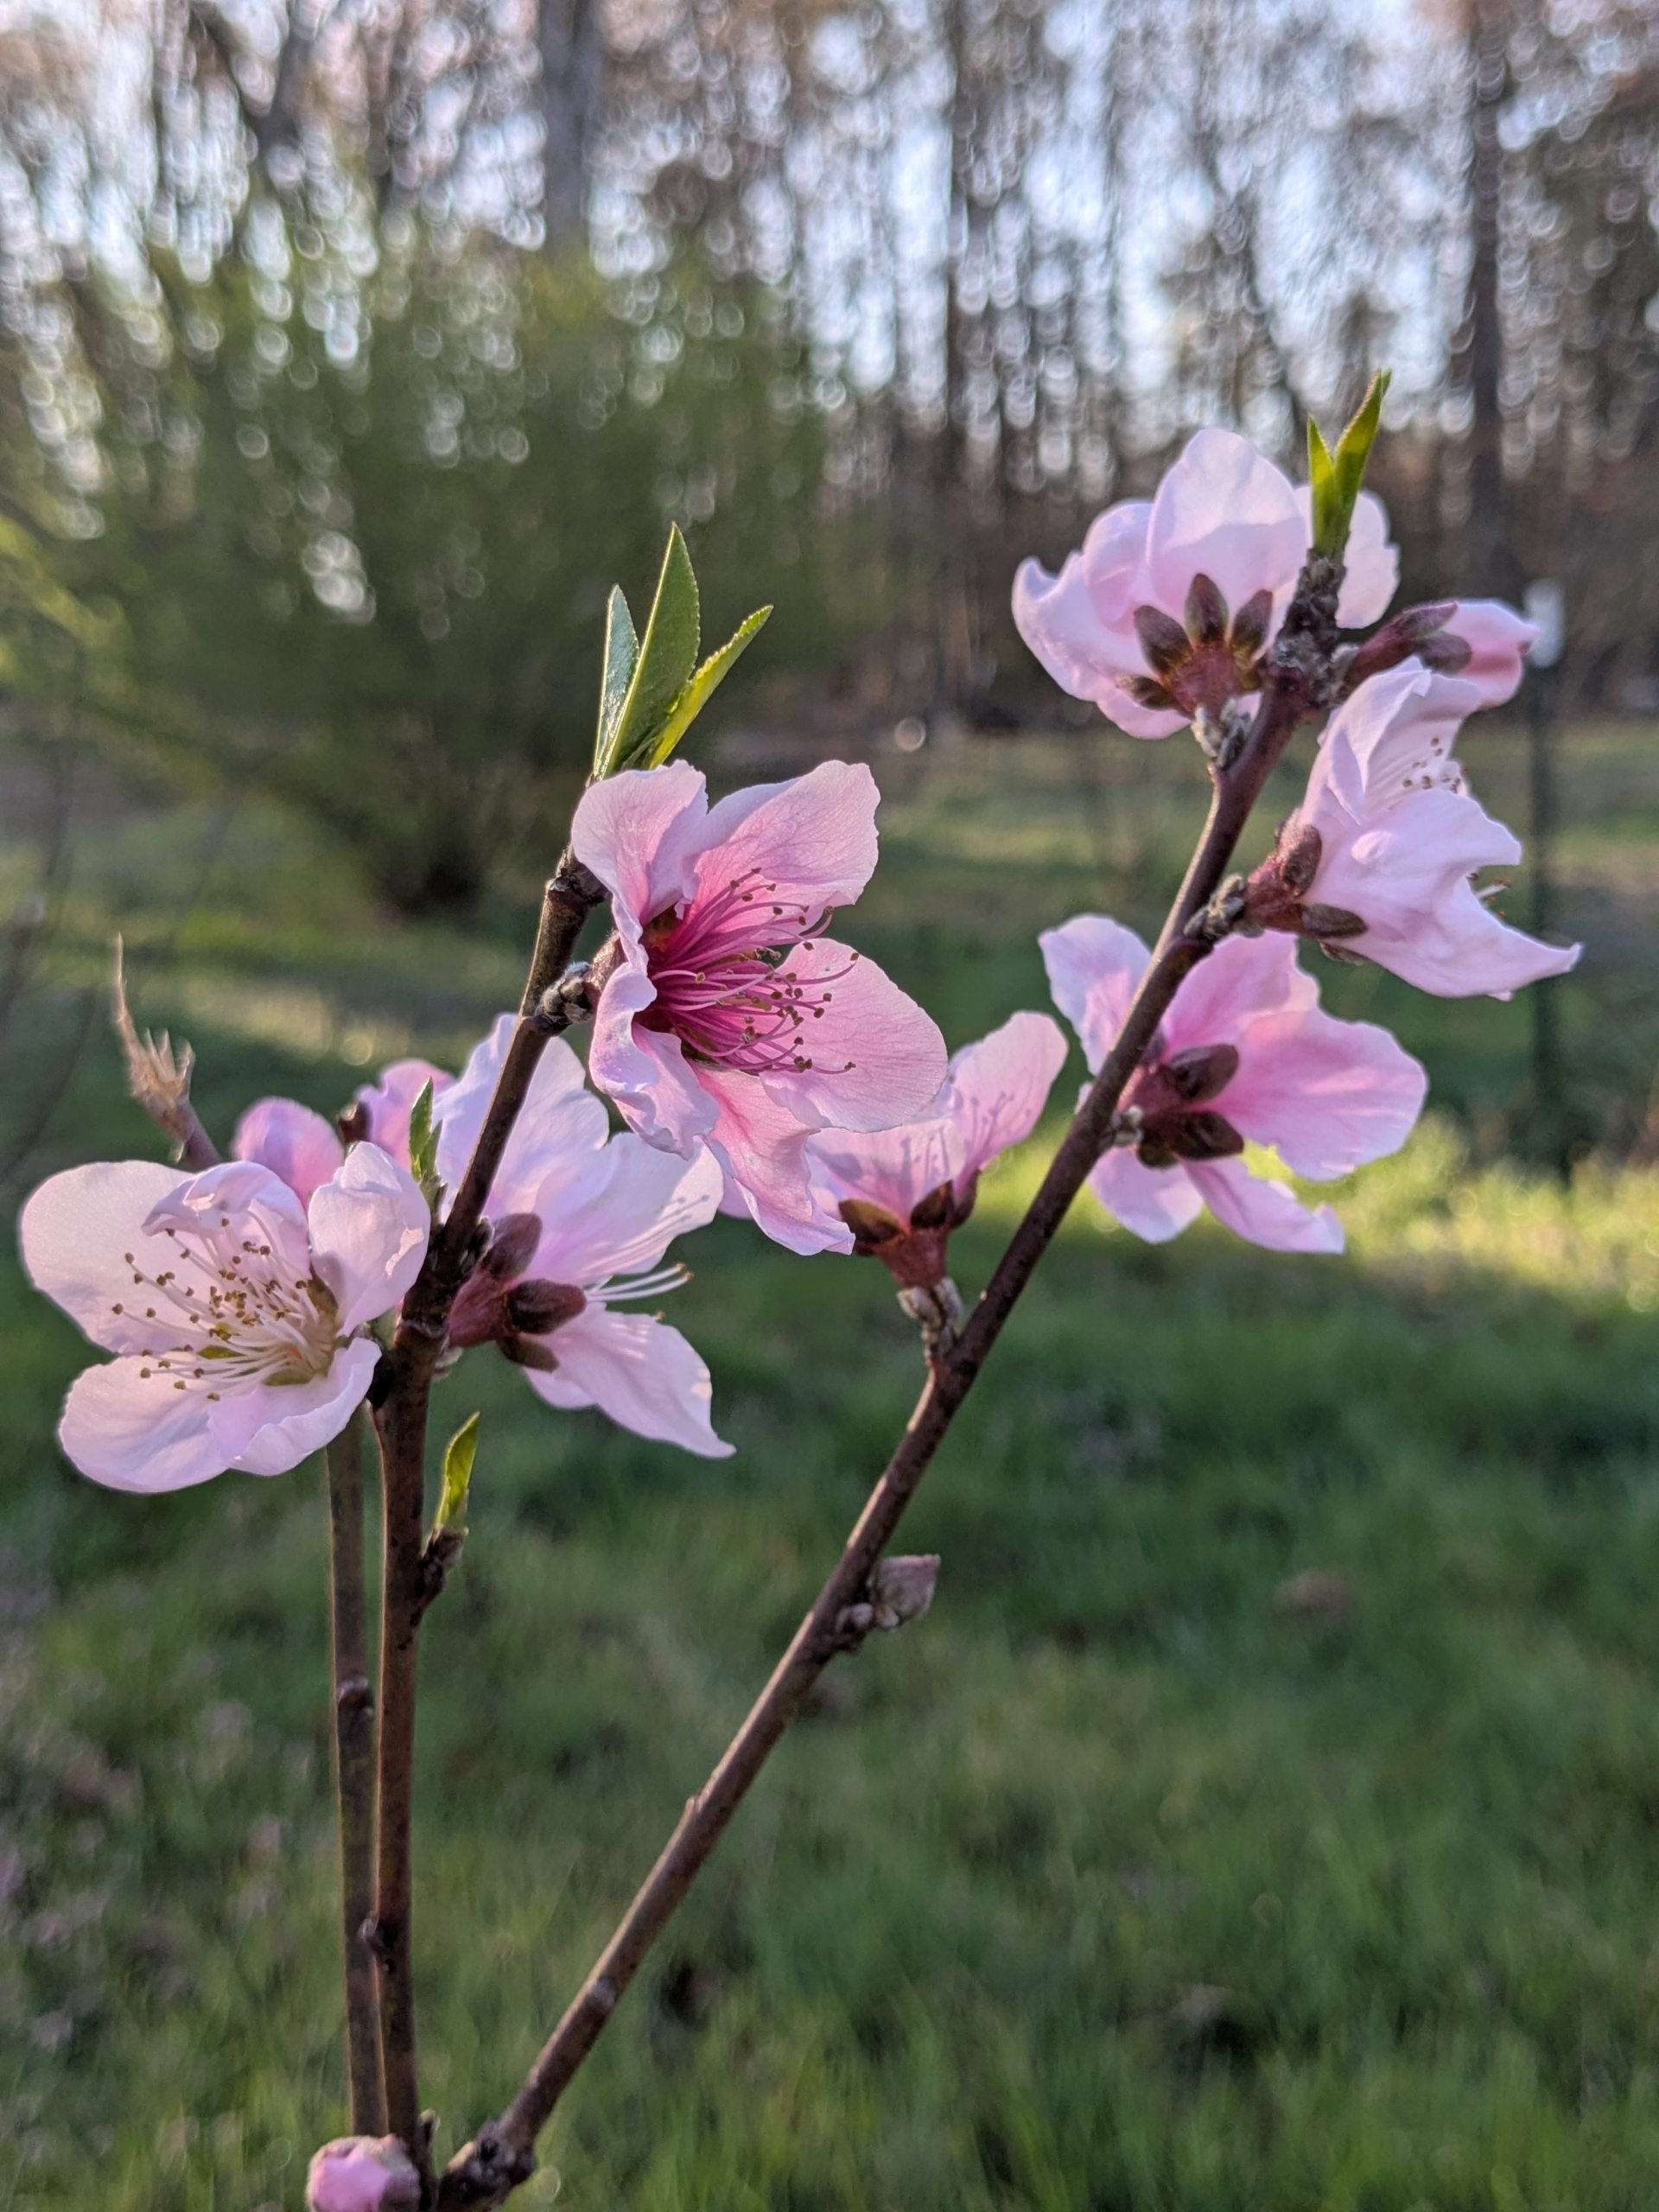
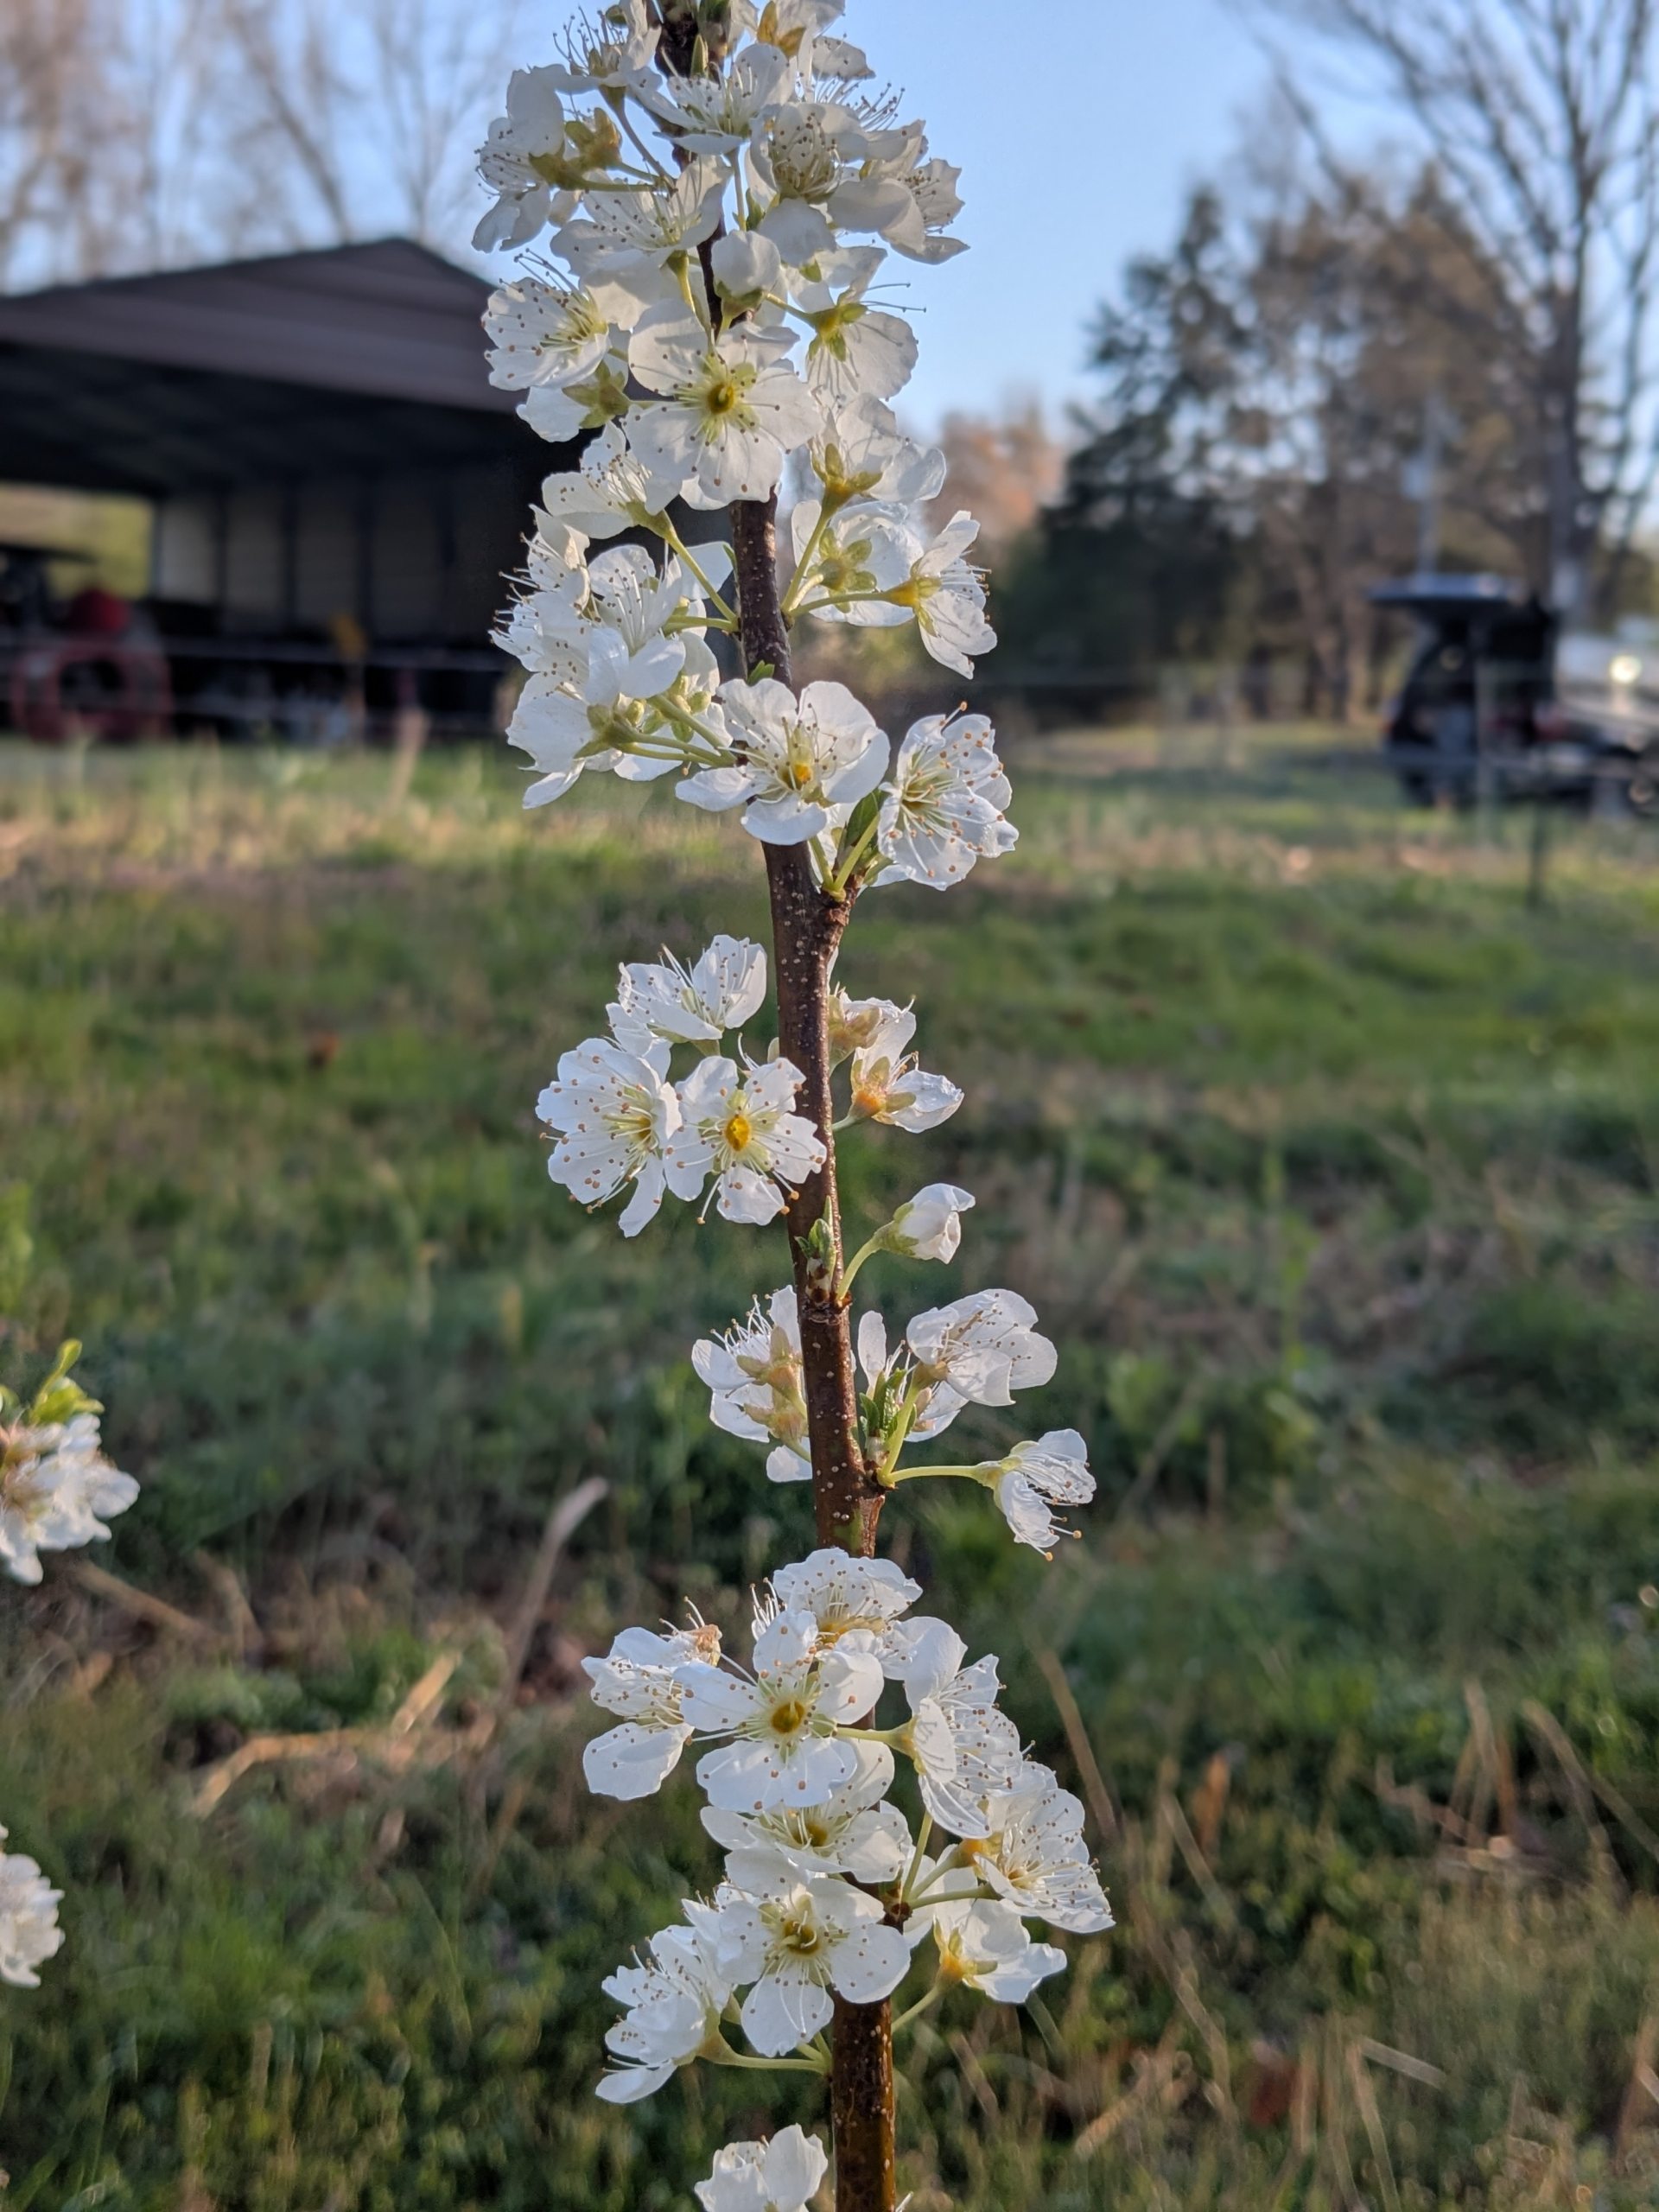
The asian pears are blooming
Just wonderful to see
Lots of blooms
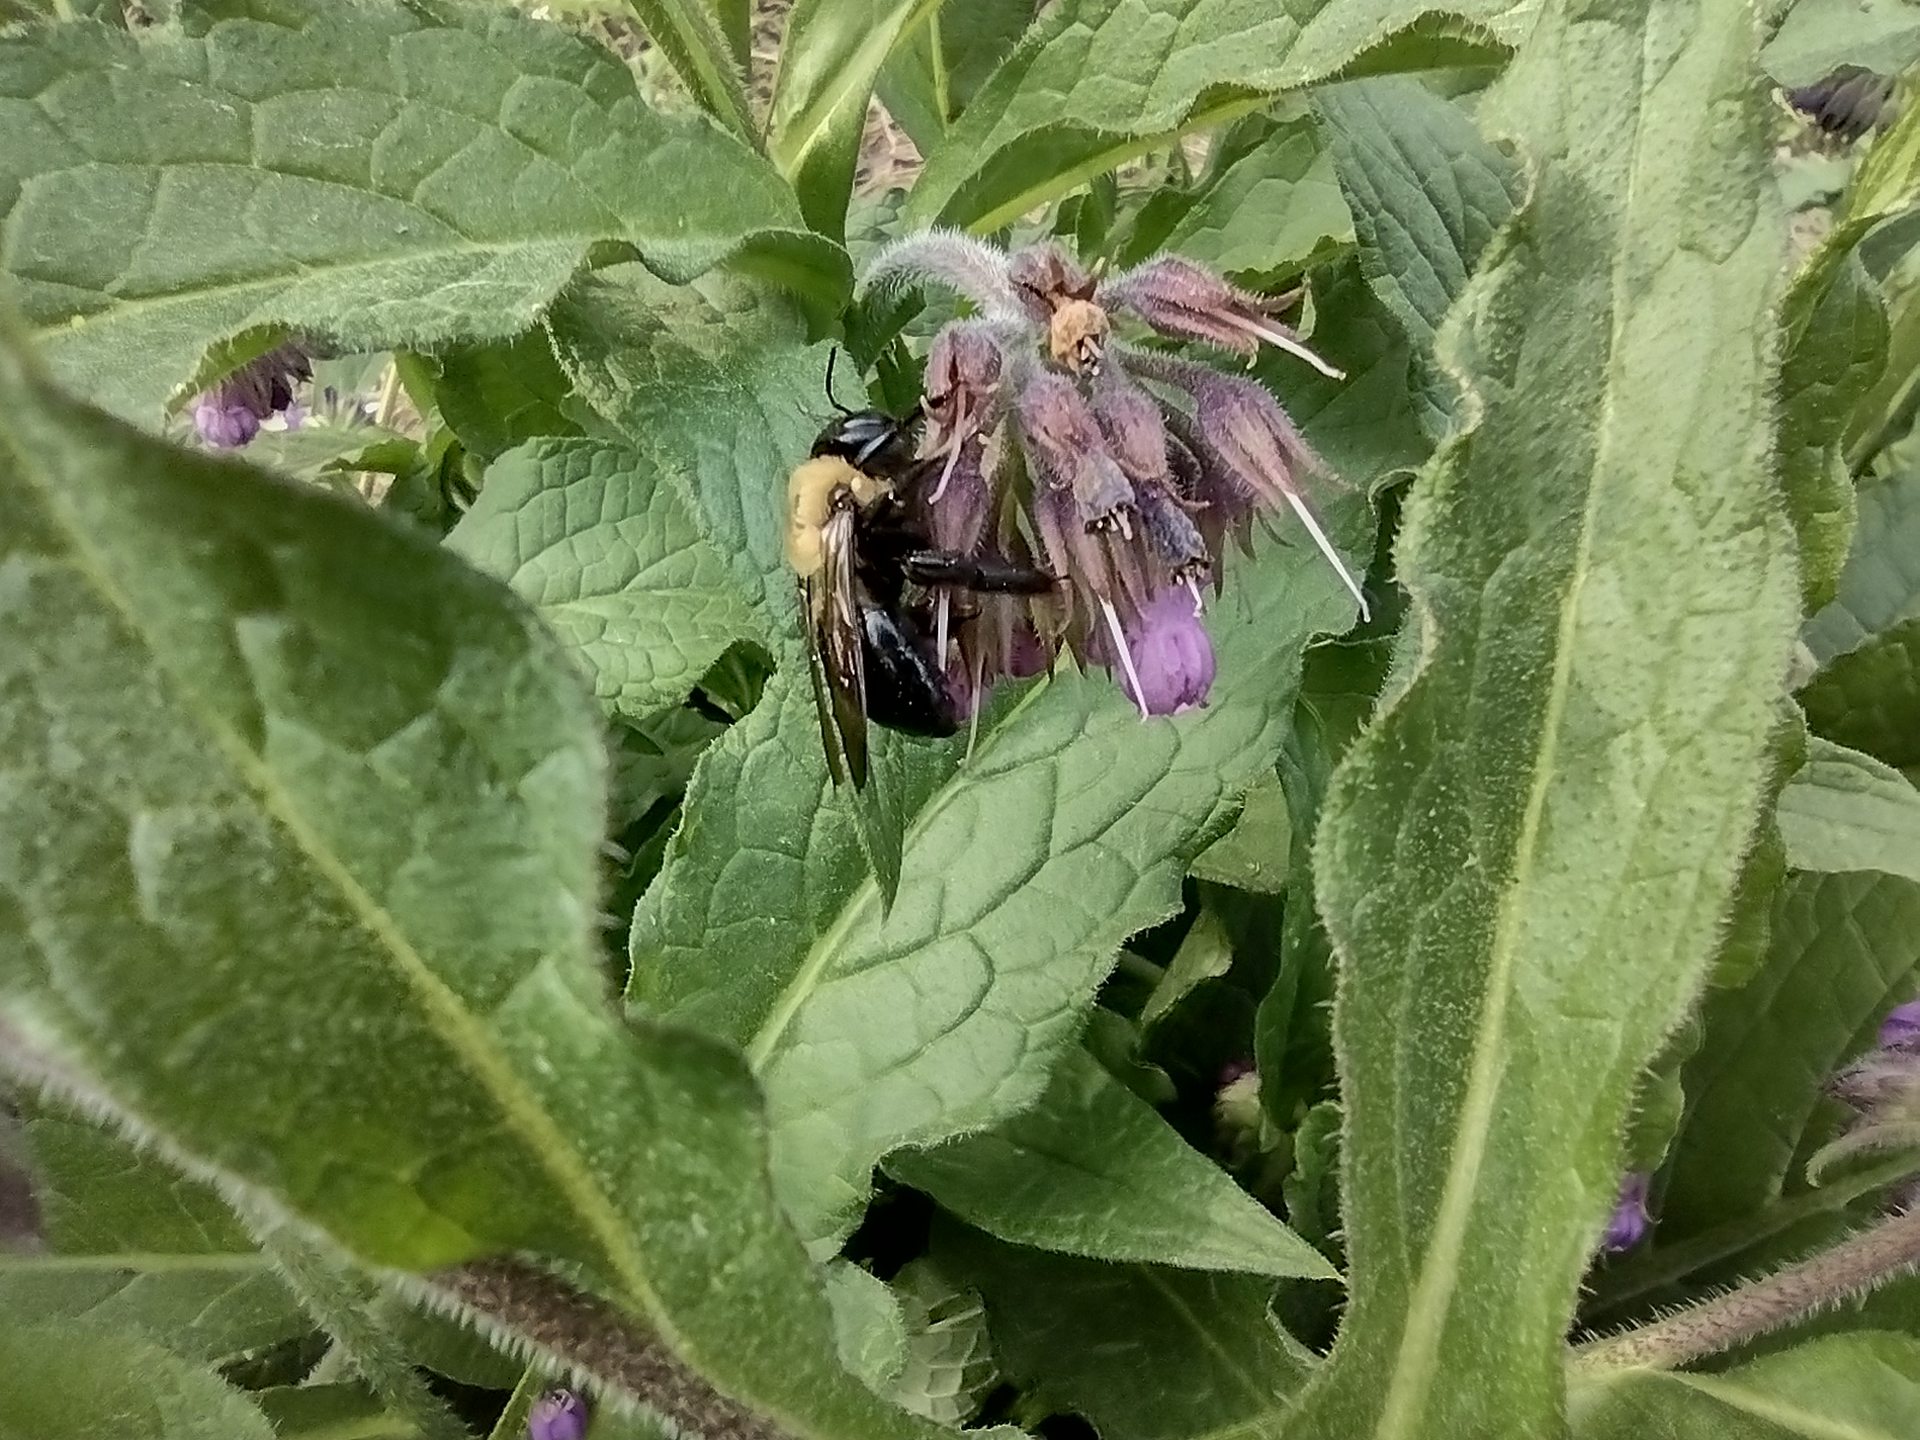
Bee on a comfrey flower
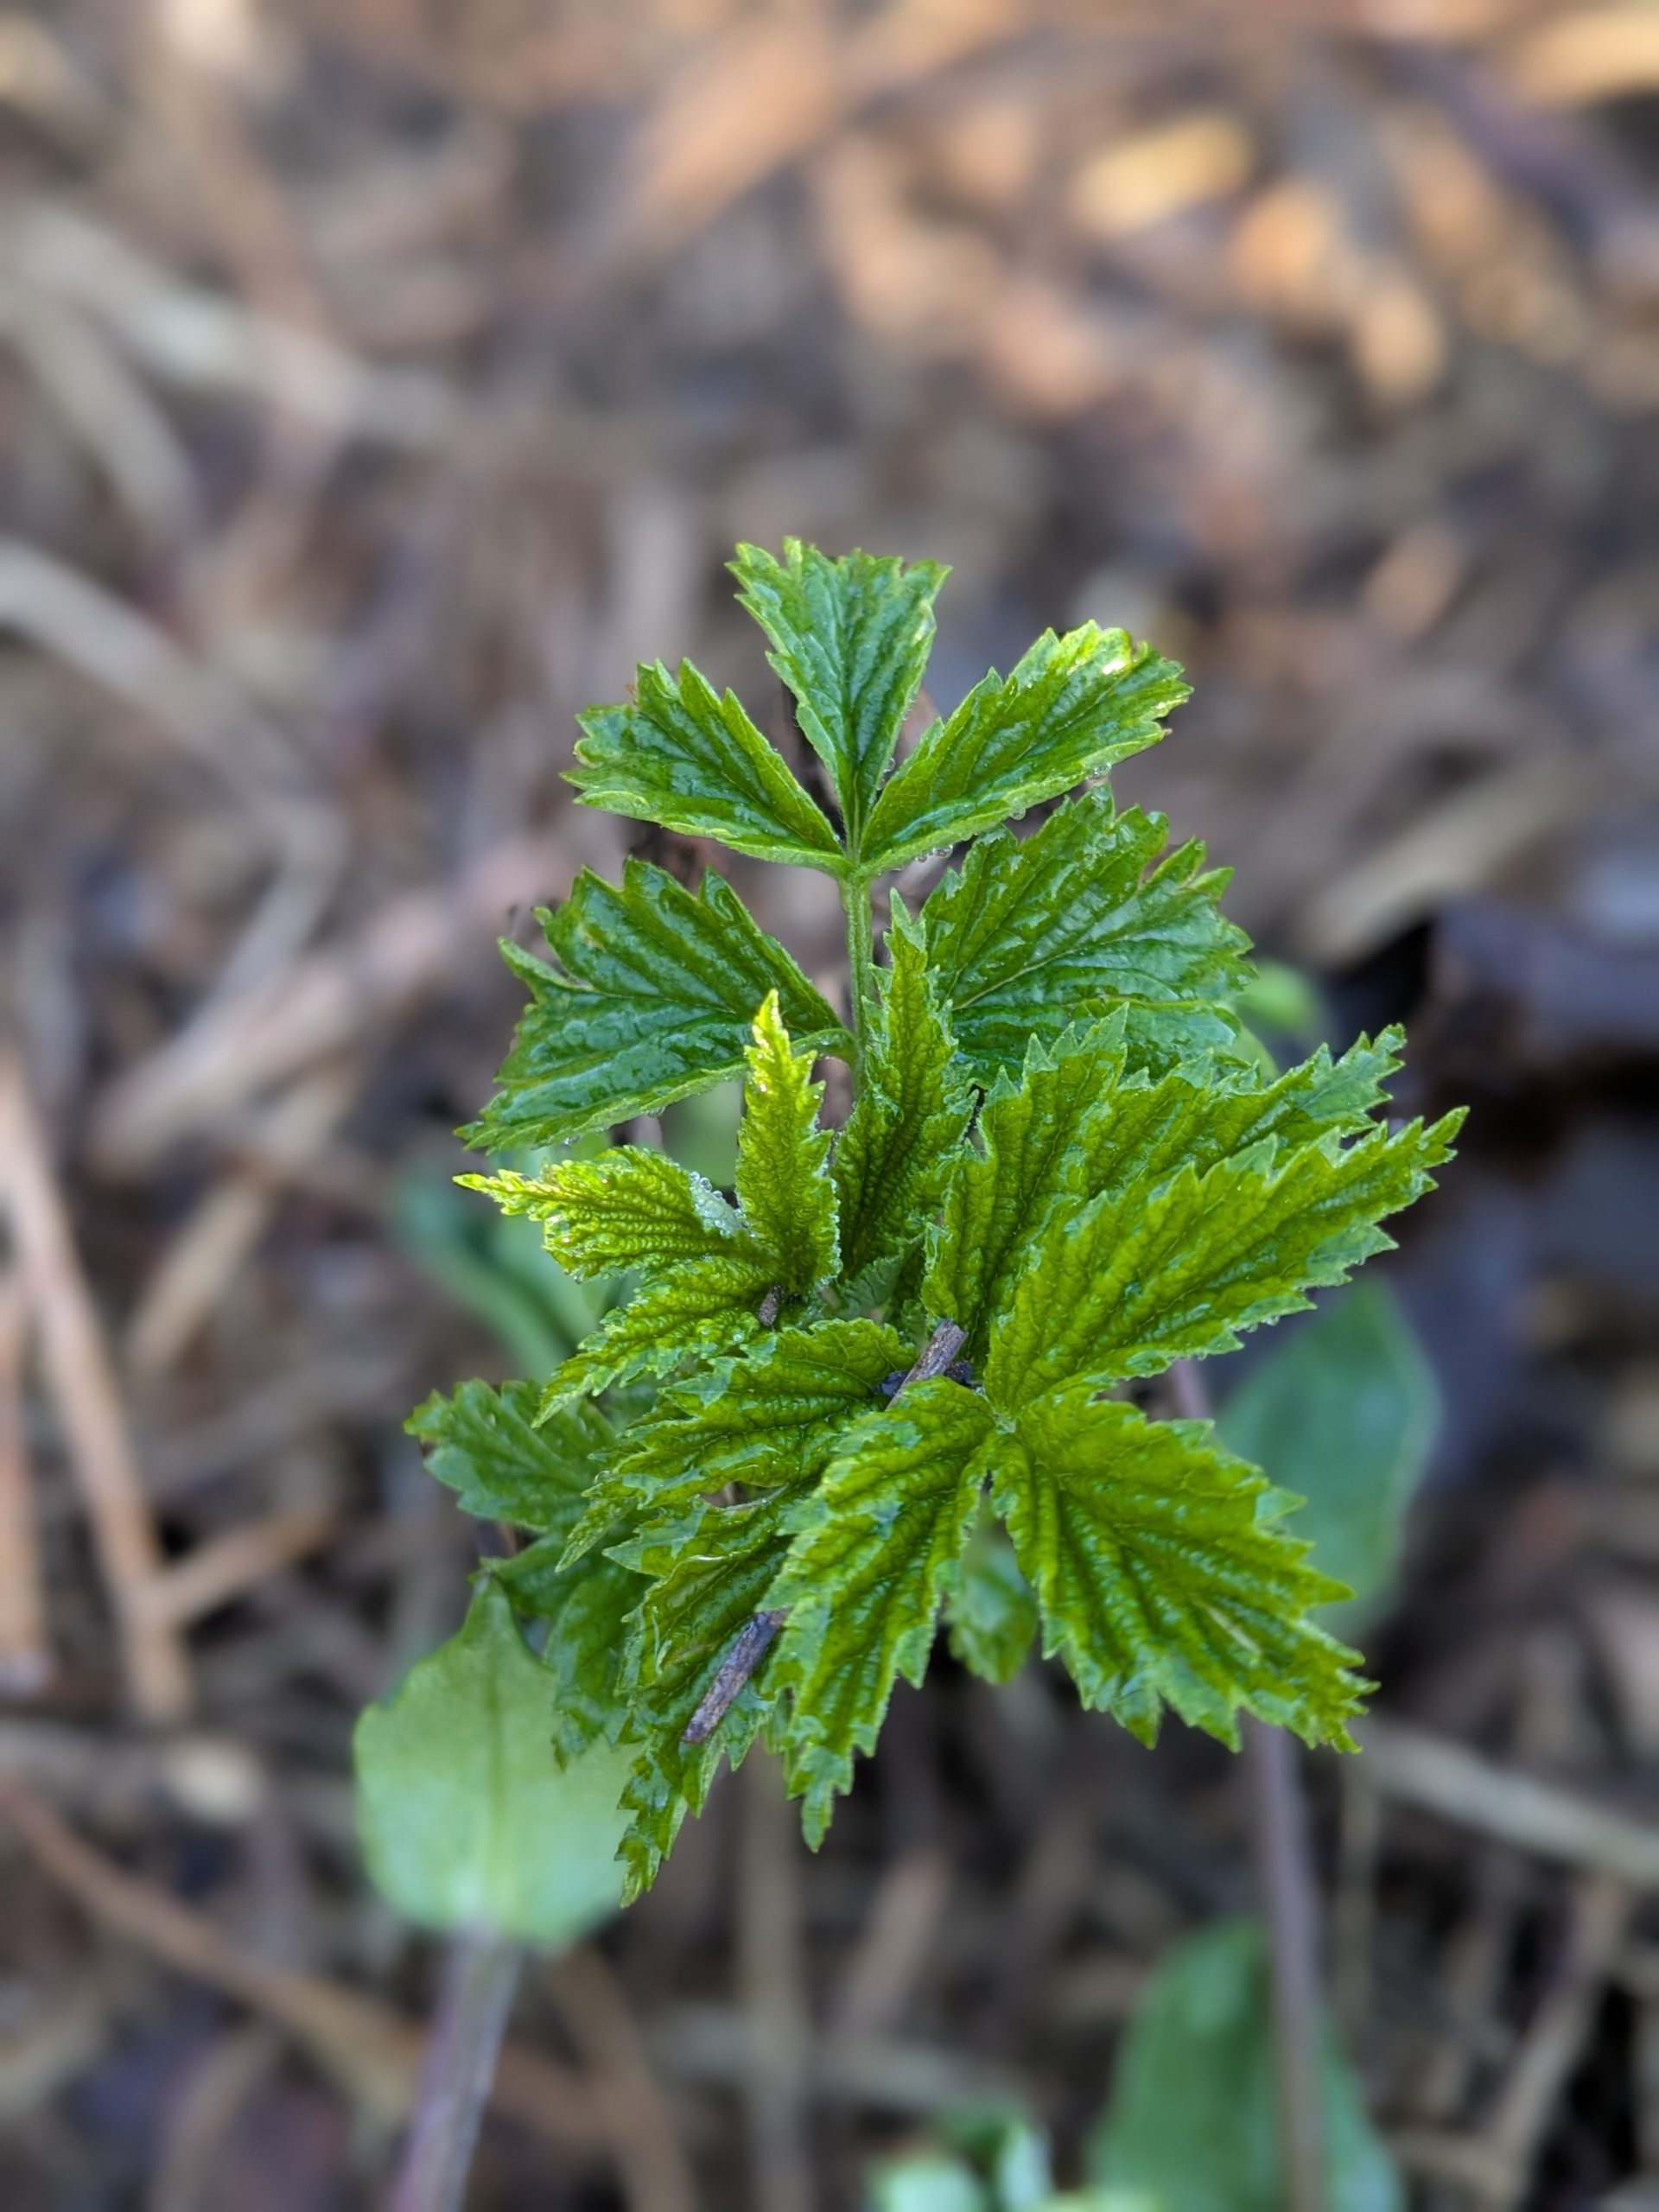
Raspberries are growing like mad on the HugelKultur mound
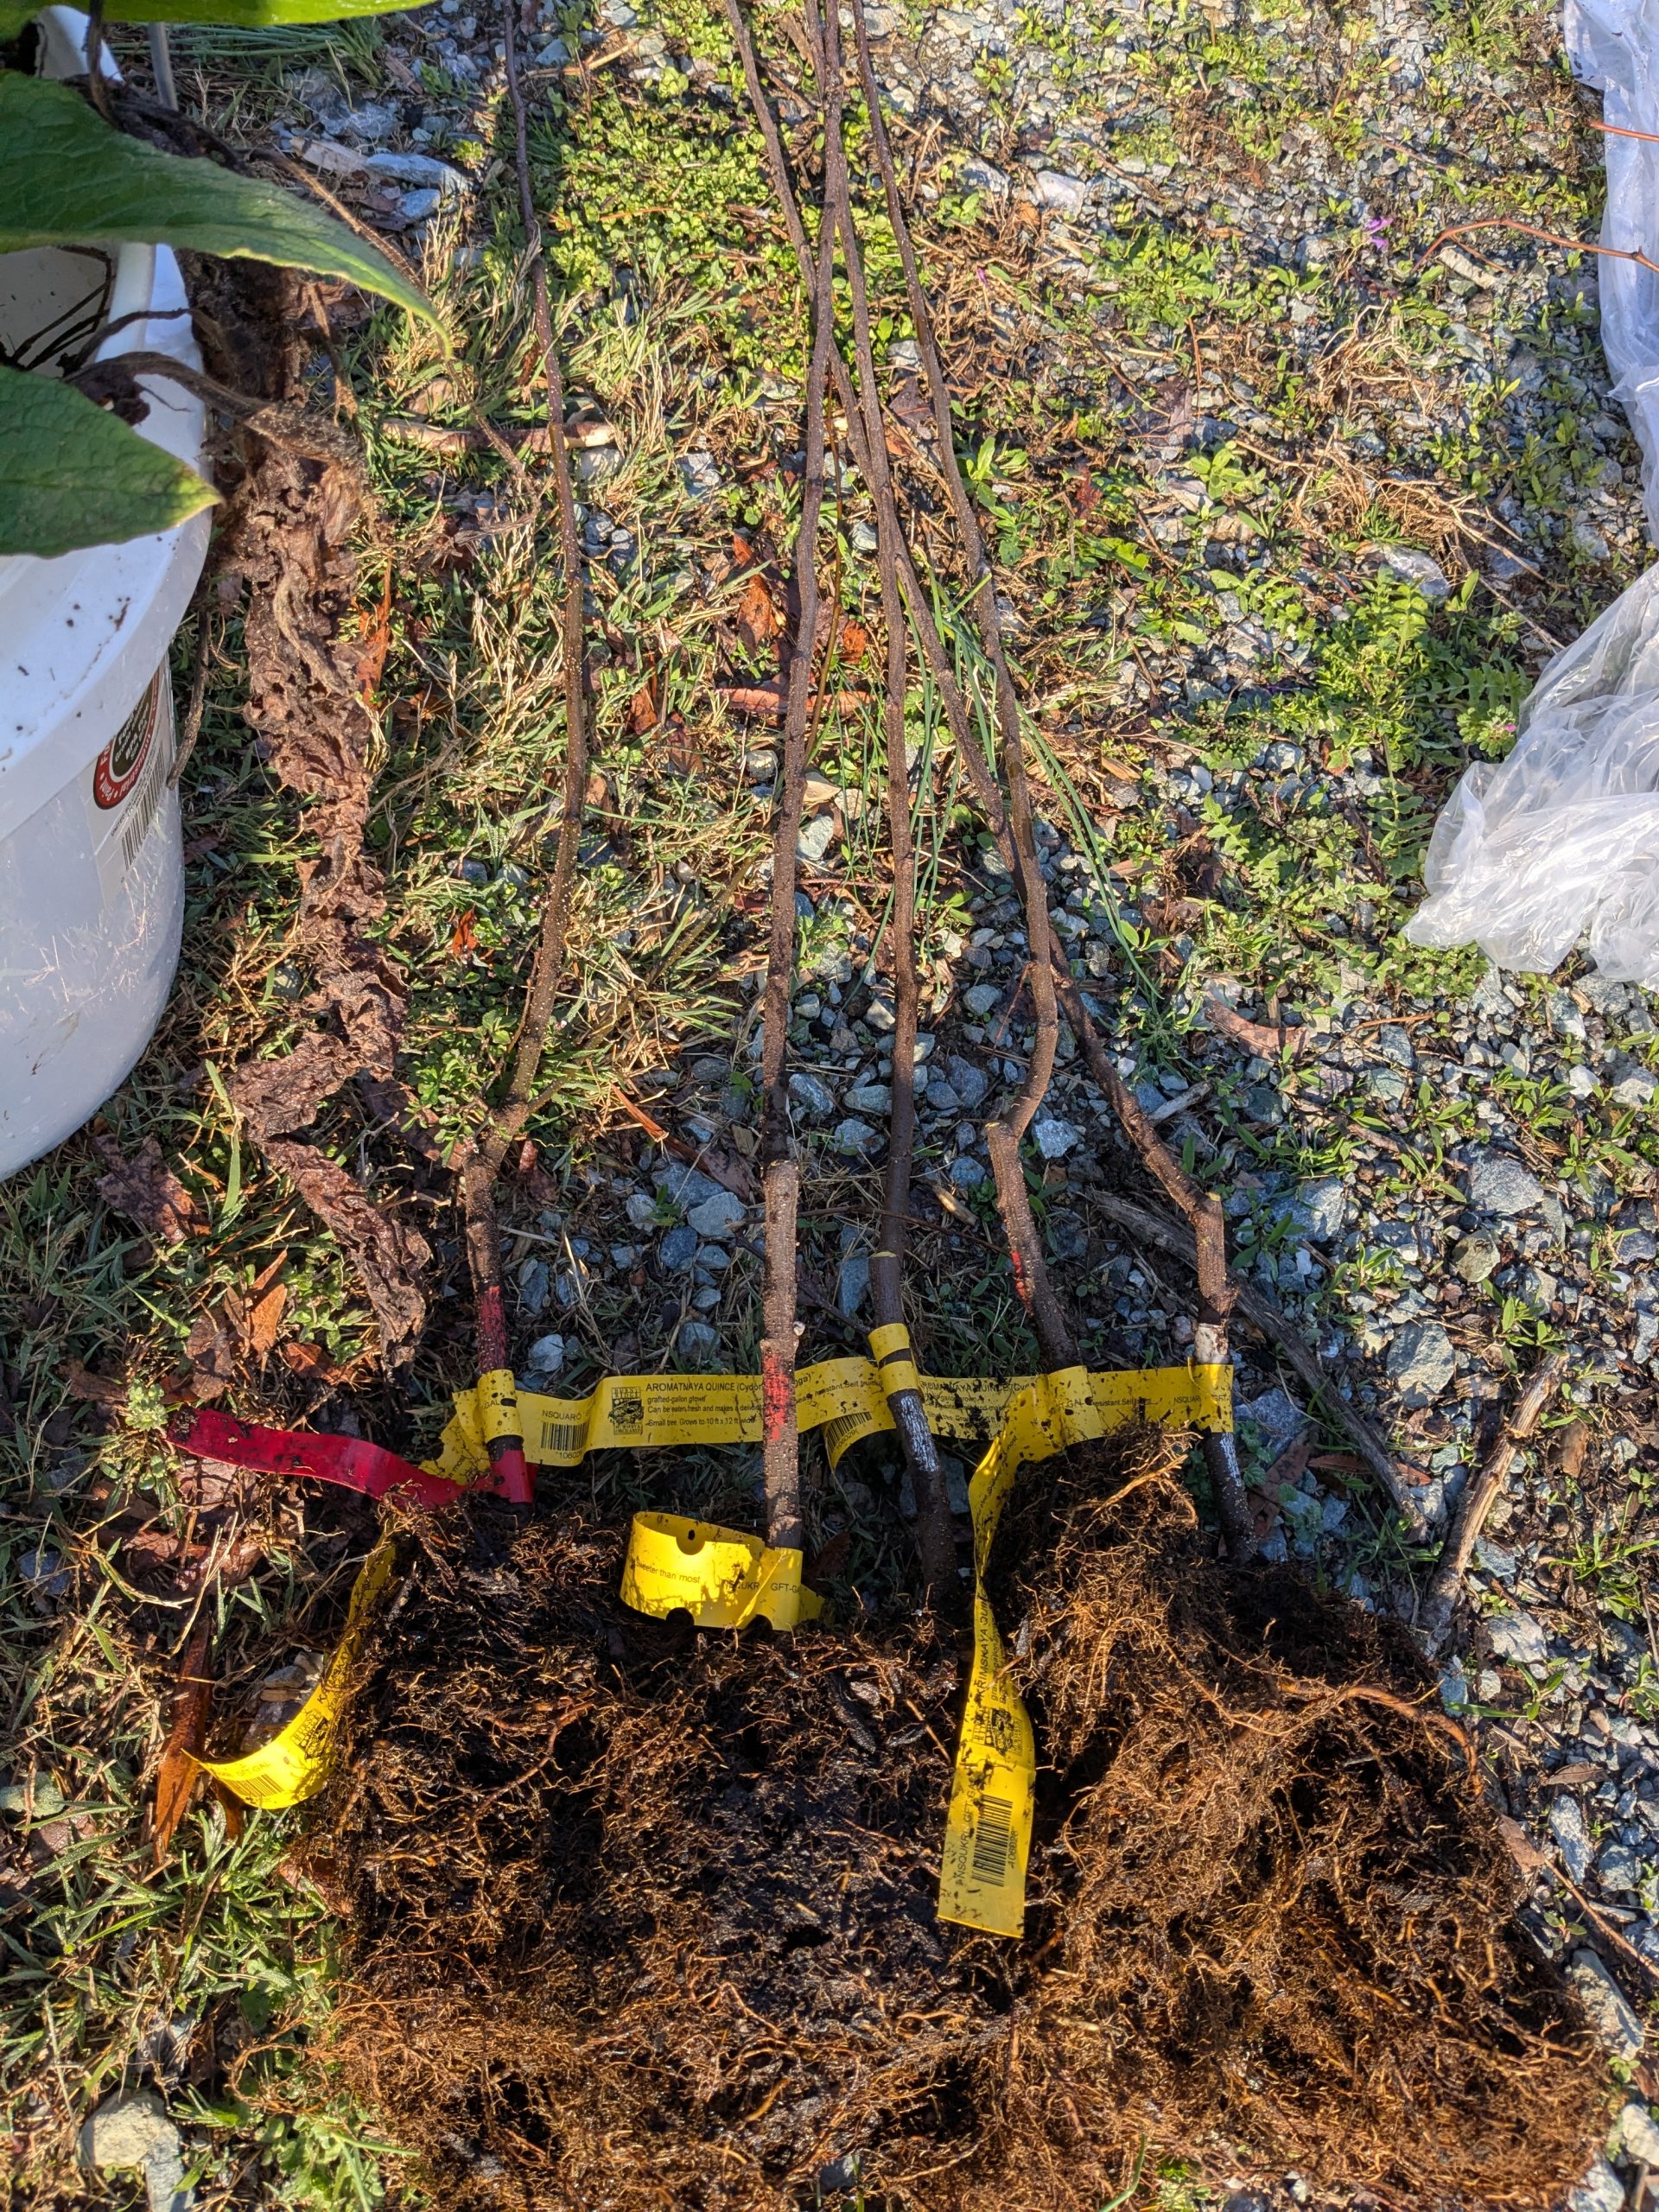
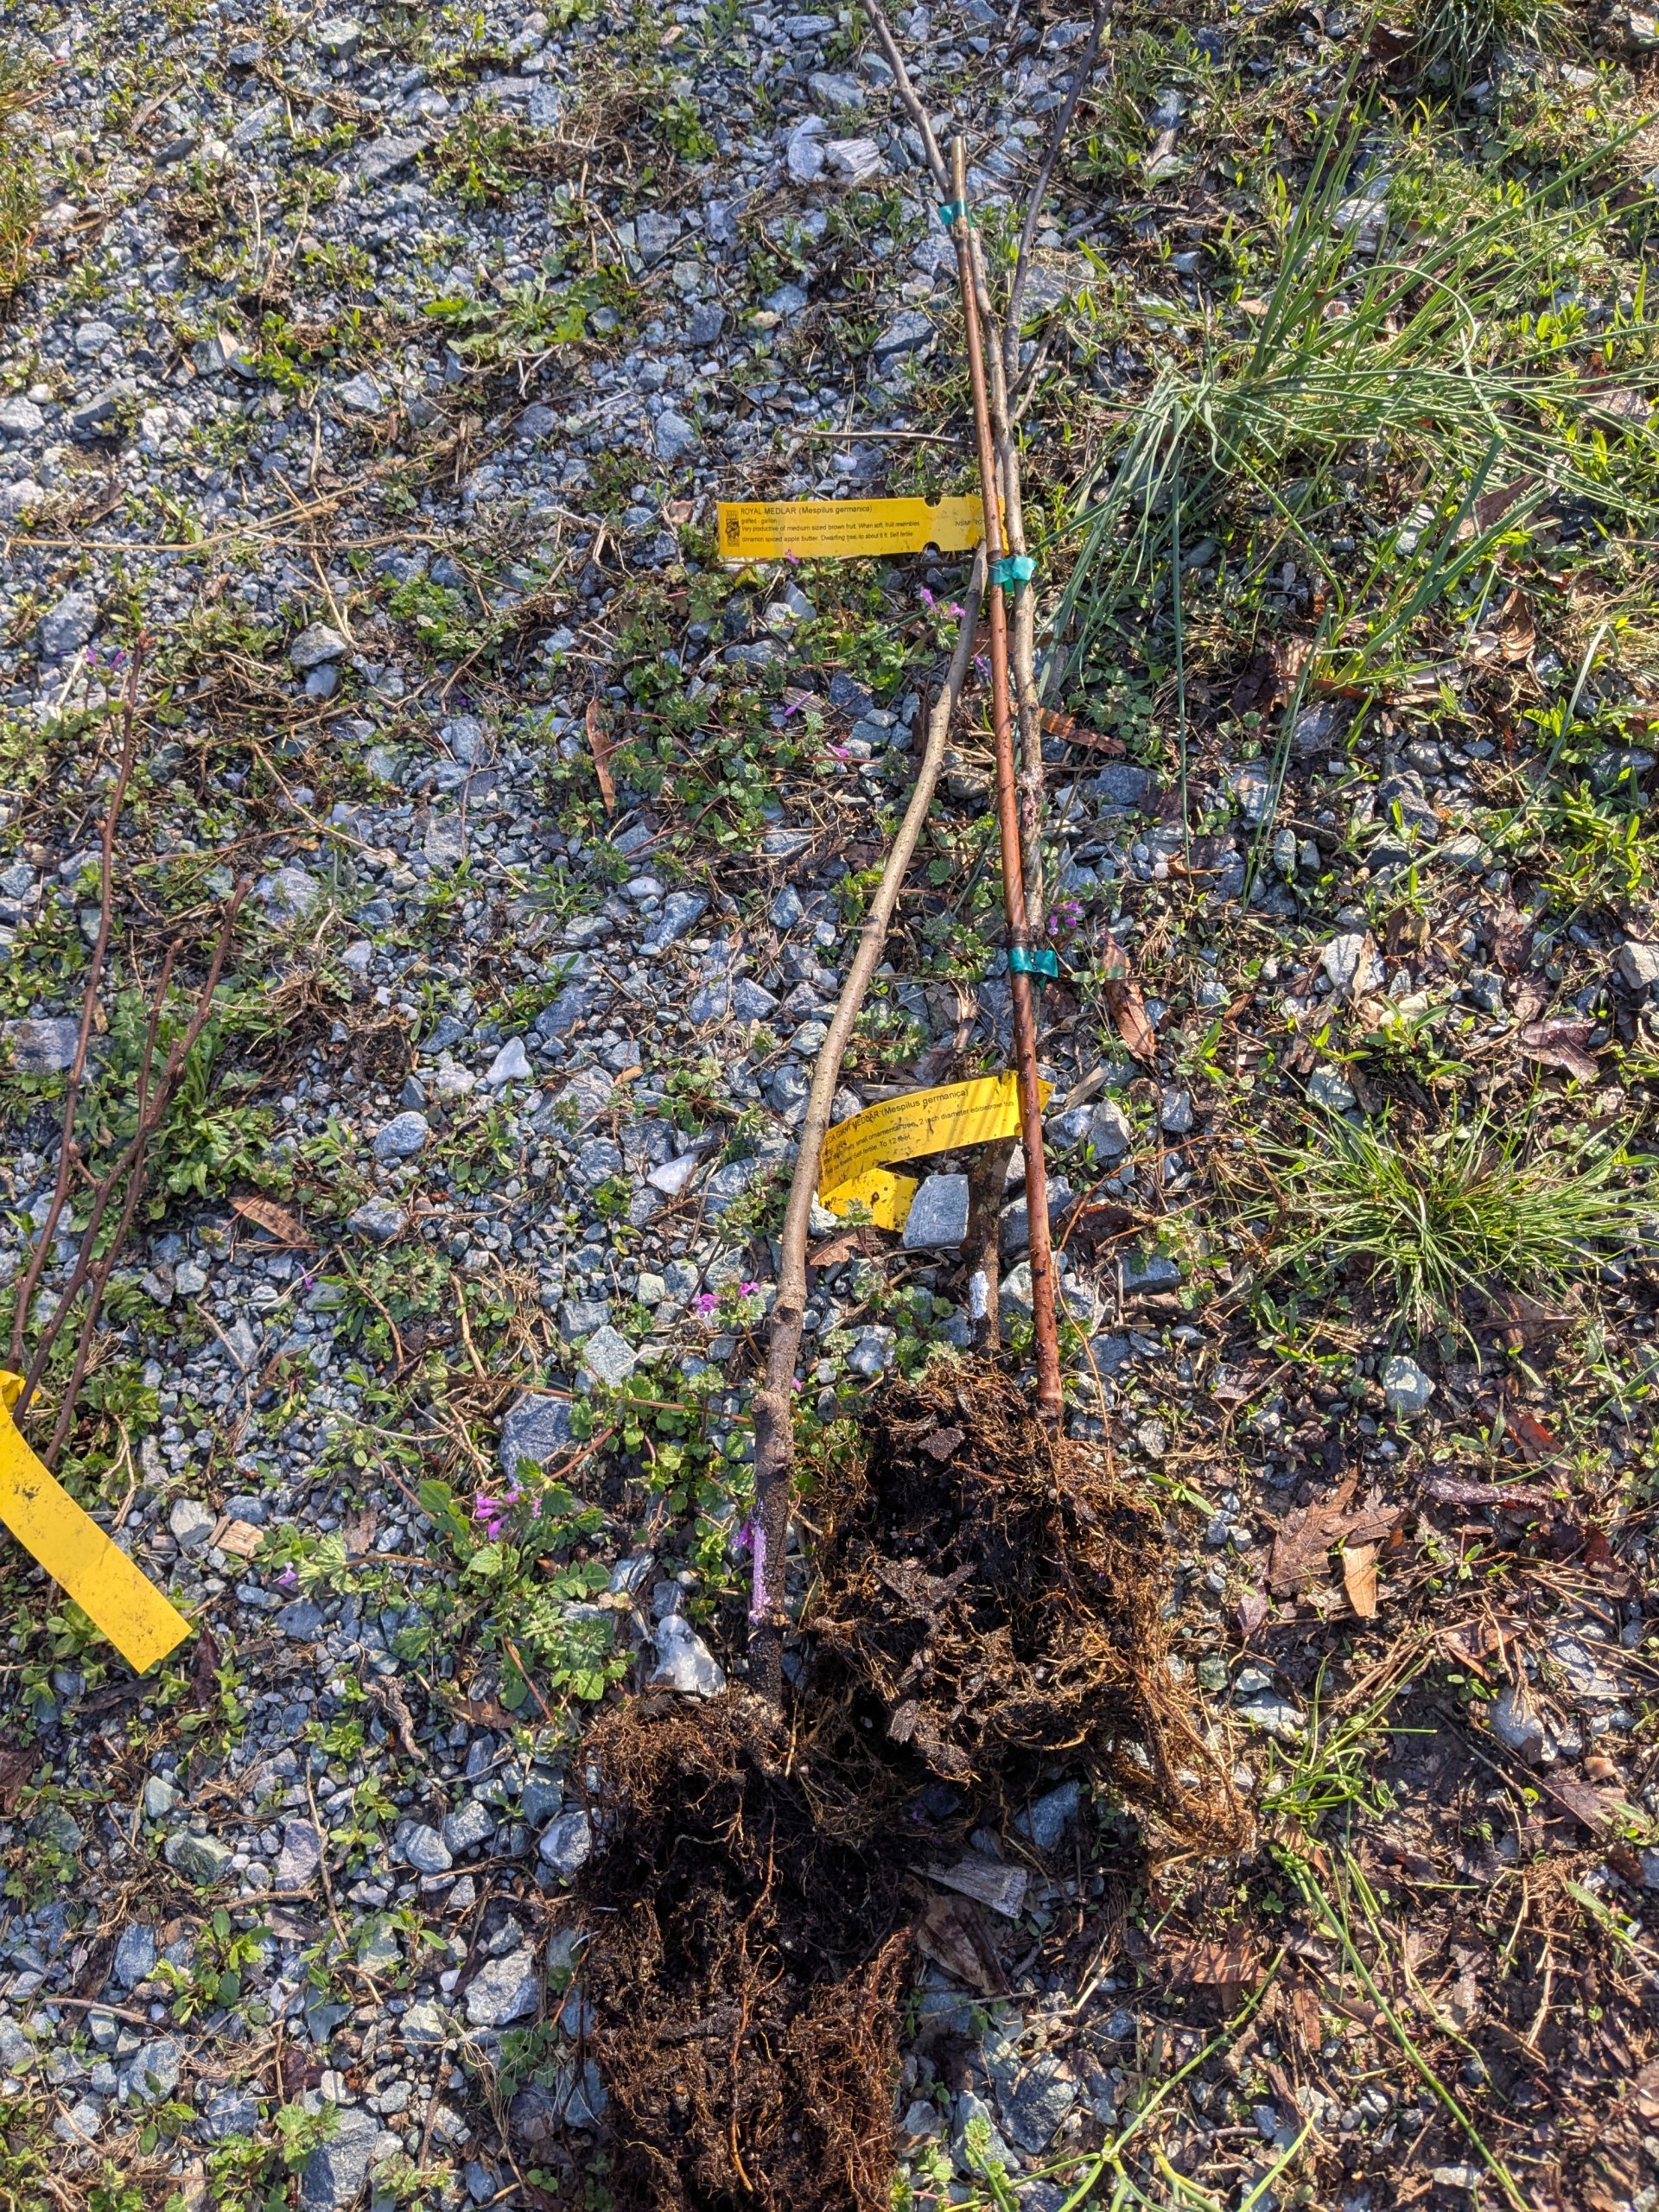
What a beautiful day to plant trees and work in the orchard! We installed medlar, quince and jujube trees. The trees came from Burnt Ridge Nursery as bare root plants.
We are experimenting with using goumi berry bushes as a nitrogen fixer that also produces a crop.
Trees and bushes that we planted
Jujube, Li- Ziziphus jujuba
Jujube, Qiyue Xian – Zizyphus jujuba
Quince Aronmatnaya – Cydonia oblonga
Quince Krimskaya – Cydonia oblonga
Medlar, Brenda Giant – Mespilus germanica
Medlar, Royal – Mespilus germanica
Goumi Berry, Carmine – Elaeagnus multiflora
The last plants we needed to prune for the season were the black berries and raspberries on the farm. Connie knocked those out, so they are ready for summer.
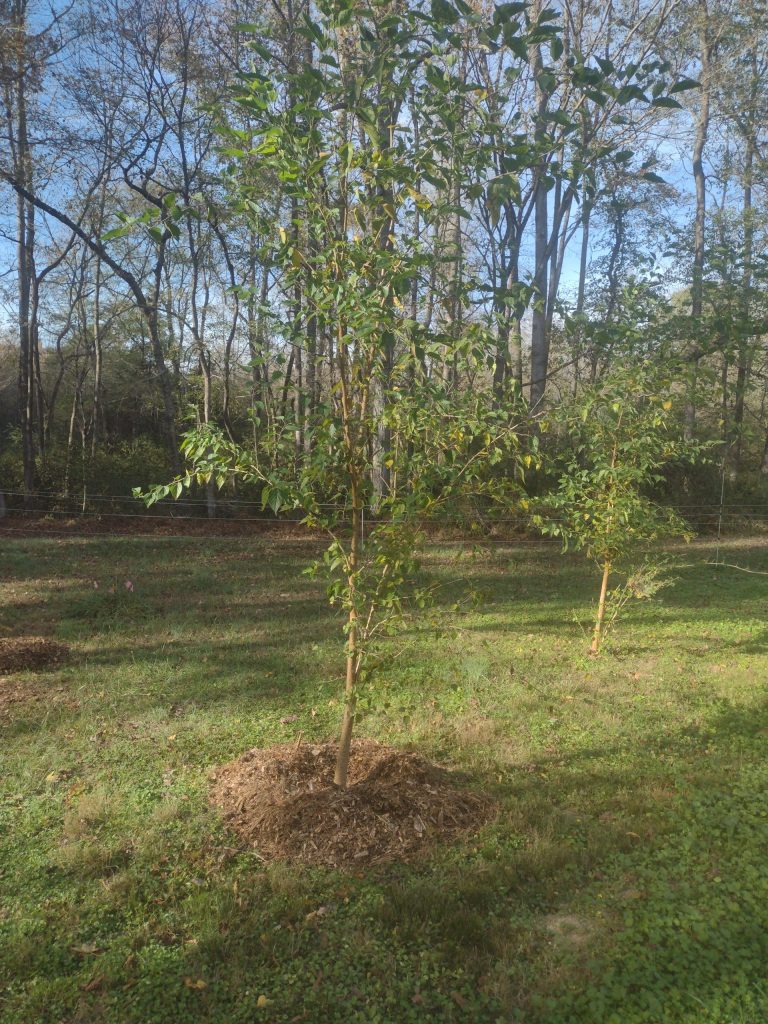
Update from the trees planted in November
We were pleasantly surprised by the amount of growth from trees that we planted last November. The picture below shows a tree that has more than doubled in diameter and grown nicely in height. The tree protectors we installed will help keep small critters and deer from damaging the young tree calipers. We already had one plum tree that had damage (maybe 6 inch above the ground) from a critter chewing on it, maybe a rabbit.
Tree protectors help keep the caliper of the tree safe from critters and me with the weed eater
Everything is warming up. We have been busy. We have also been using the nice weather to work on cleaning up fallen trees. The bees are loving their new home.
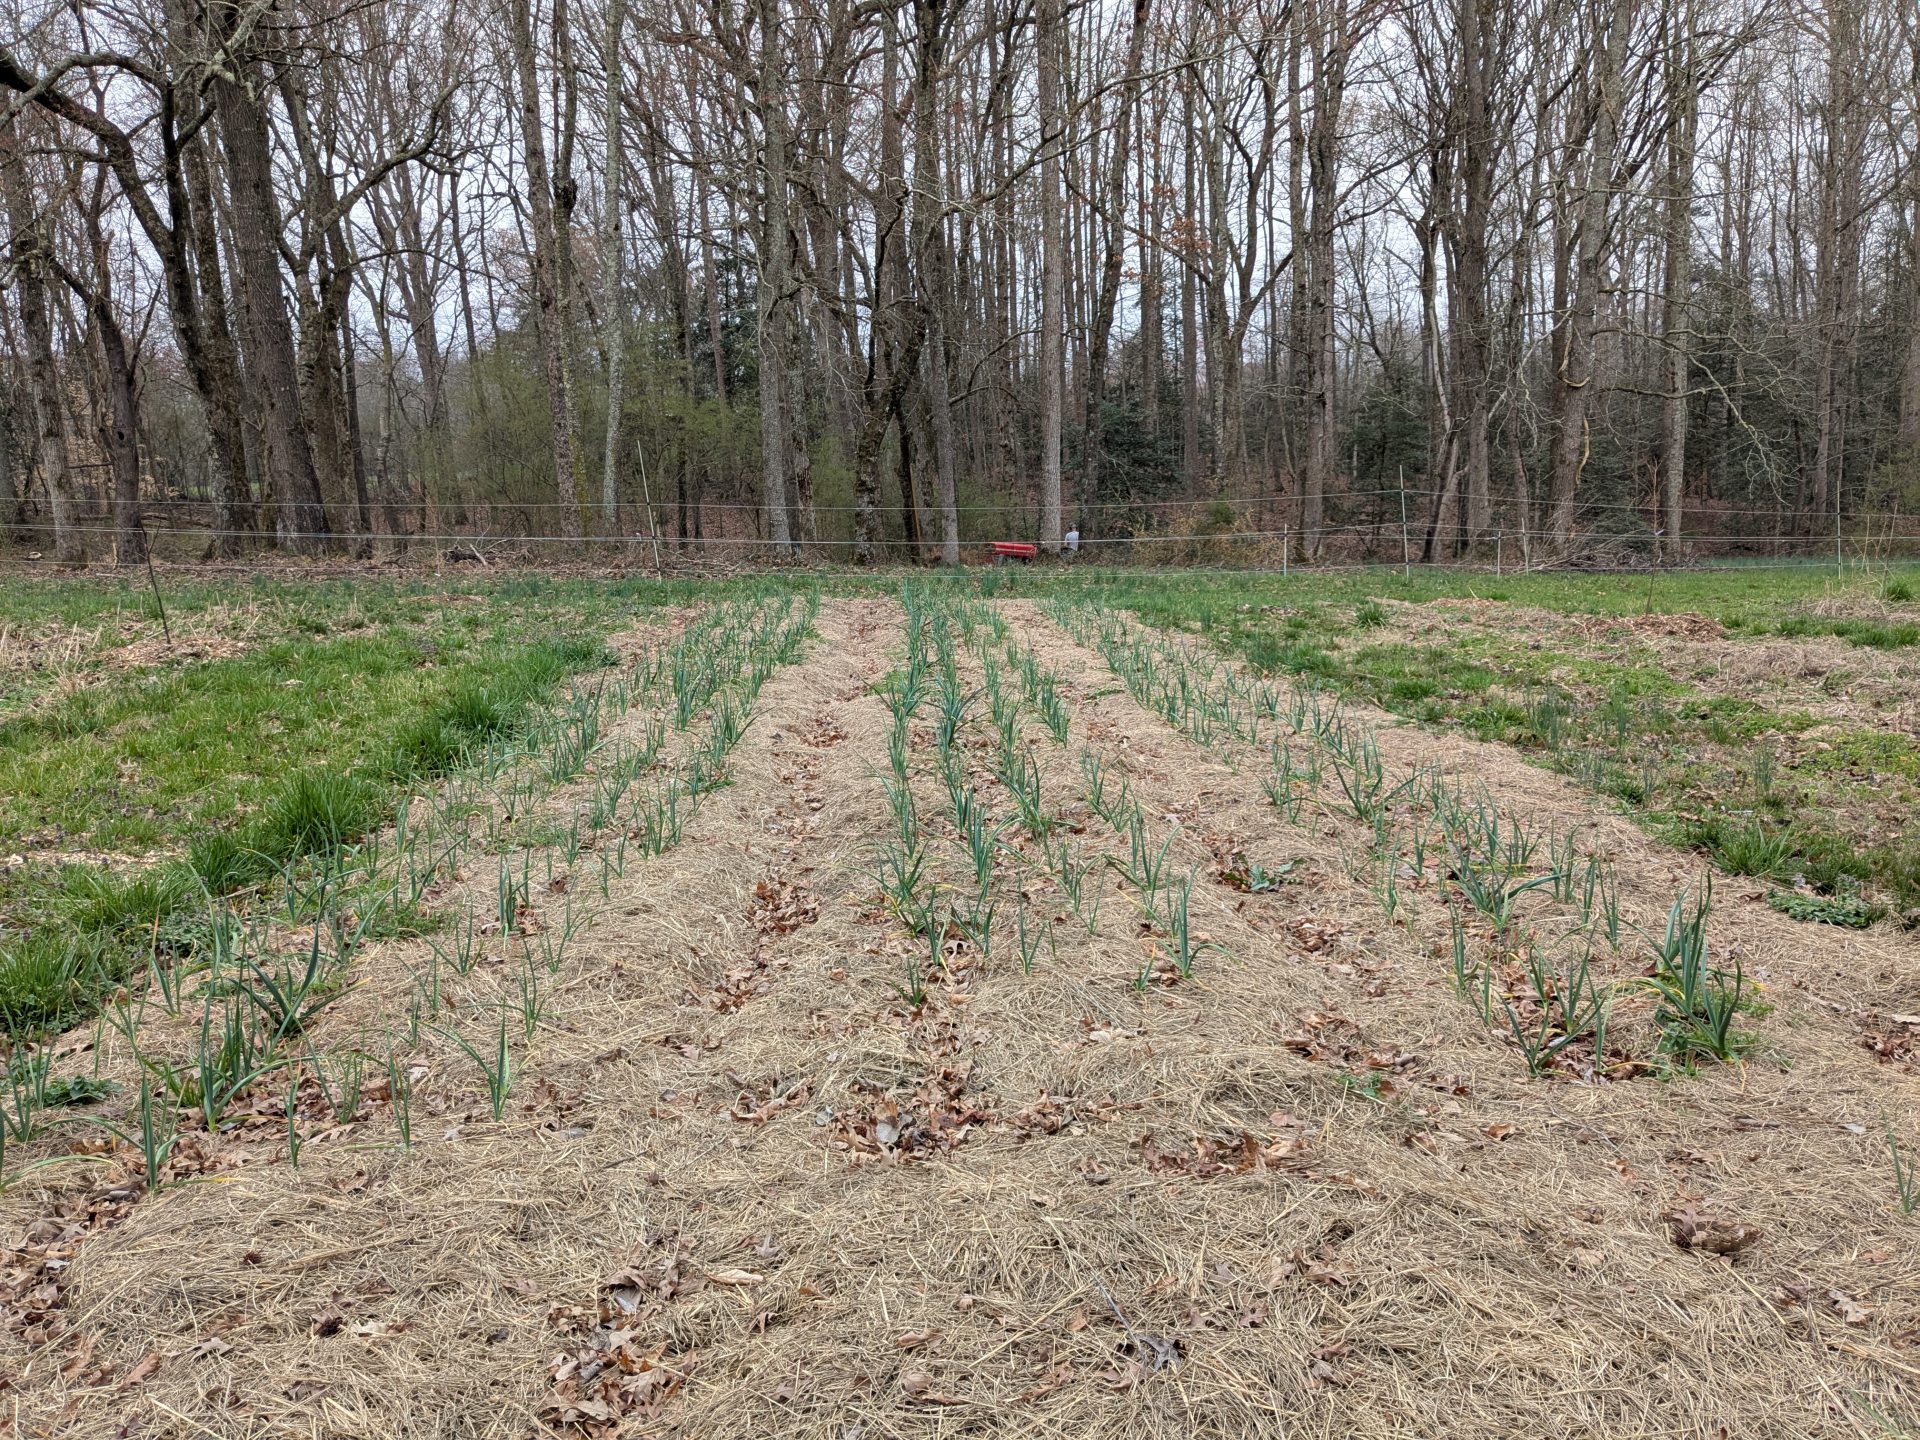
Our garlic is doing well. Garlic is one of the easier crops to grow because it requires so little maintenance until the last few weeks. We sold out of garlic last year, so when it is available in early summer, make sure to get your orders in. We don’t use pesticides or insecticides on the farm.
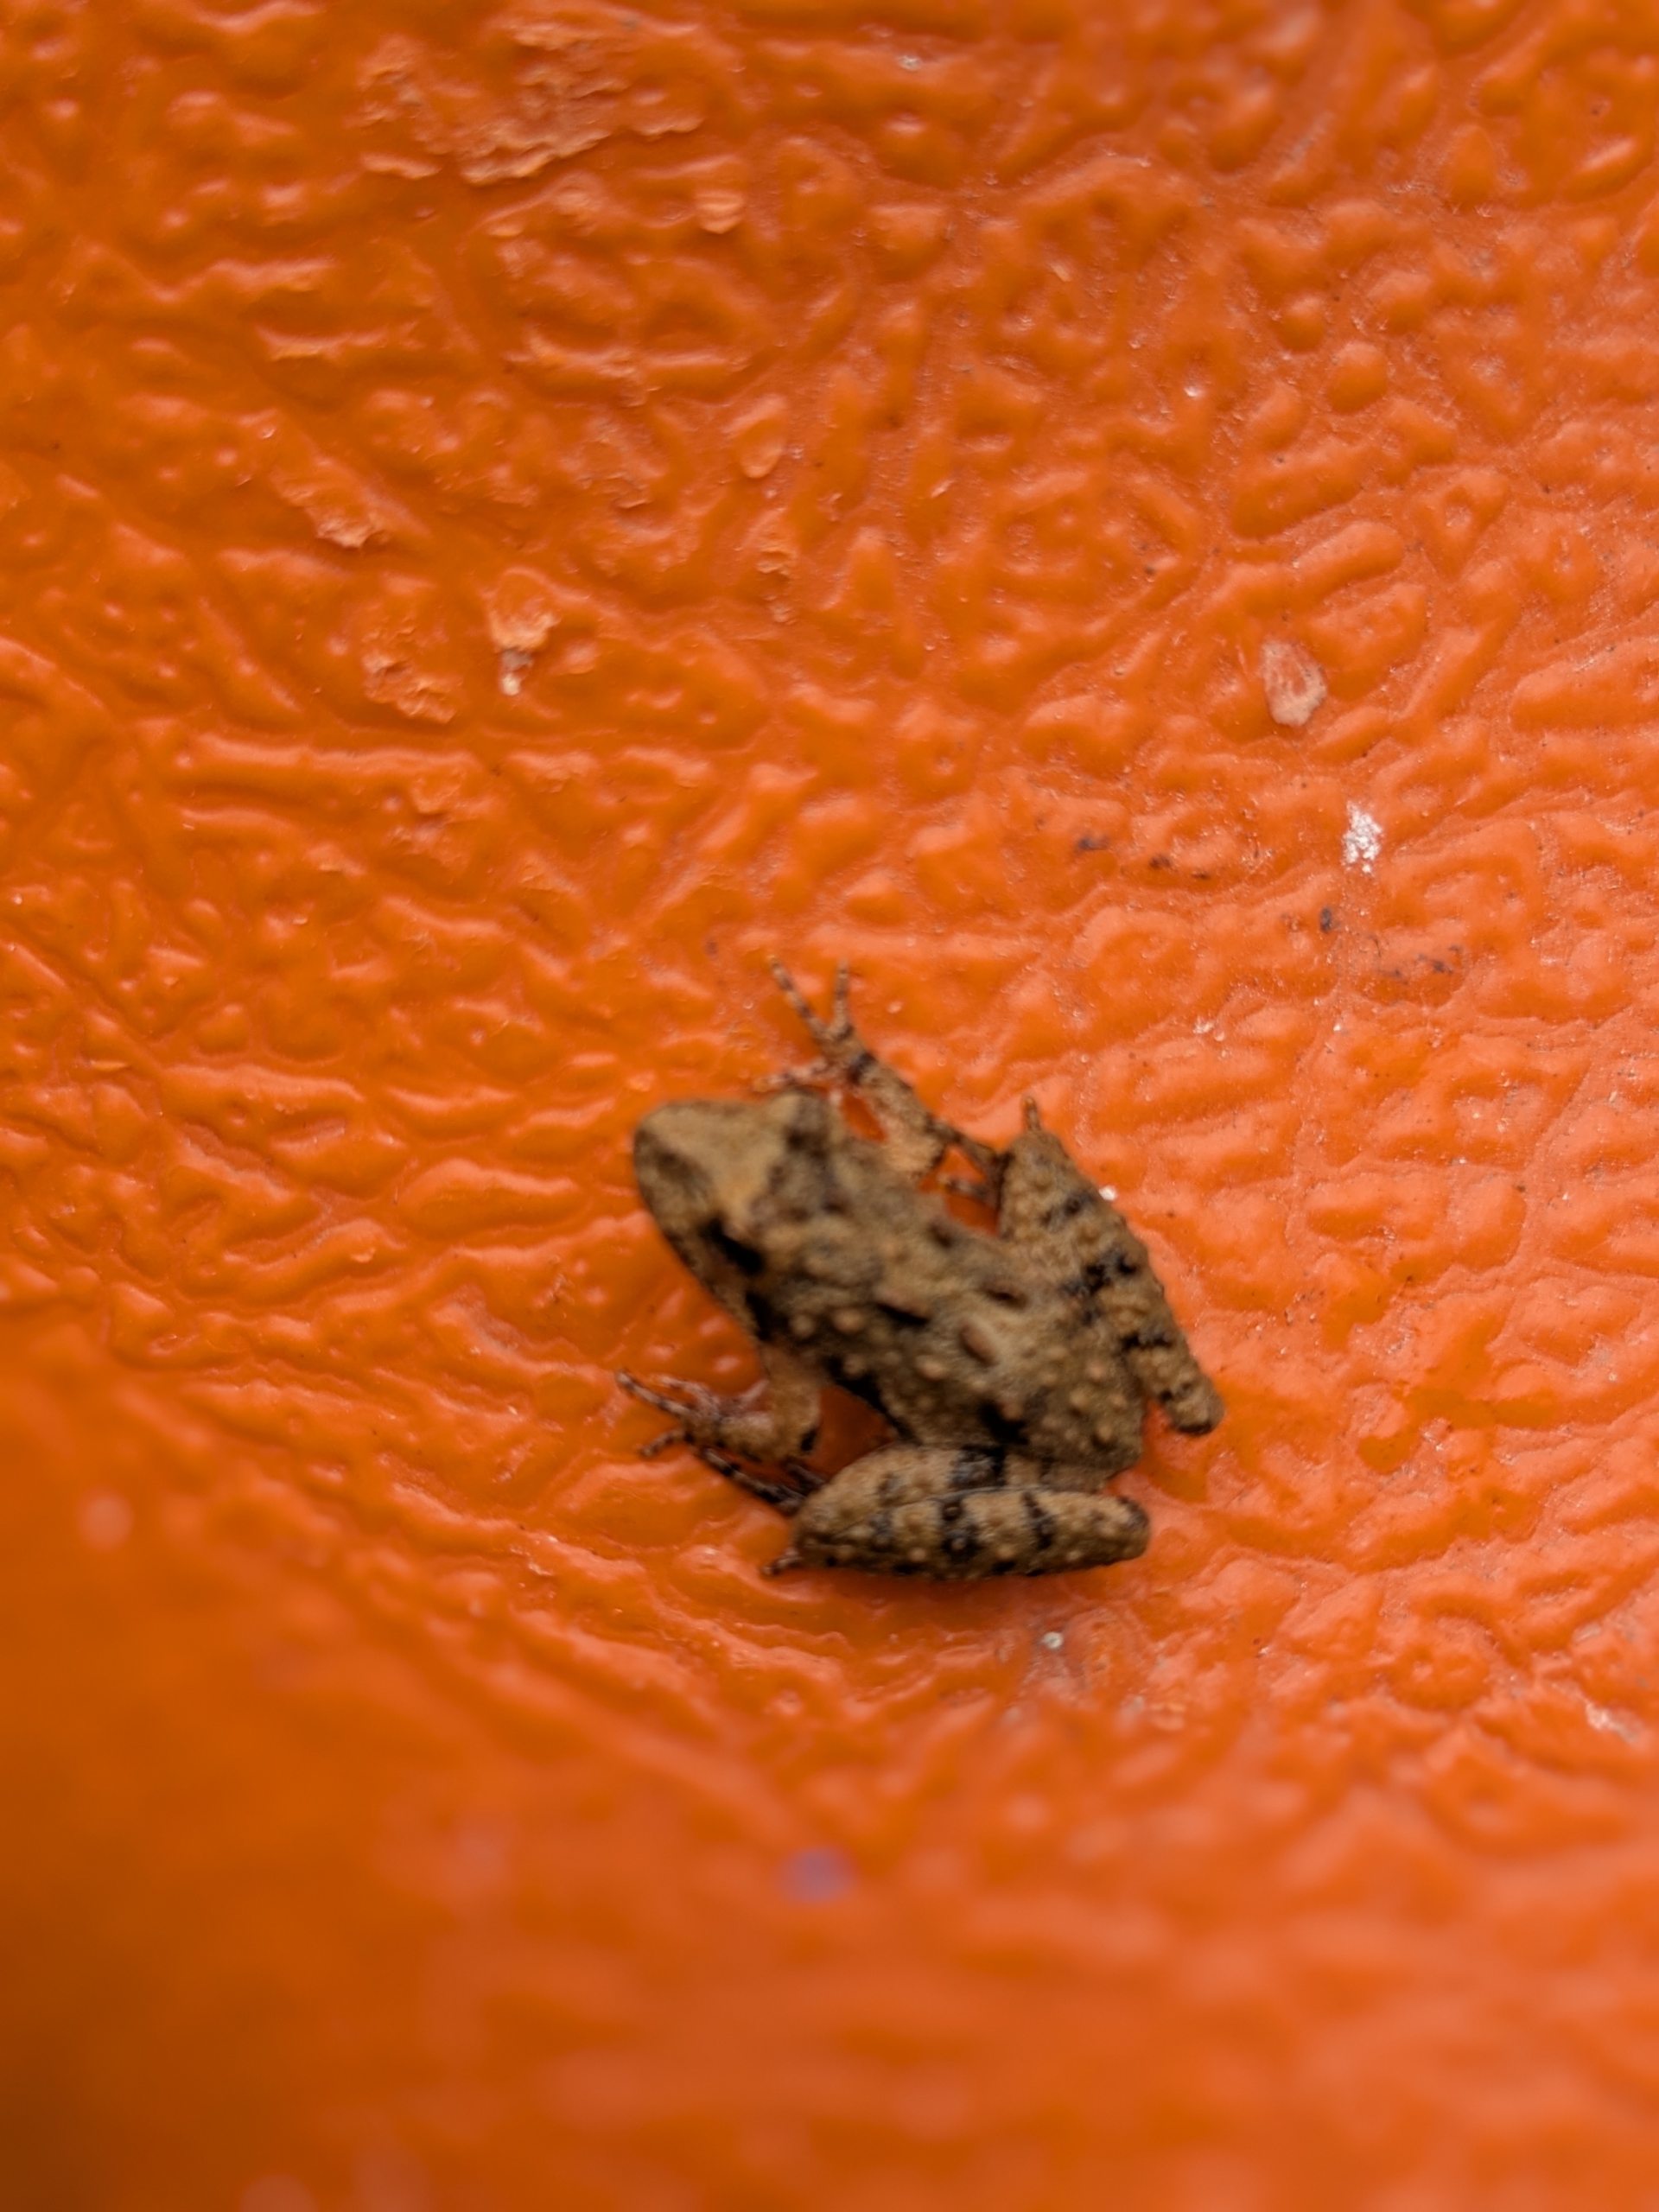
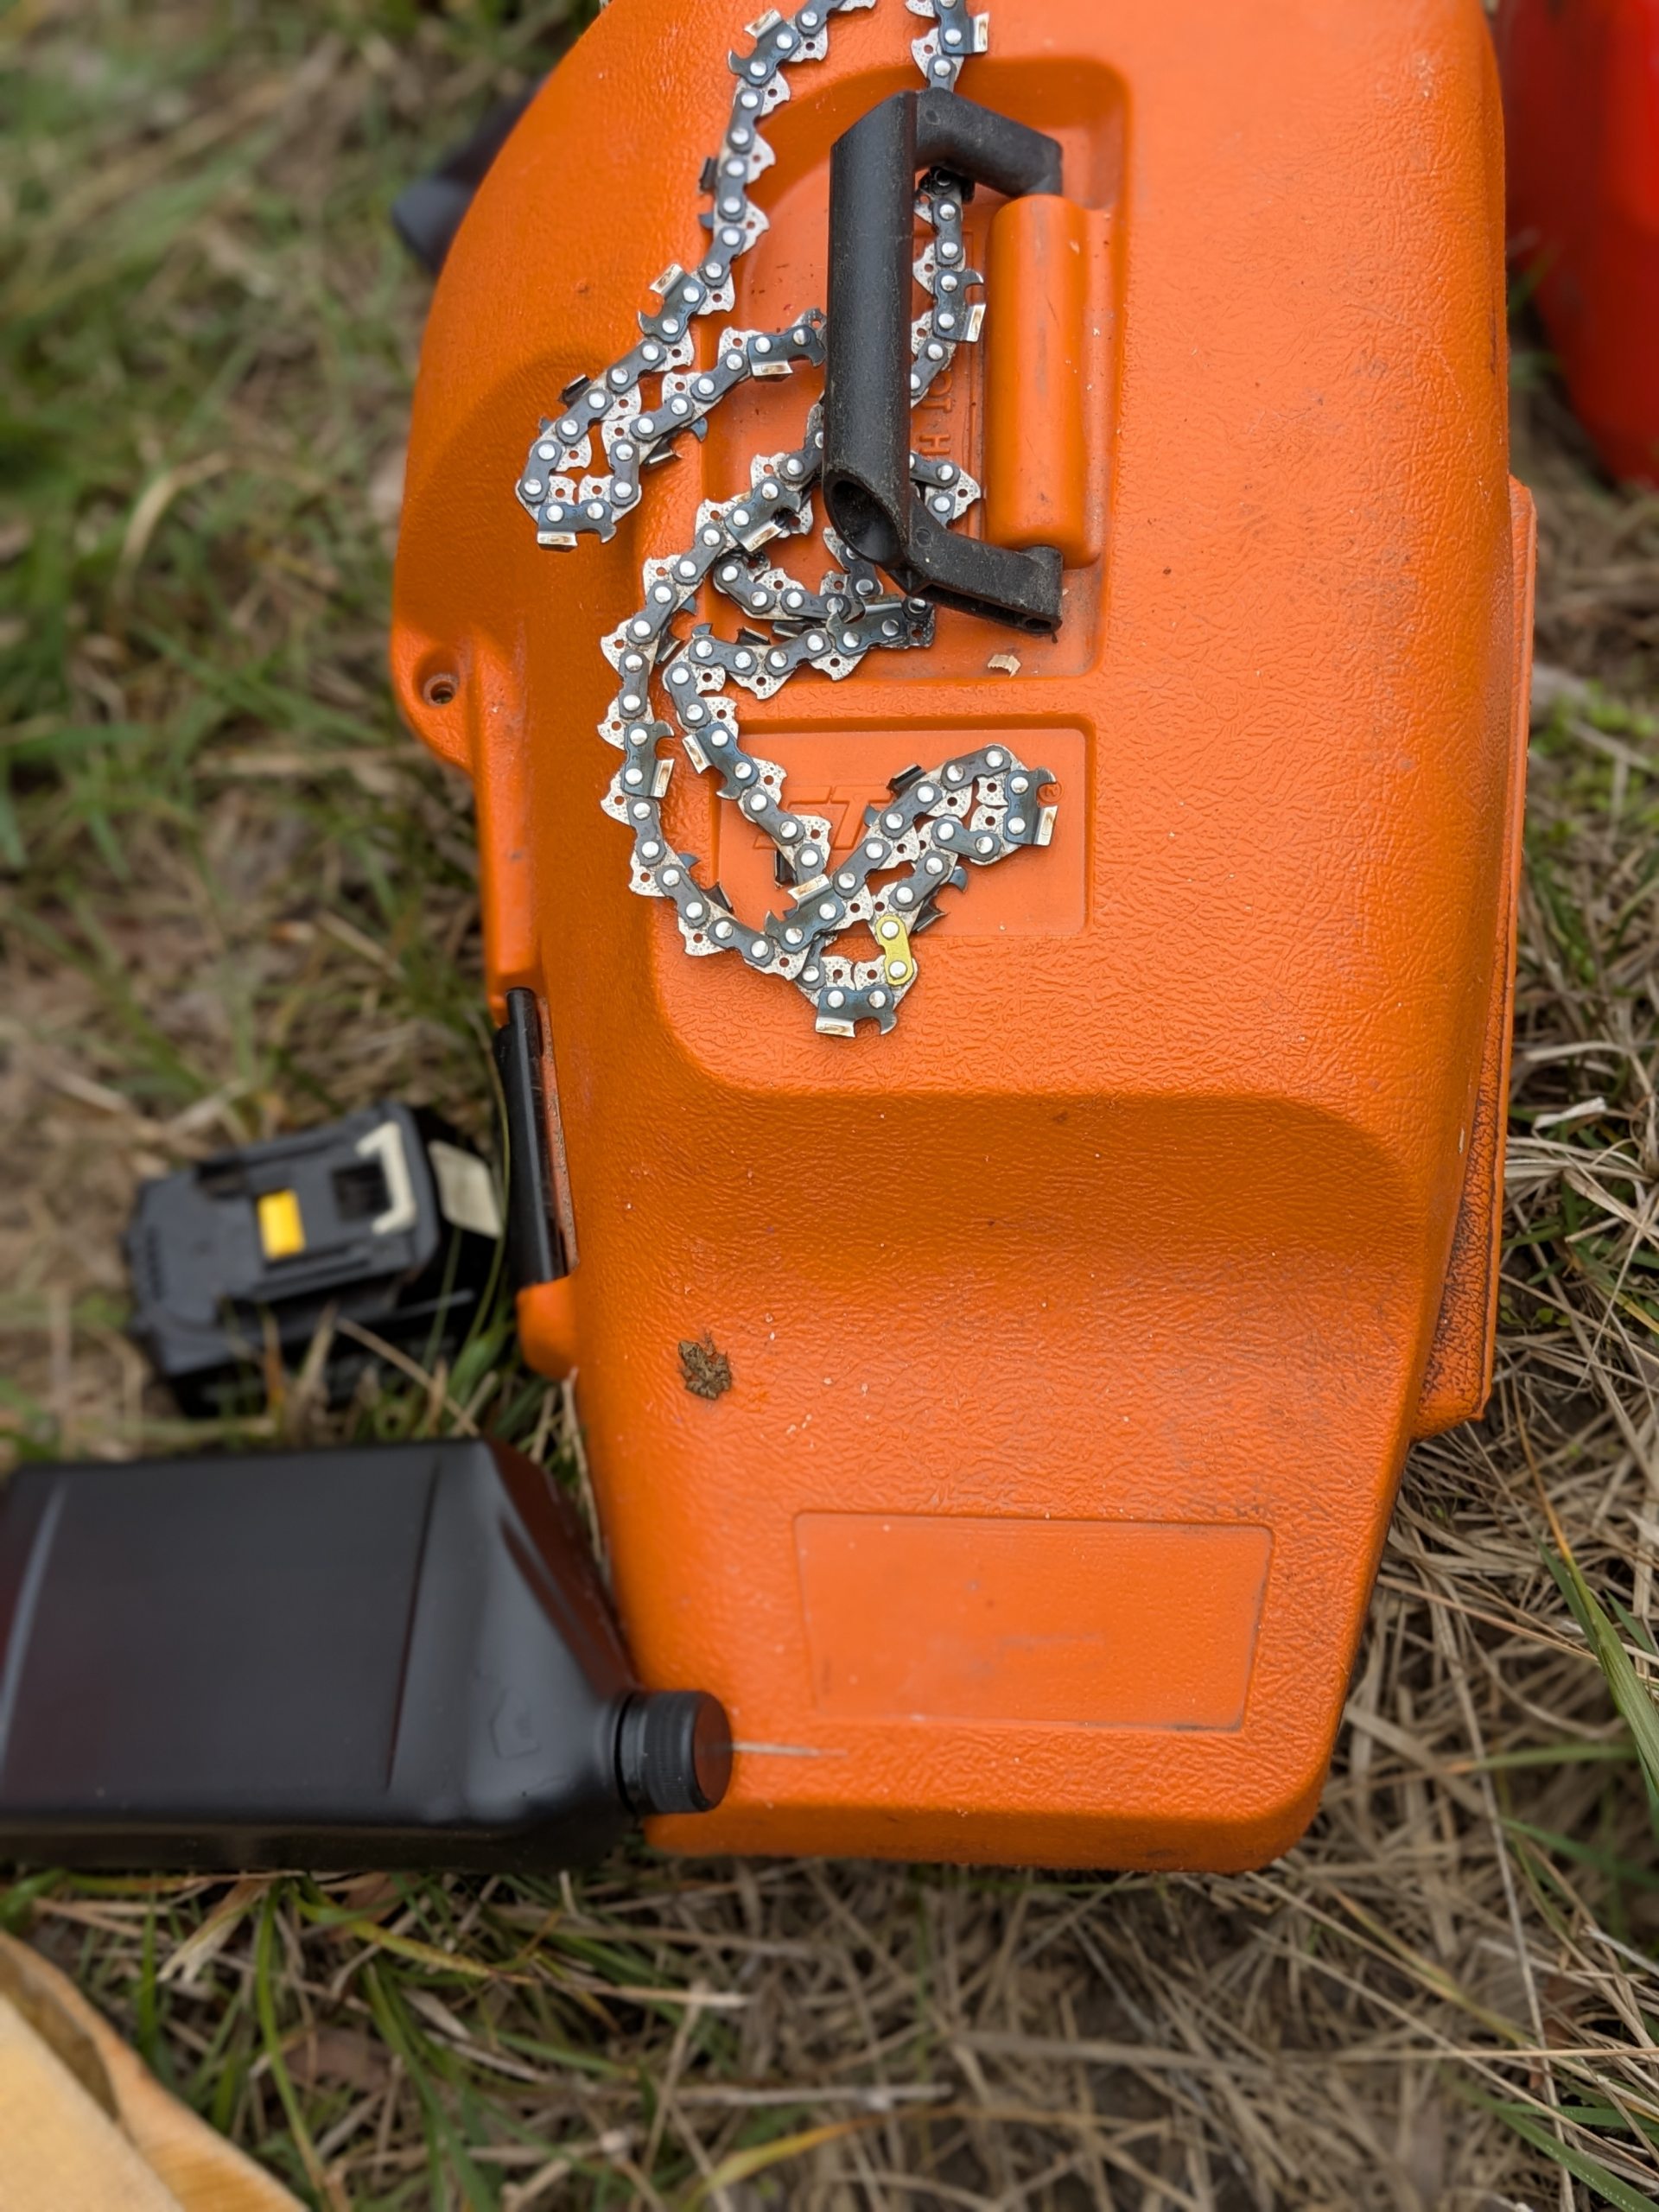
Sometimes details are important, a toad hopped on my chainsaw box while we were cutting up a tree that fell down in the storm. Connie noticed the small toad and snapped the pic
What beautiful weather this weekend. We’ve had several Saturdays in a row where the weather was just gorgeous. This weather definitely makes for a relaxing day.
Successful Elderberry Pruning Class
Thanks to everyone that came to our elderberry pruning and planting class. We had a wonderful time. We sent many of the elderberry cuttings to WNC to help with stream bank retention for areas damaged by the hurricane.
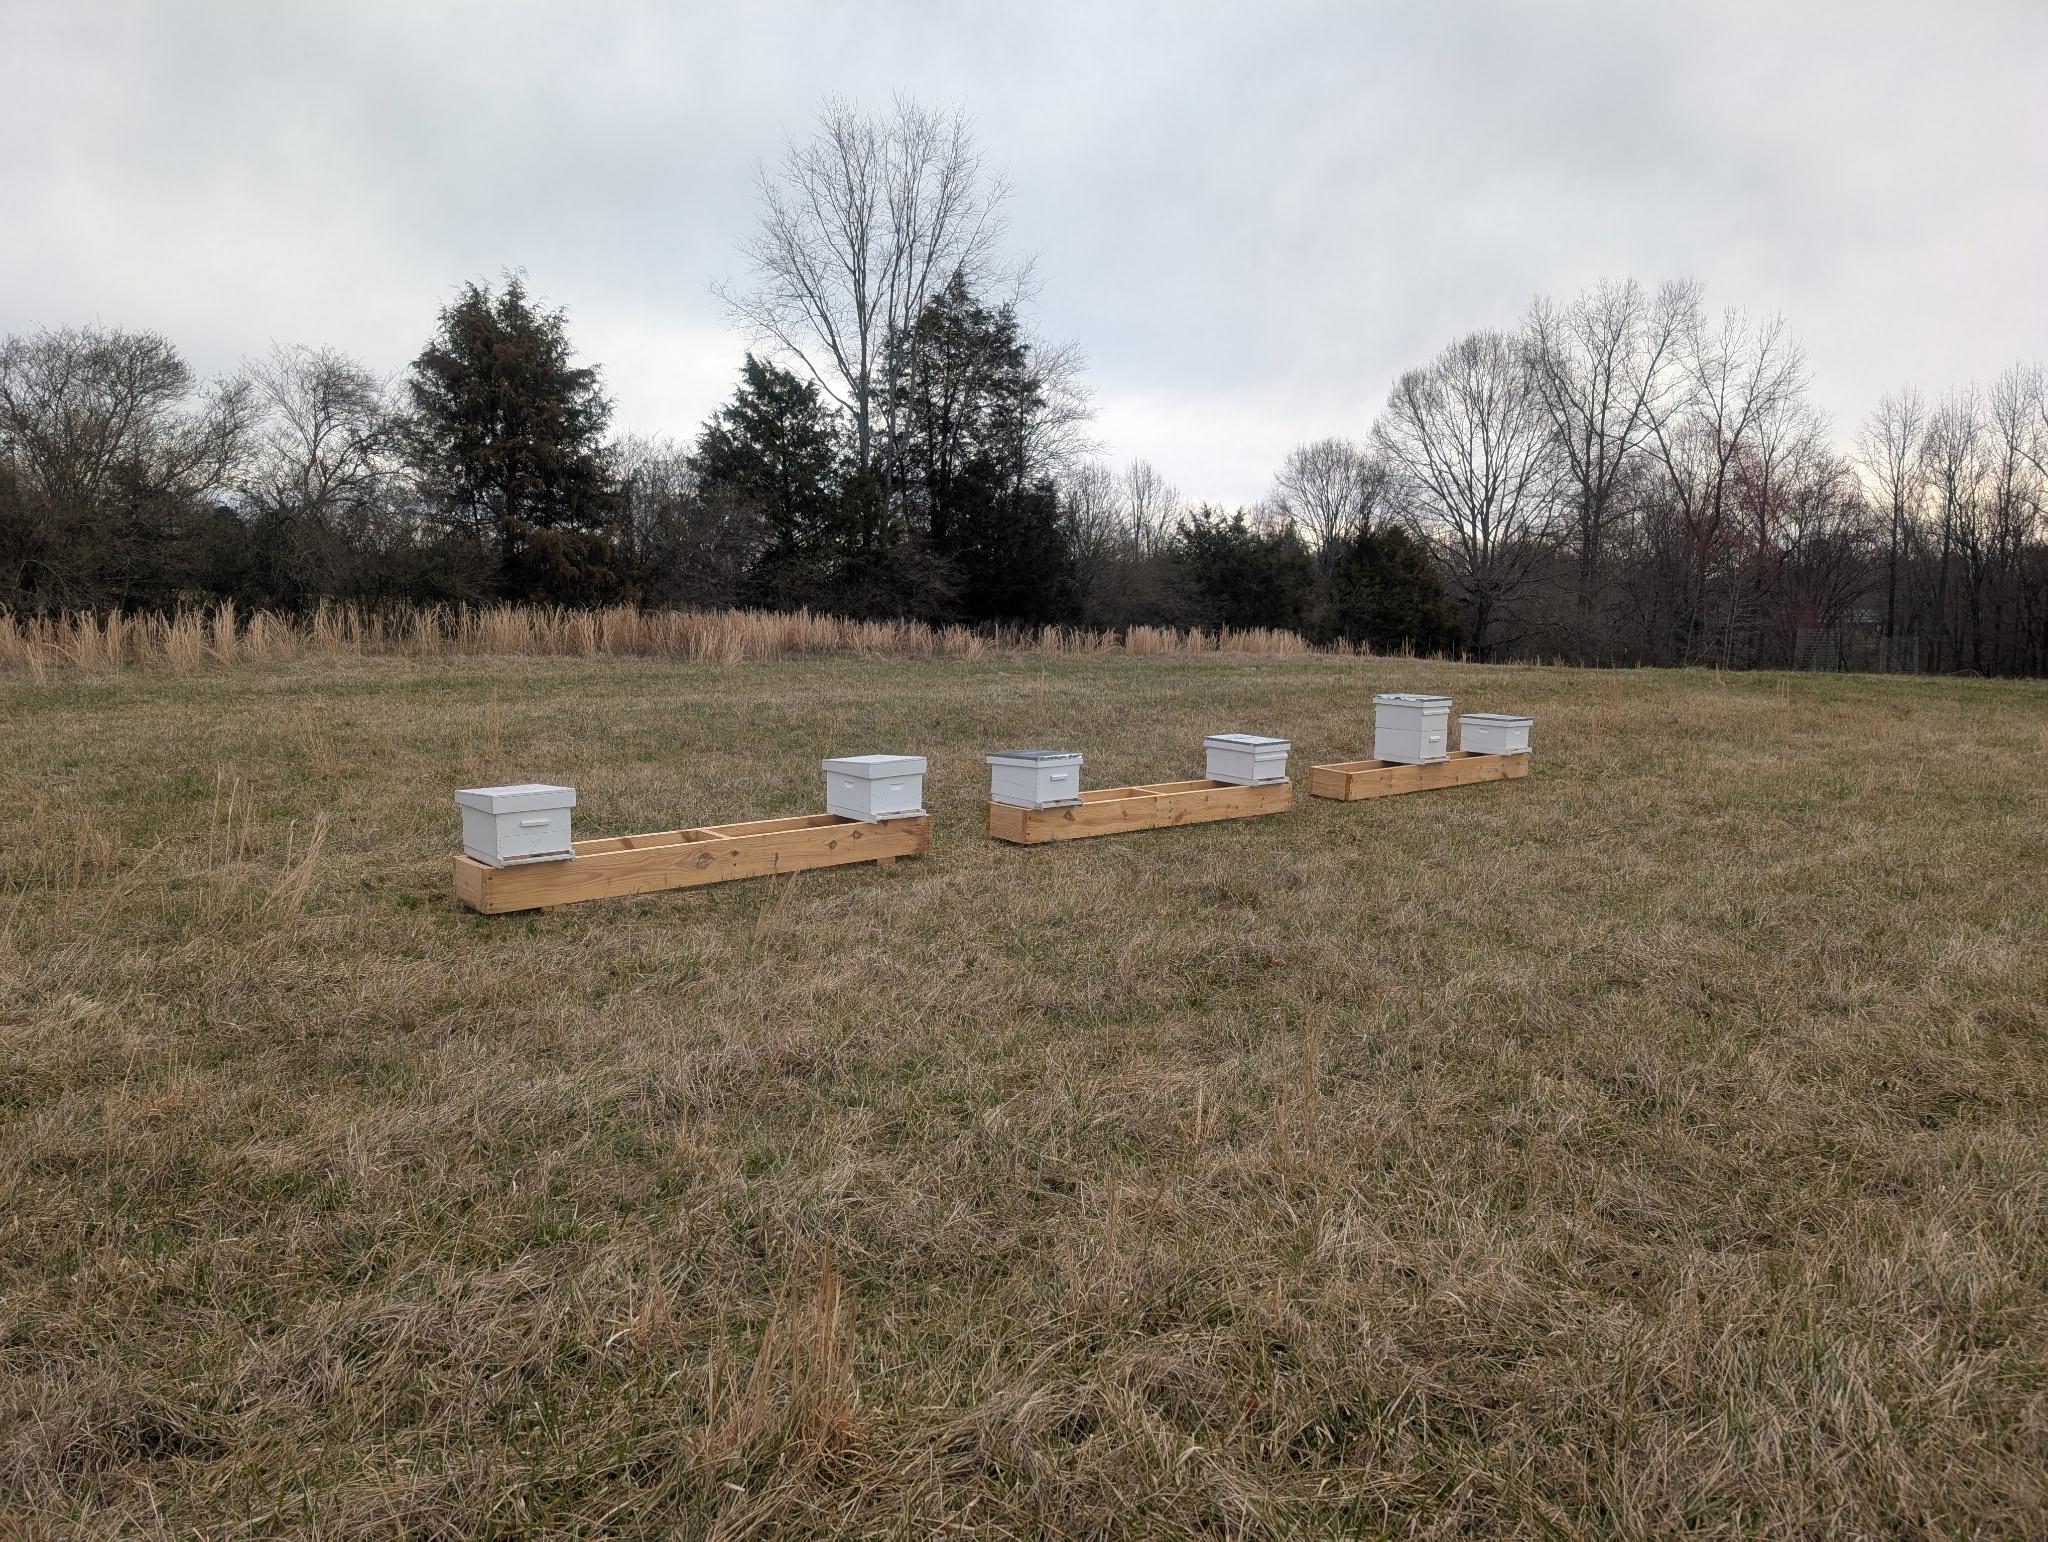
Expanded Apiary
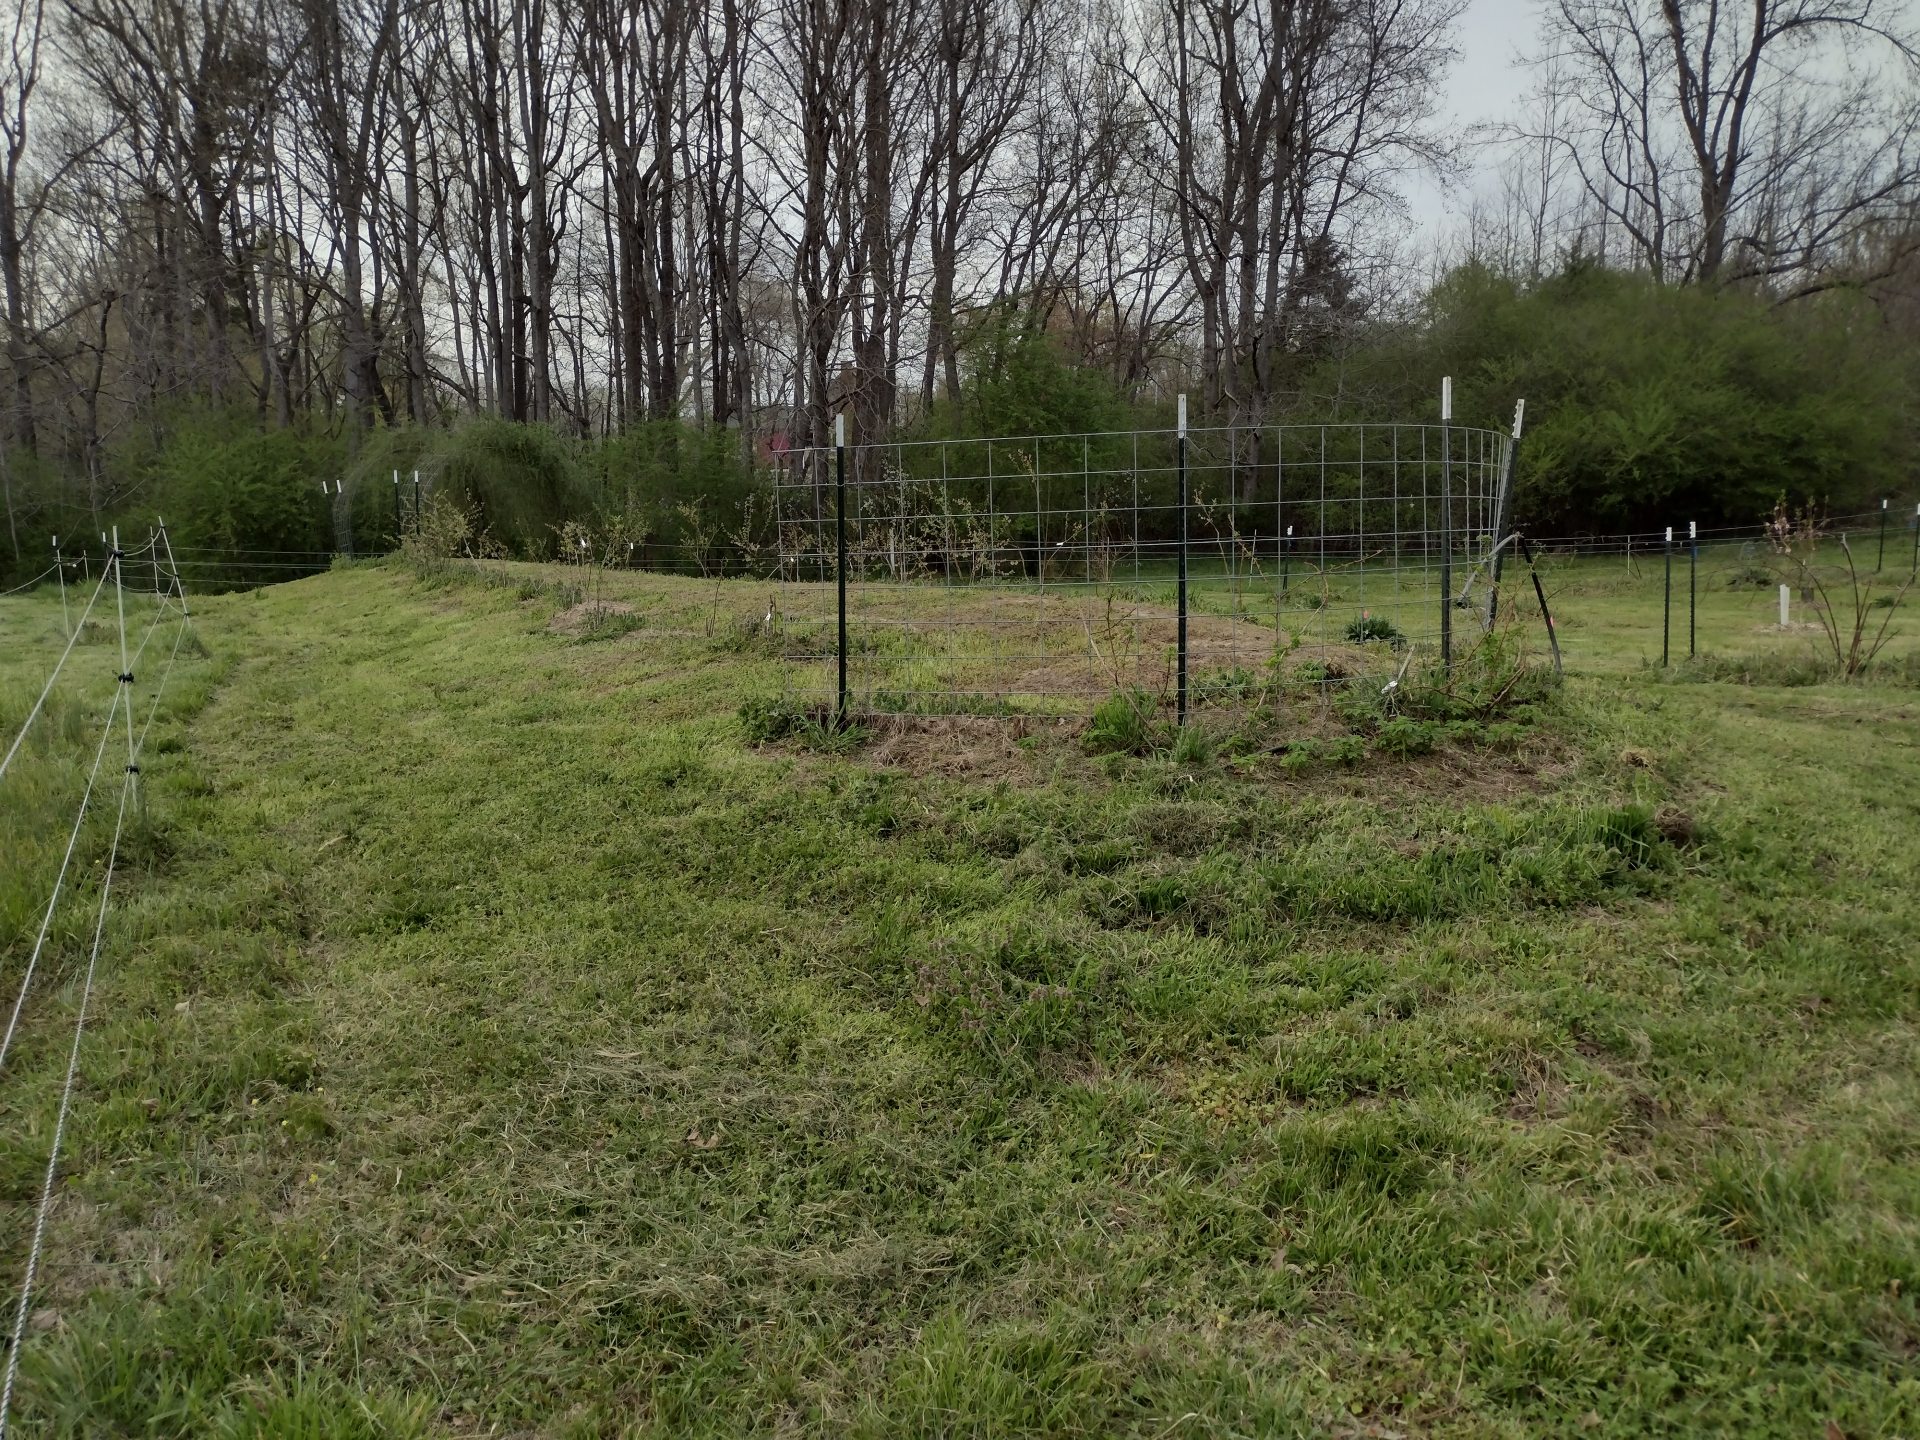
New home for the bees
Moving the bees to the back field gives us room to expand the number of hives. We hope to have 10 hives in place for this year. I’ve been surprised by the number for people that want local honey. The bees are a great example of function stacking. The bees pollinate the trees and bushes while producing honey
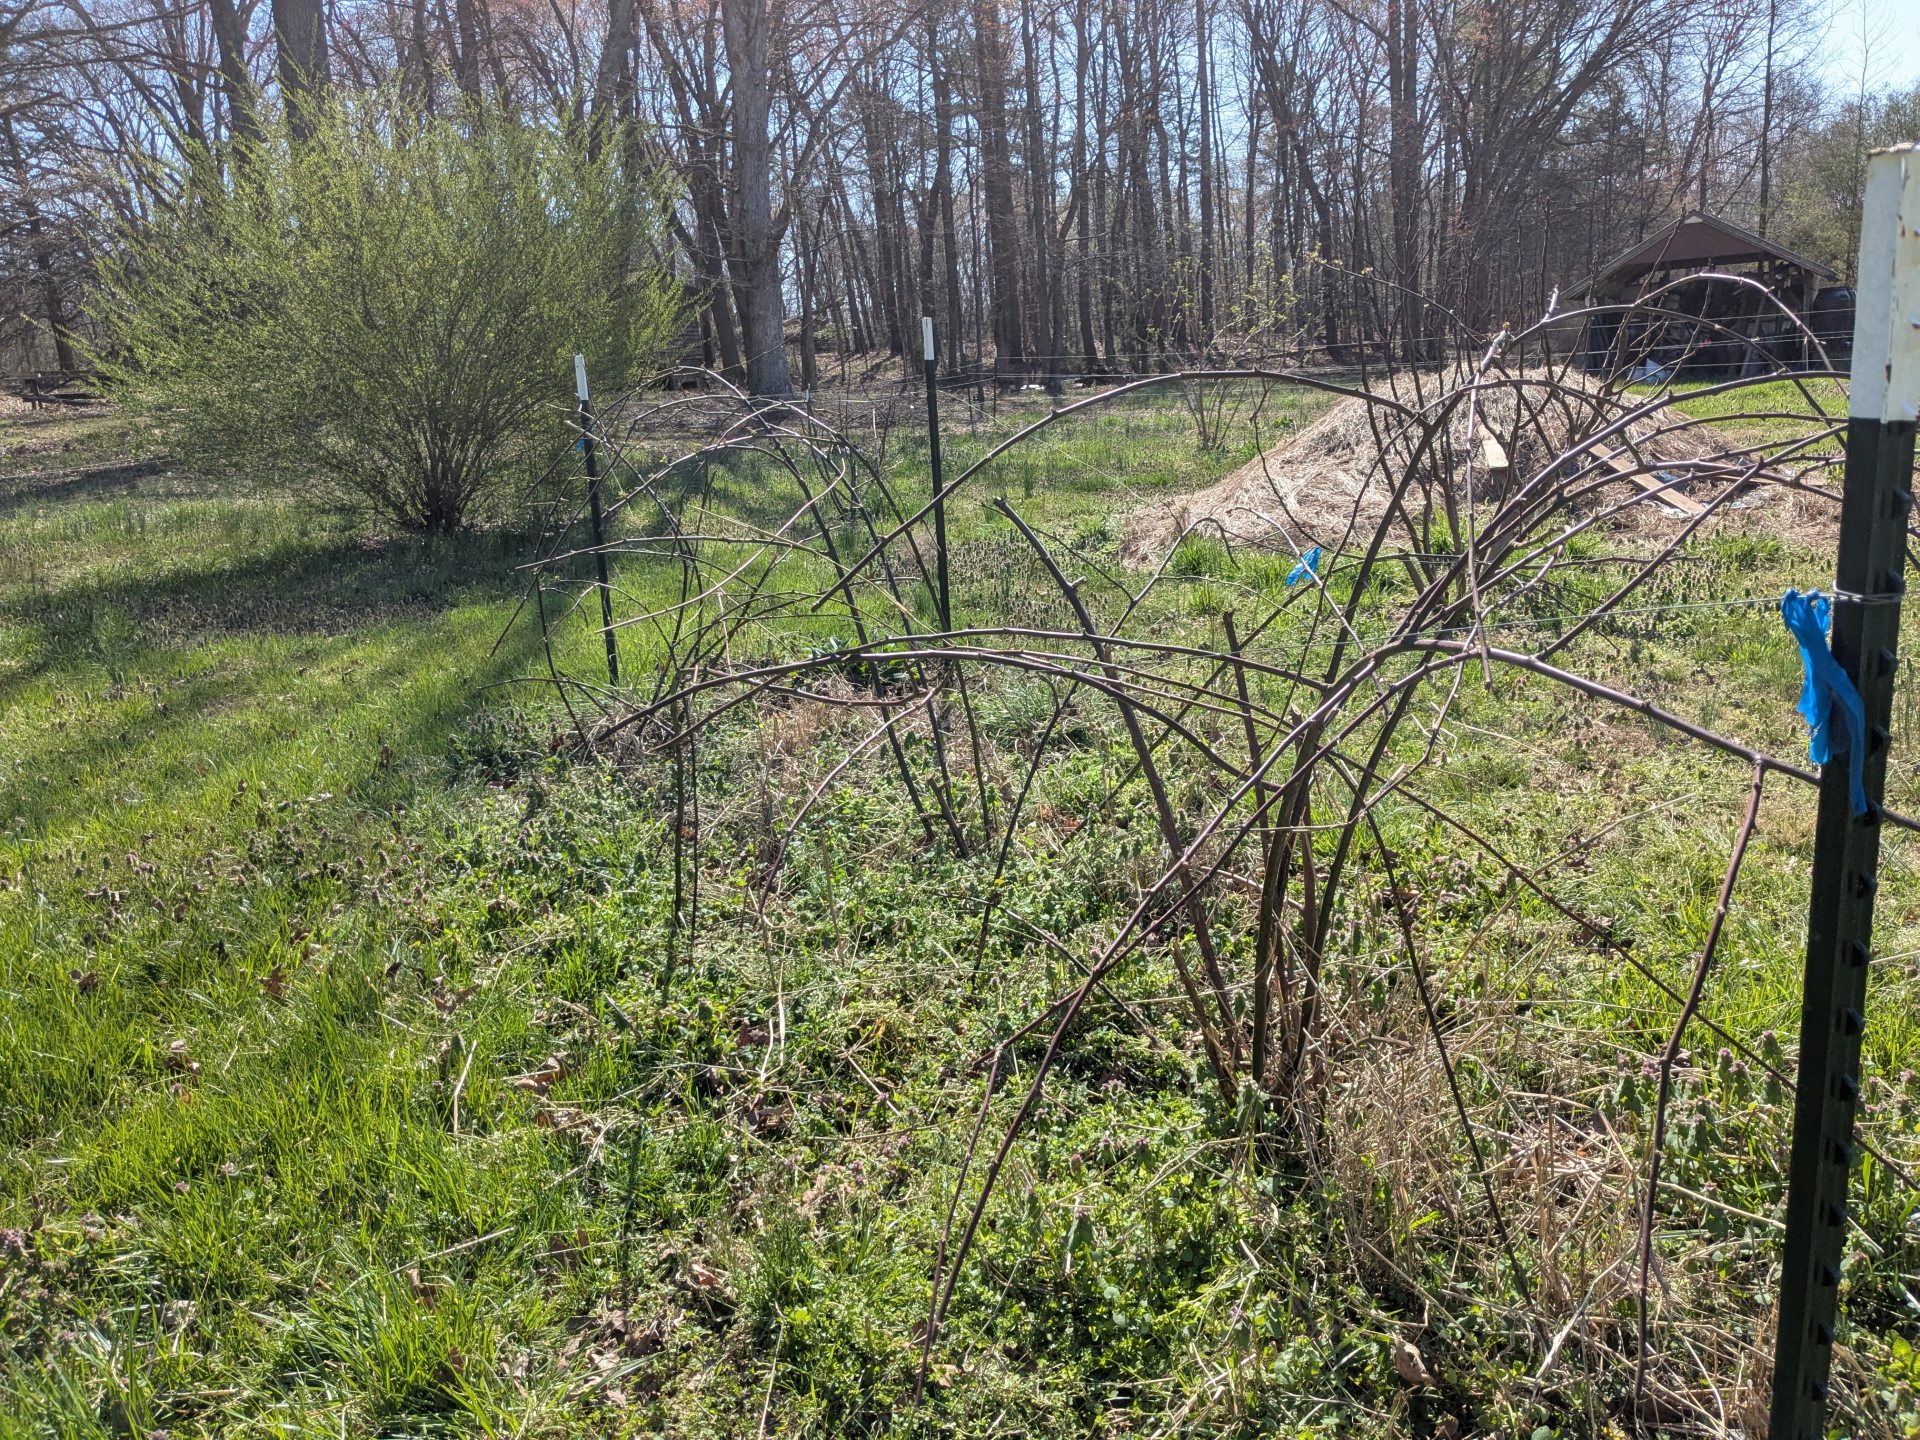
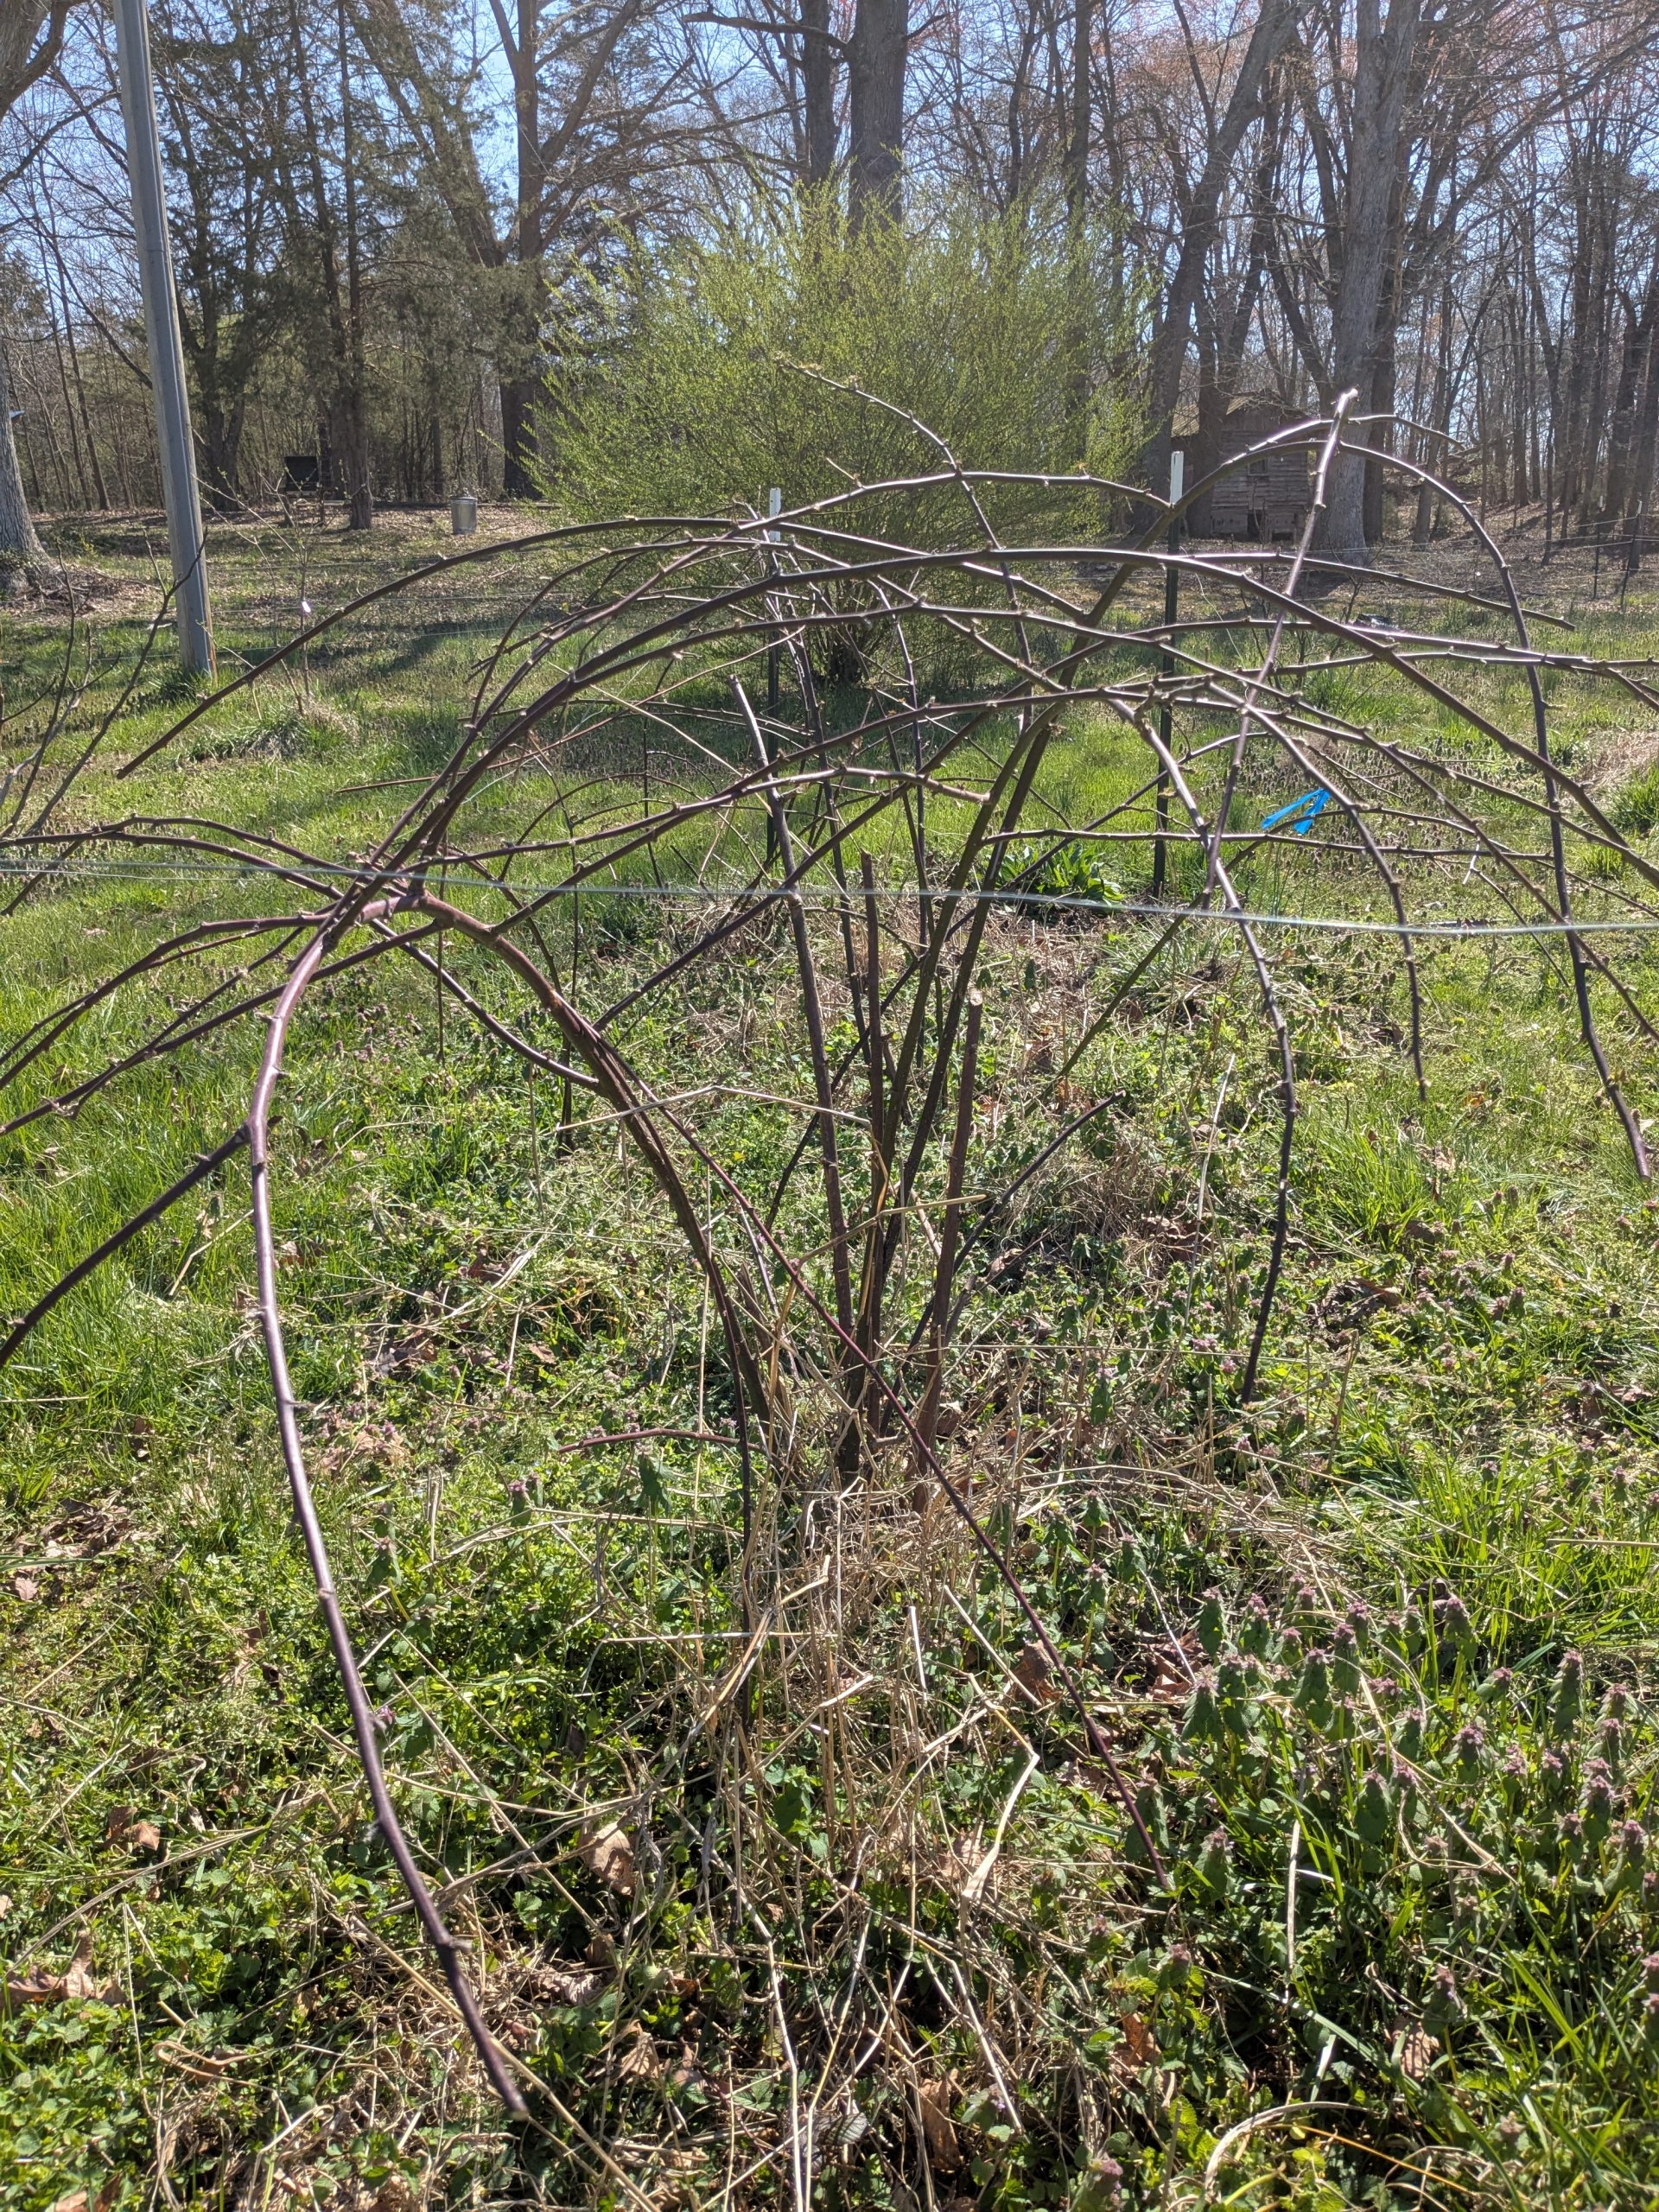
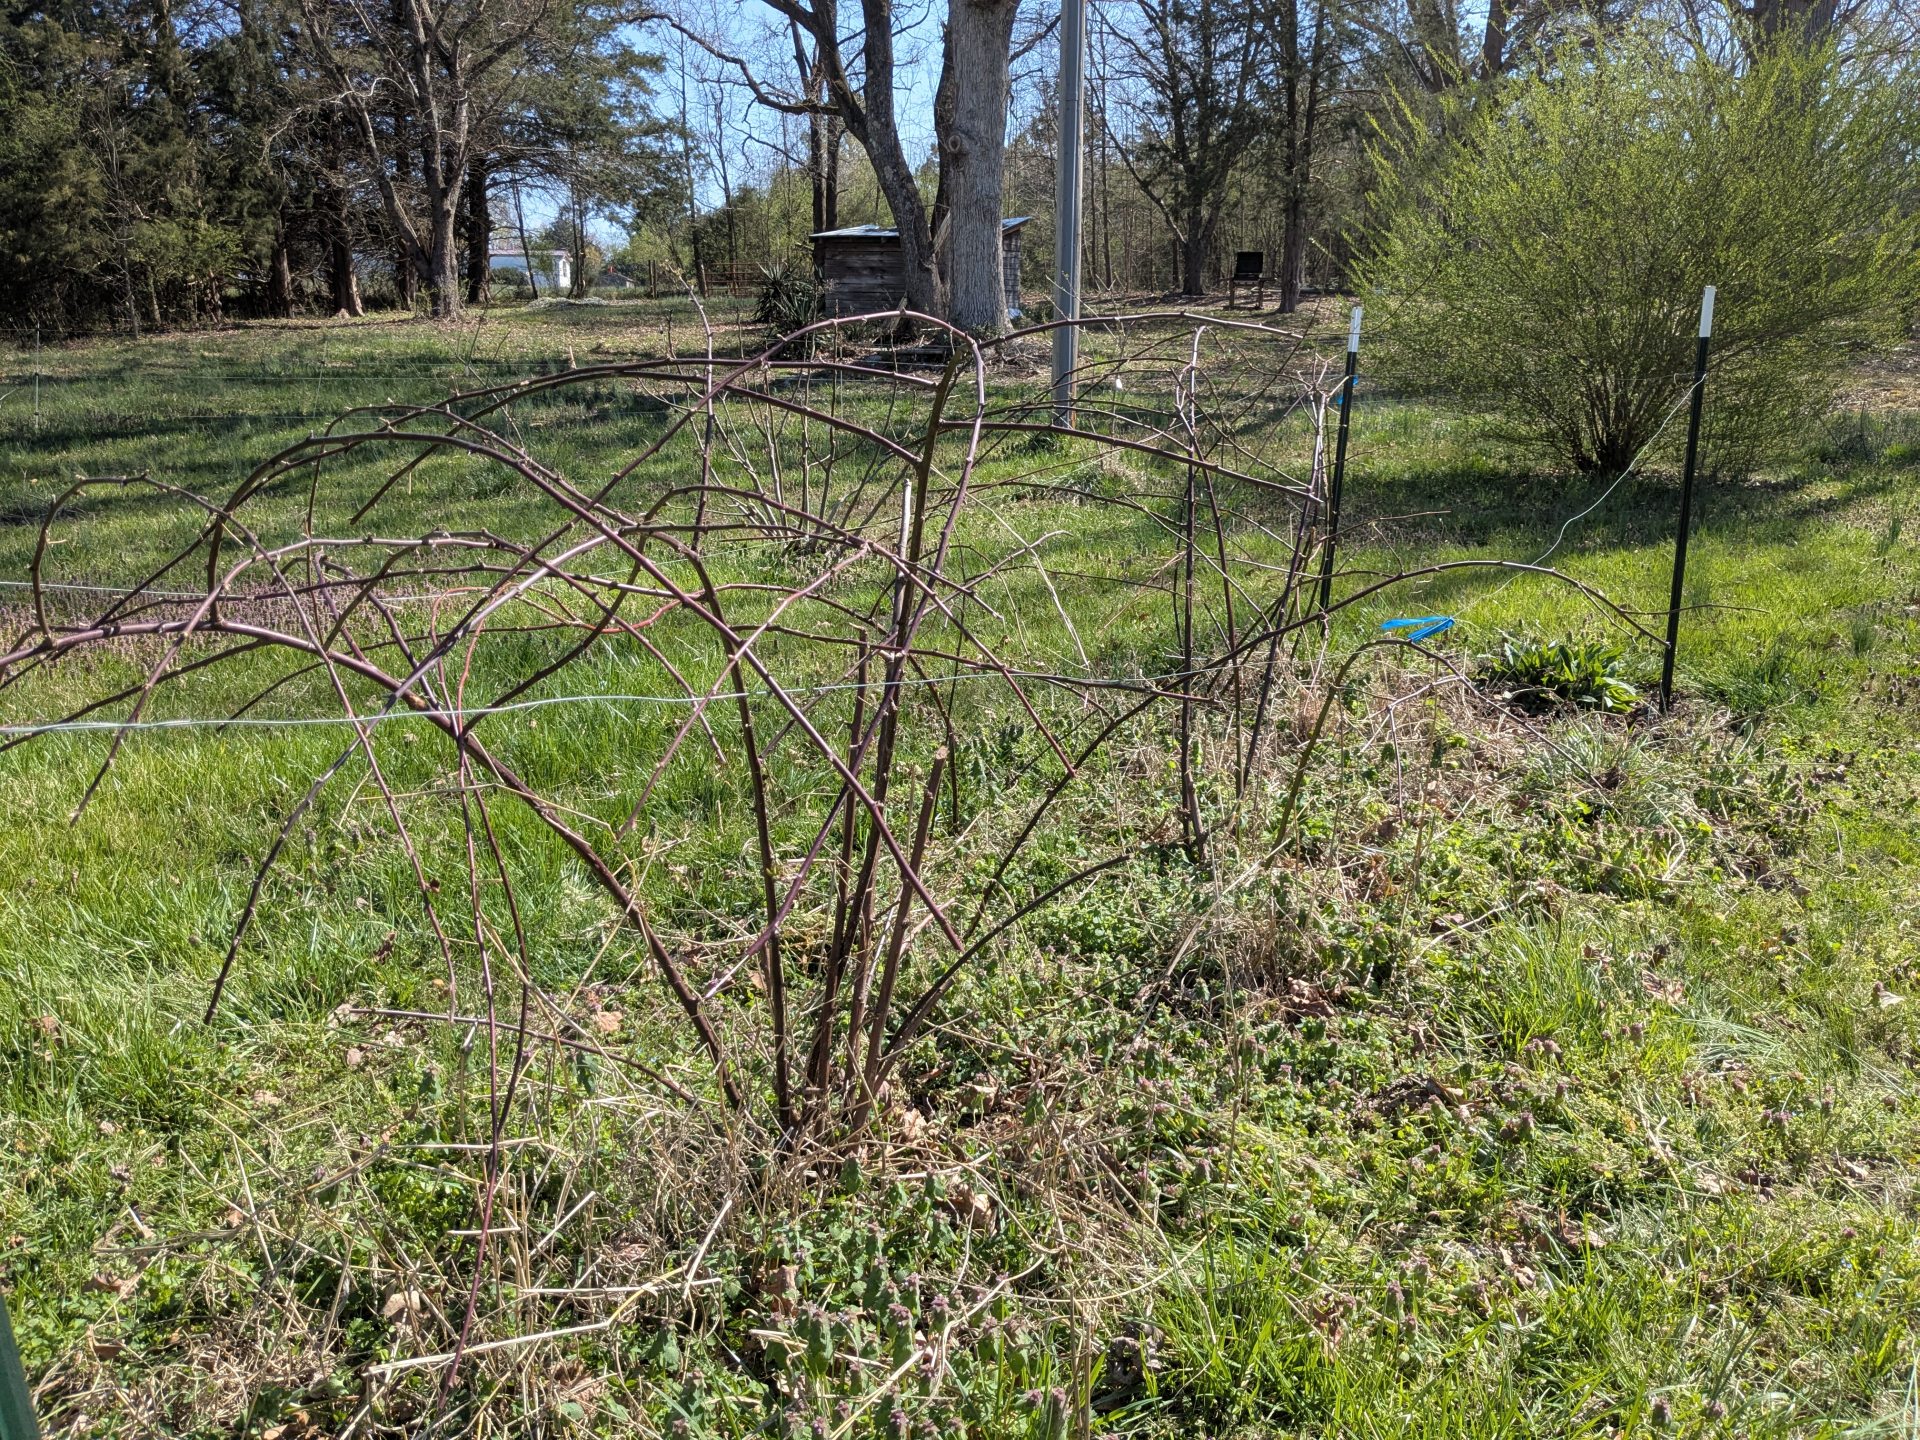
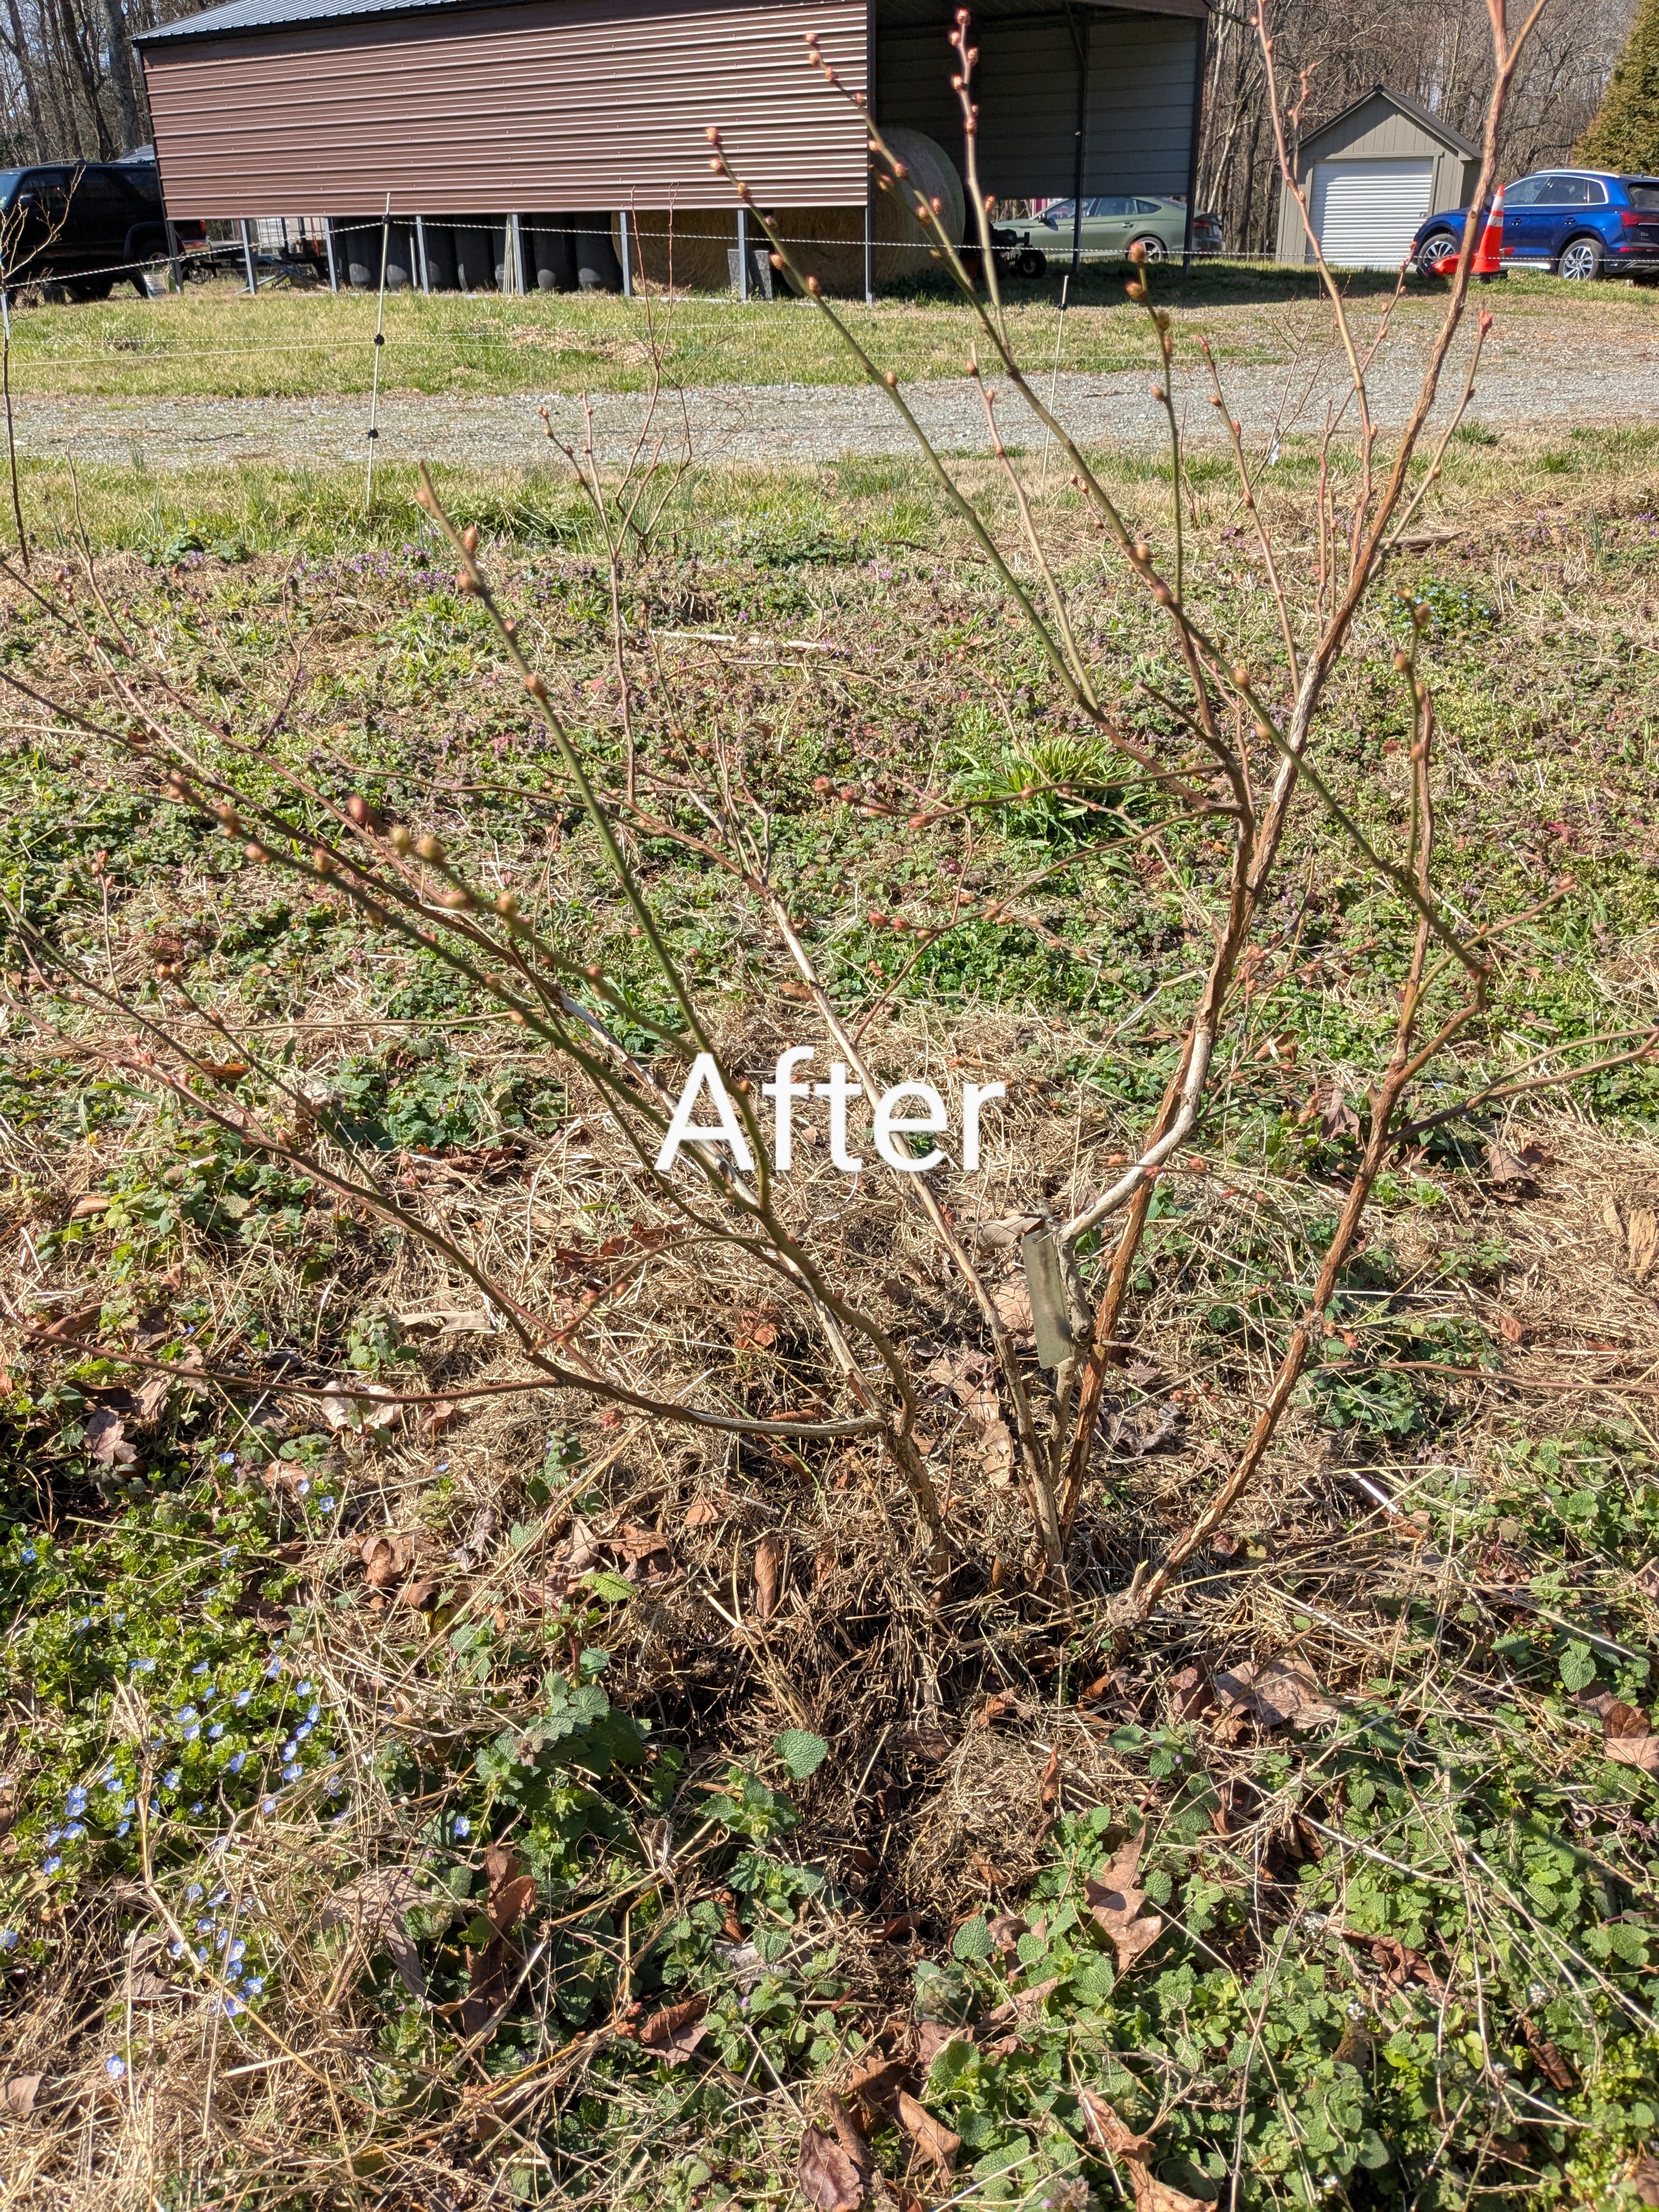
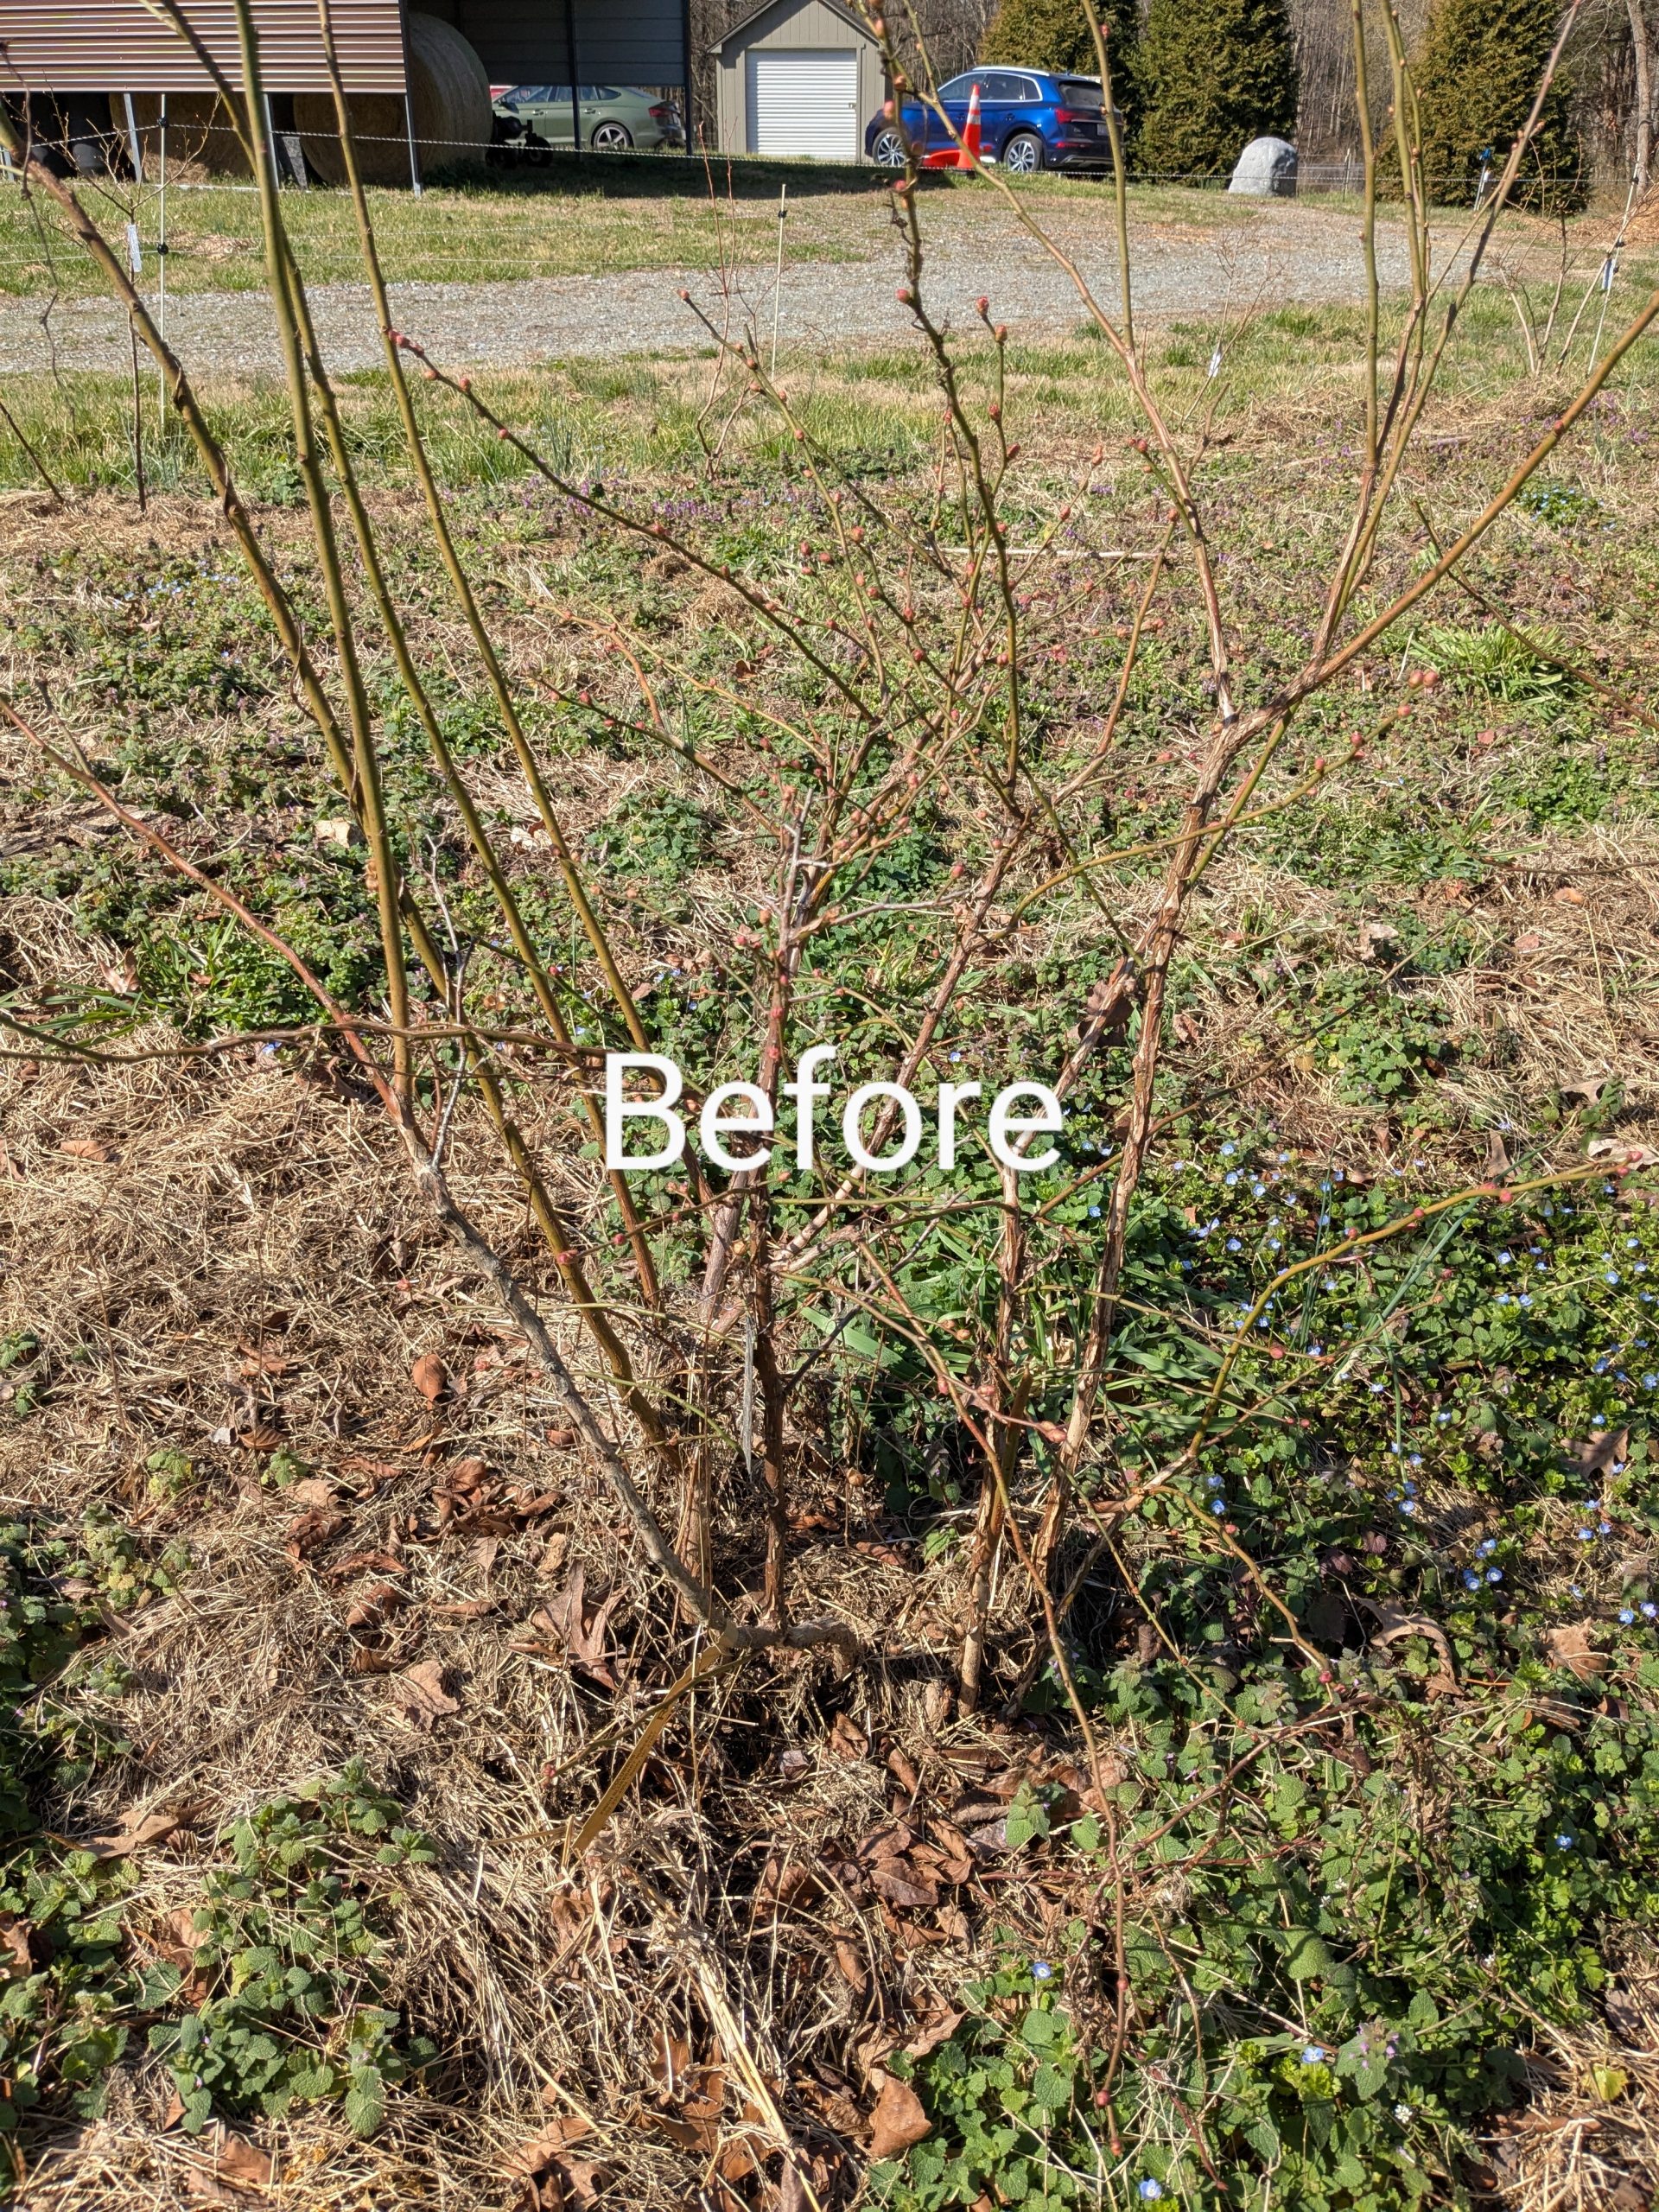
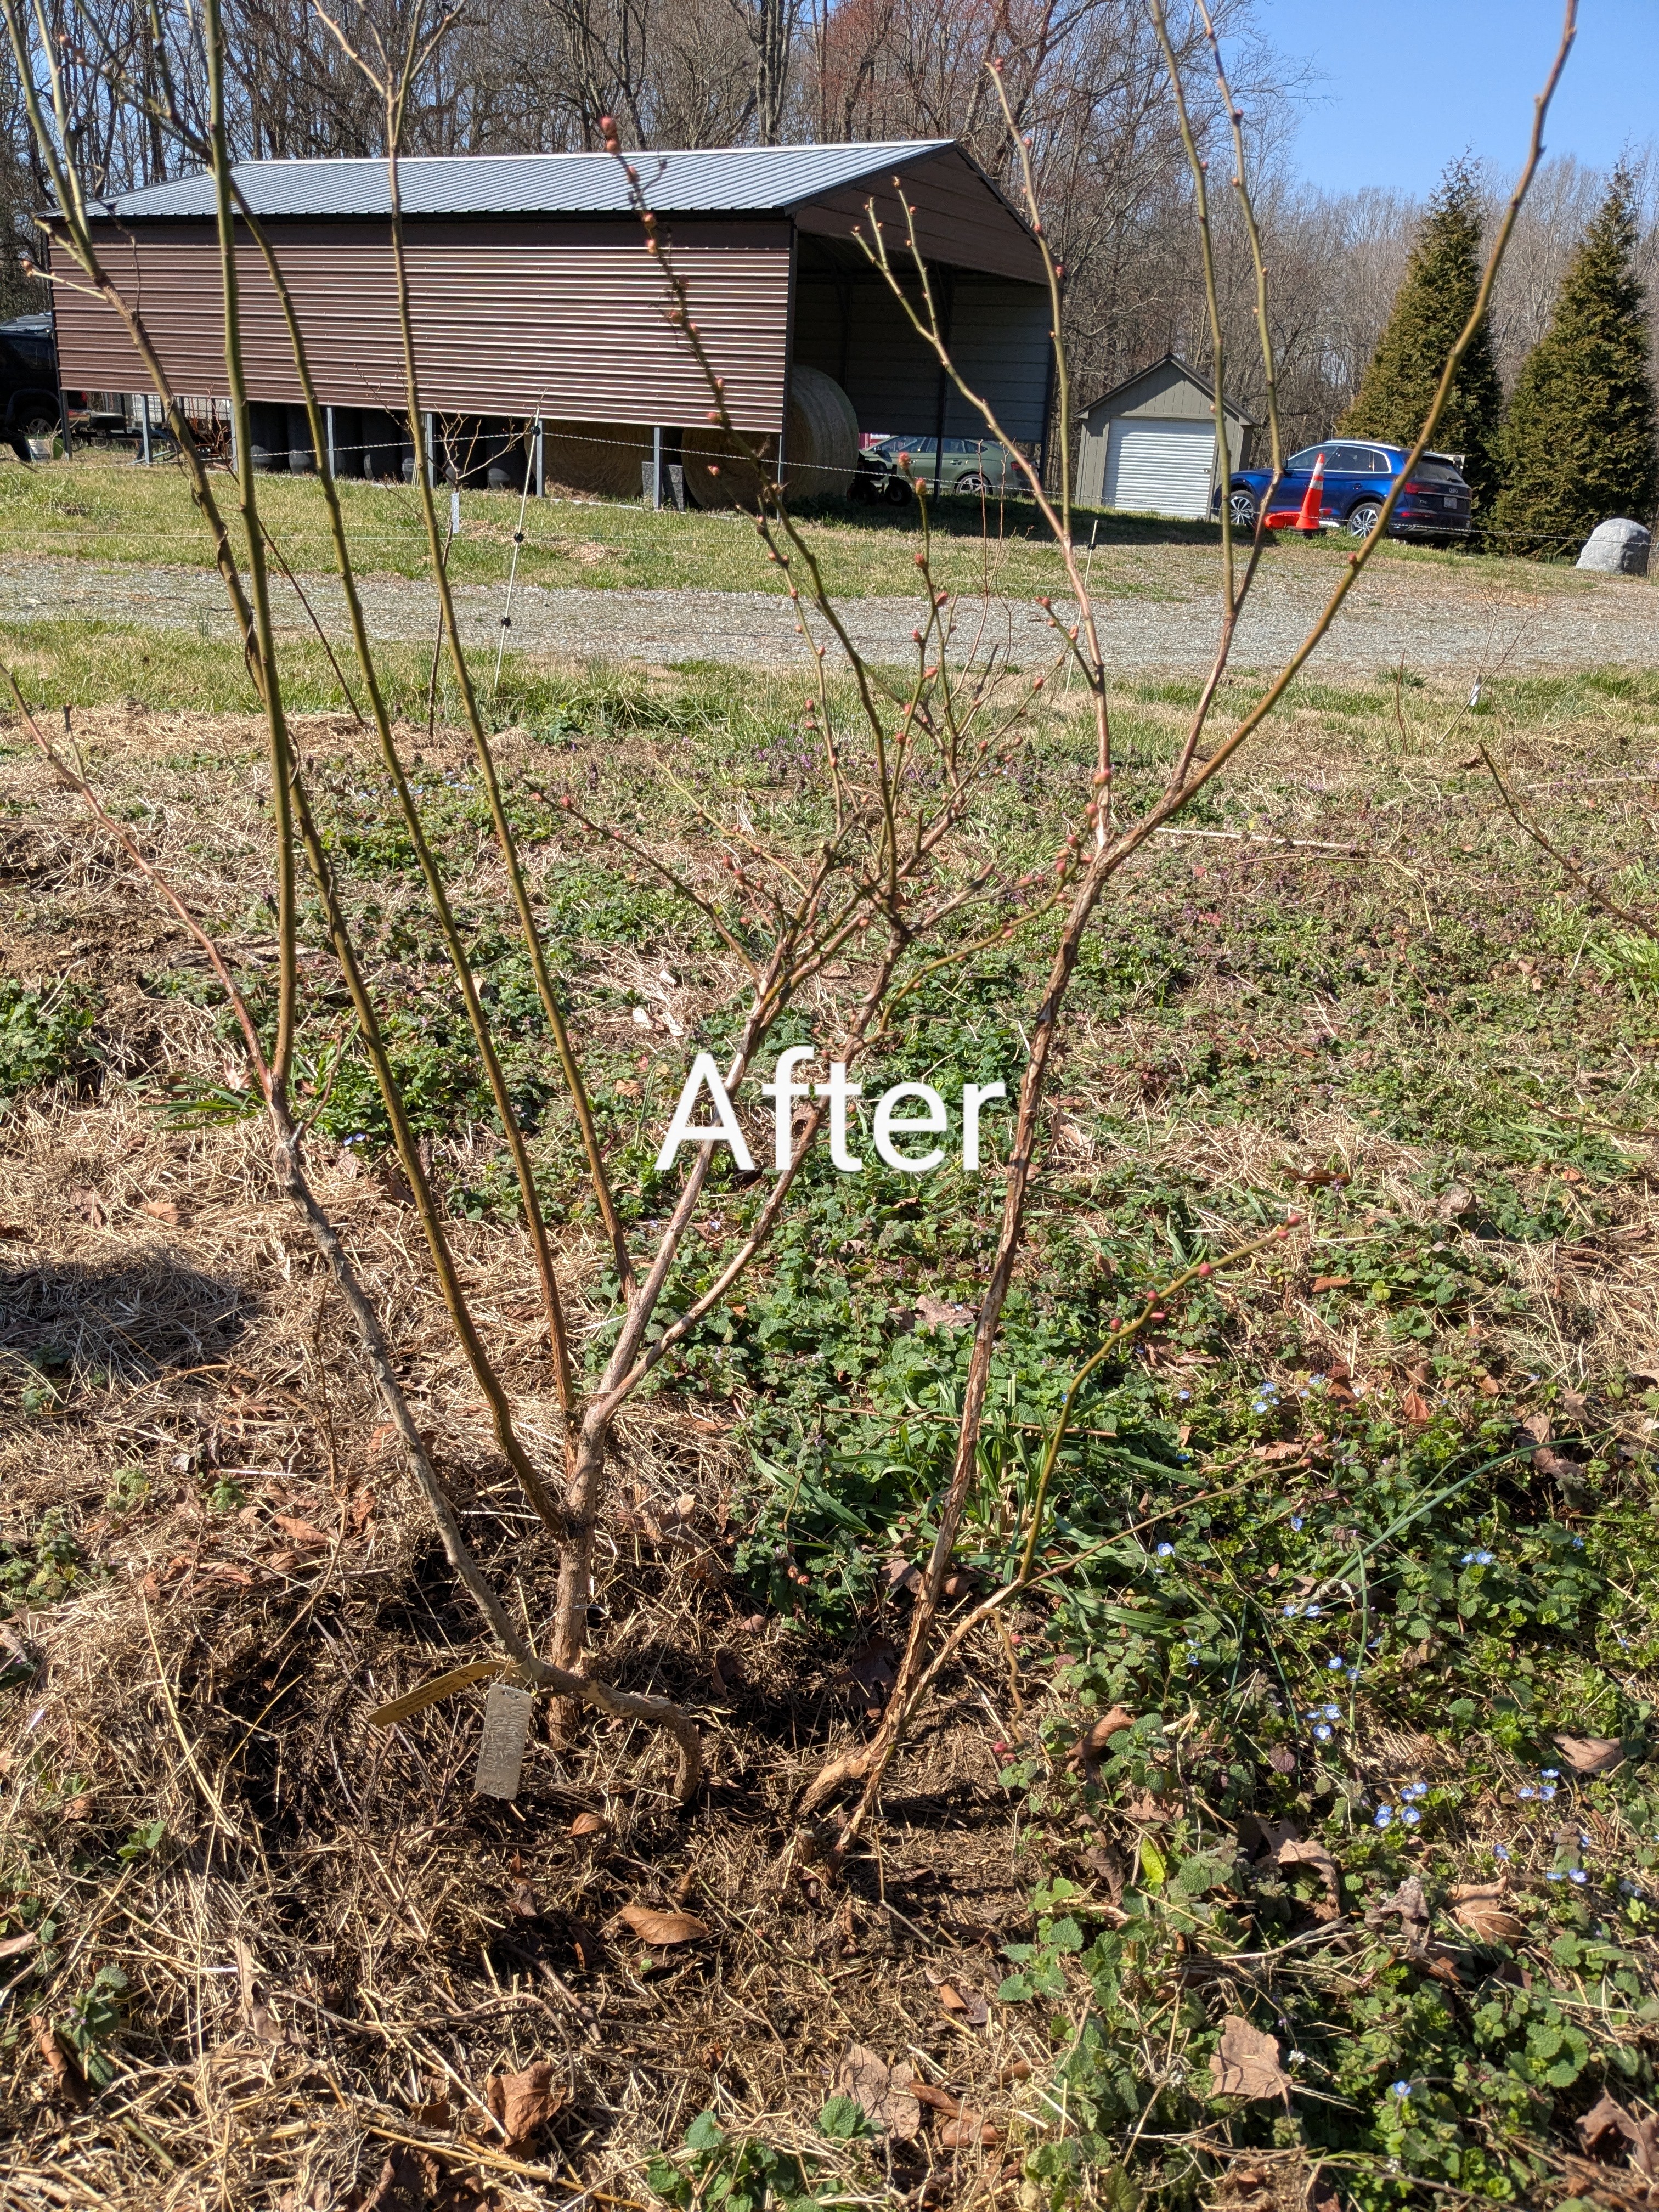
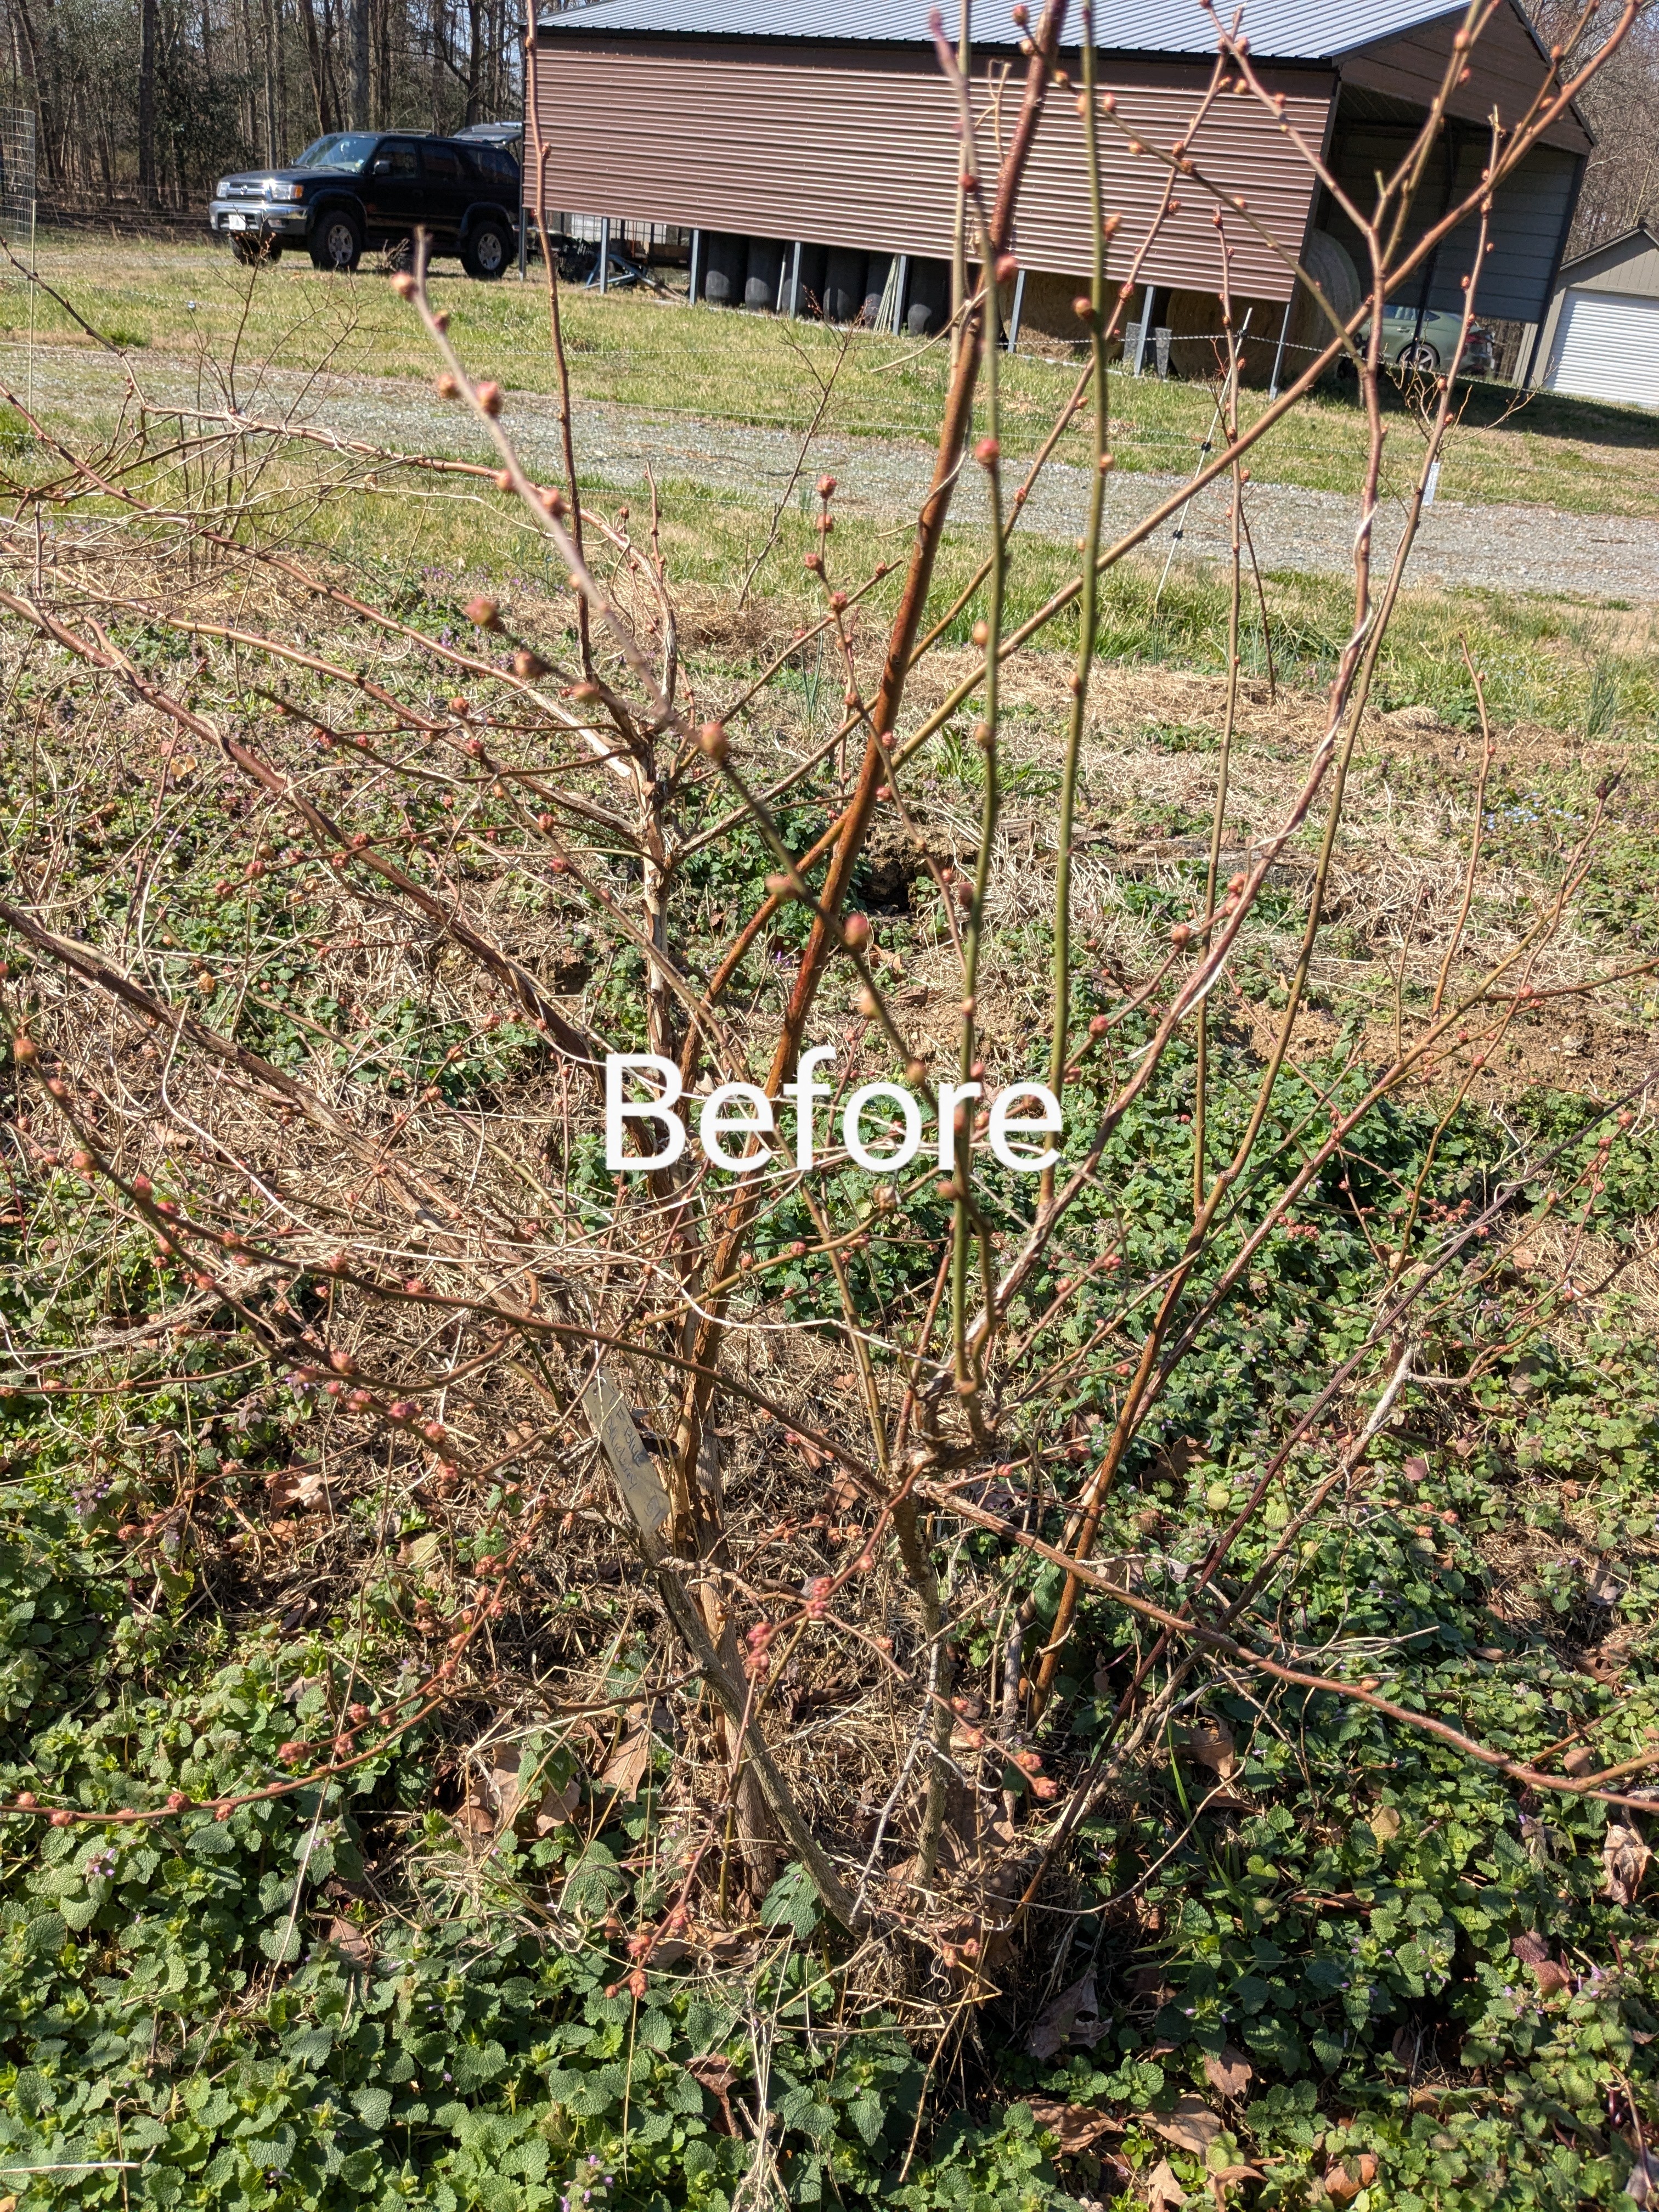
Blueberries Needed Pruning
These blueberry plants are two years old. We have 22 blueberry plants on the farm. 20 on the HugelKultur mound and 2 in the back field (as a test planting). They were not pruned when they were originally planted 2 years ago. This was their very first pruning, we did leave a few cross branches but they weren’t rubbing on other branches so we chose to leave them for this year. Next year they will be pruned away. We did have a small bowl of blueberries last year but this year we are expecting bigger and better harvest. Here are the before and after photos
The bees are moving to the back field and more bees should arrive in a few weeks. The plan is to have 10 hives total. We currently have 4 hives. We keep selling out of honey from the farm so additional honey capacity will be good as the farm grows.
Good Family Times
One of our yearly traditions has been to prune the grape vines, blueberries and fruit trees at my mom’s house. We did that this week and had a good time. What a beautiful day. We had a good time as a family and accomplished a lot.
It is wonderful that the orchard, berries and vines produce an abundance that my mom can share with the community.
Blueberries after pruning
Cut down and removed trees that were shading the blueberries and fruit bearing trees
We removed a lot of excess vegetation in the blueberries
What a beautiful. The snow has melted and it was a wonderful day to work on the farm. We planted fruit and nut trees in November. Now we are planting the second wave of trees and bushes.
The american beautyberry bushes have edible berries that have a different taste. They are harvested in the fall. The beautyberries were Connie’s idea. The brought one home a few years ago and it has really grown and produced lots of berries. The berries are a metallic purple color. The beautyberries are also a native plant. We shouldn’t need anti-deer cages around the beautyberries (at least until the berries are ripe).
The black locust trees are going into areas where we are working to improve the soil. The plan is to let them grow for a few years and terminate them. Then we can come back with fruit trees.
The pomegranate trees needed anti-deer cages. Those are built and installed.
A great day to work on the farm
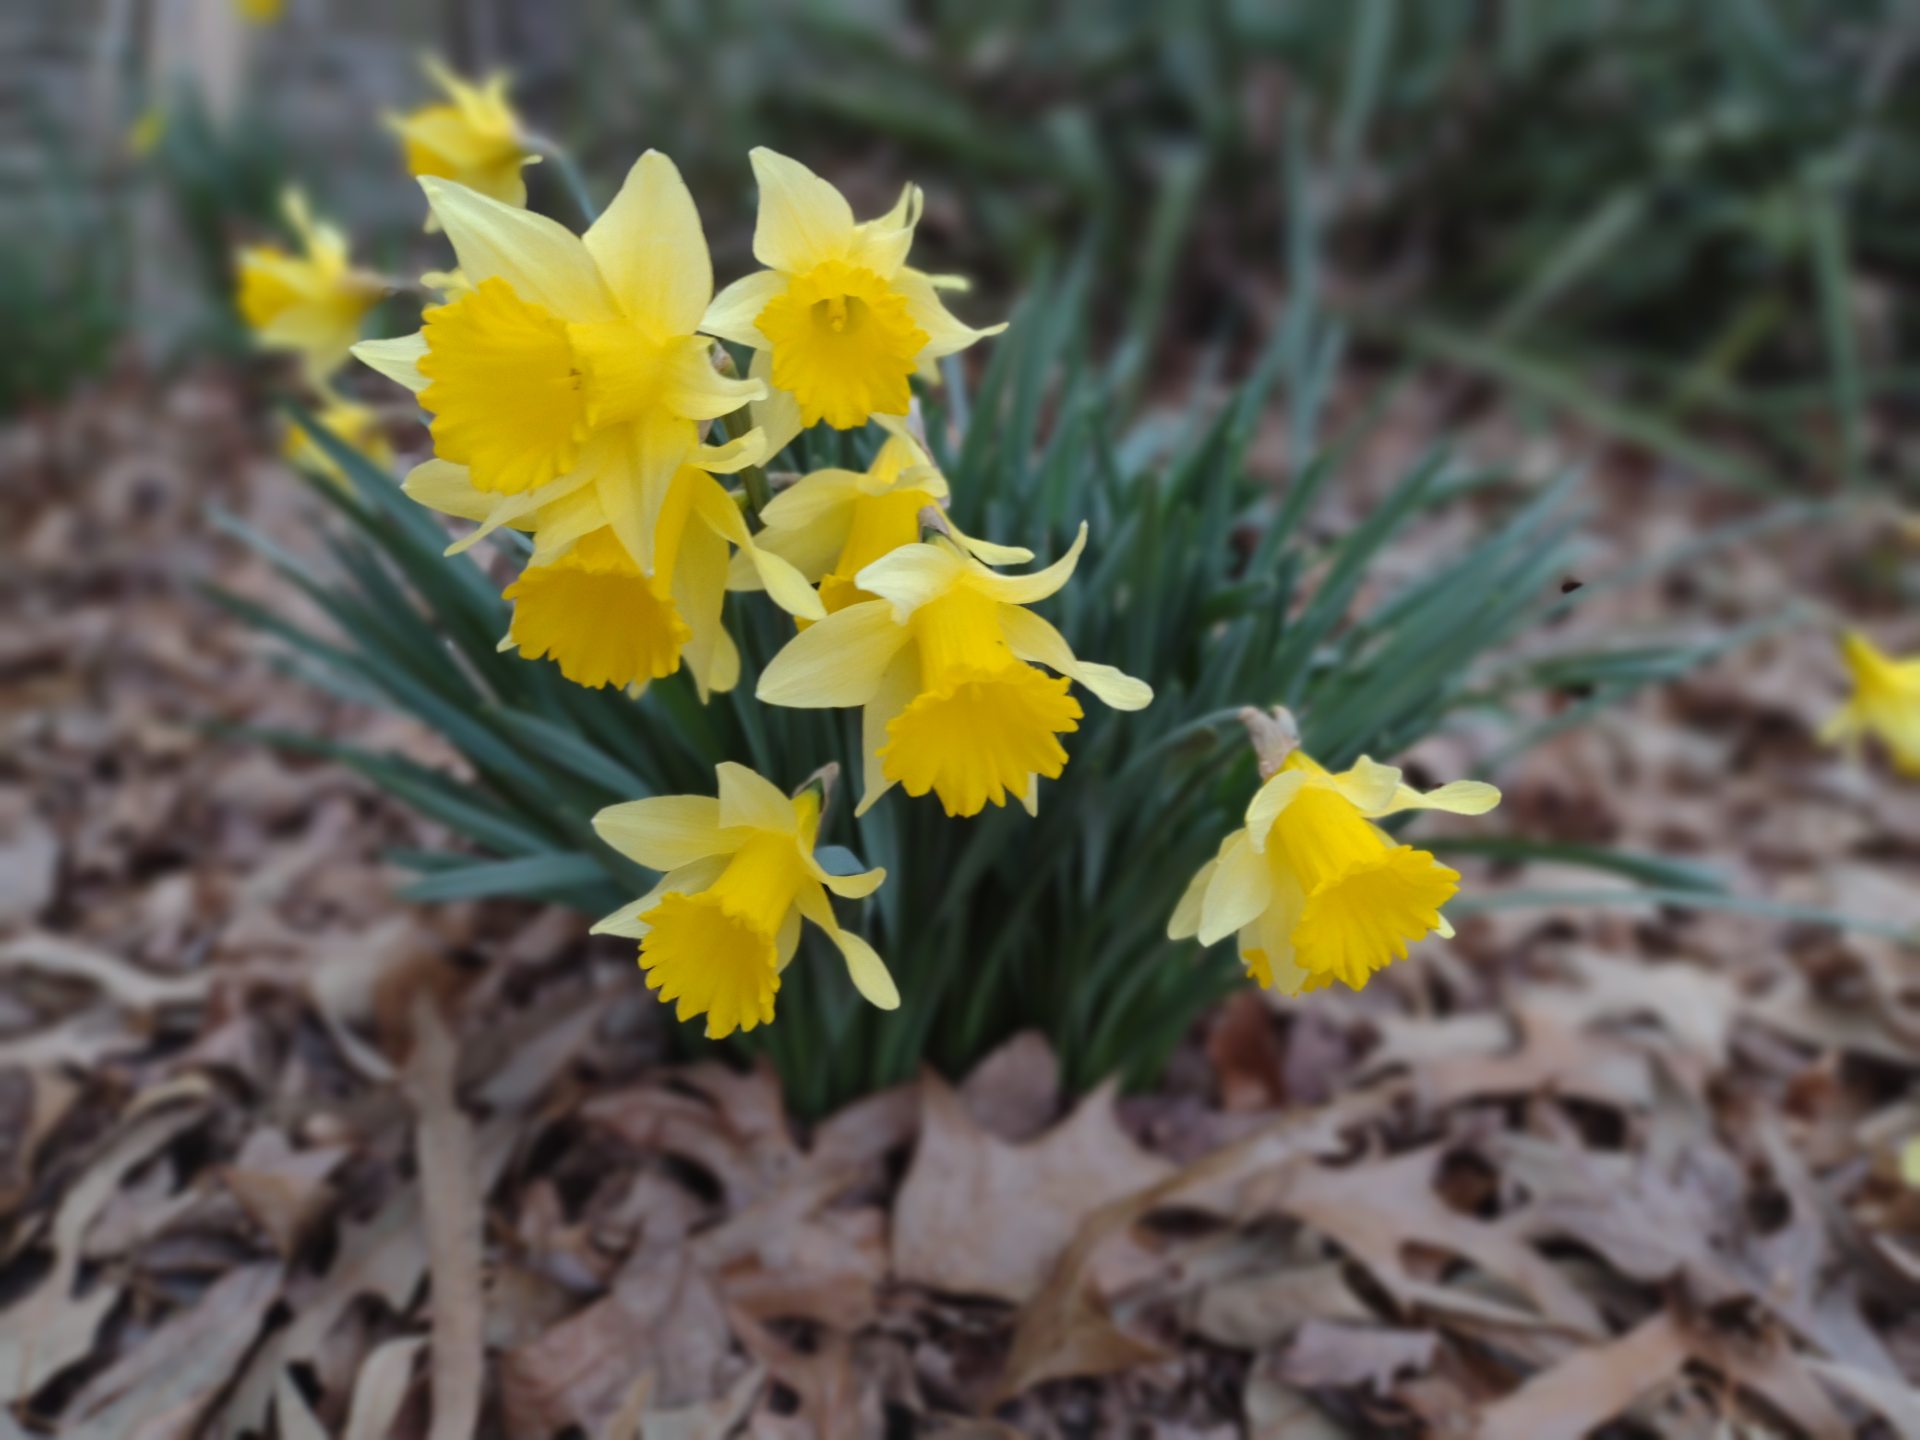
Flowers!
Nice seeing flowers blooming
Planting American Beautyberries and building more anti-deer cages
Planting American Beautyberry
Putting up anti deer fencing around the pomegranate trees
Garlic is growing!
Don’t forget about our elderberry pruning class in 2 weeks.
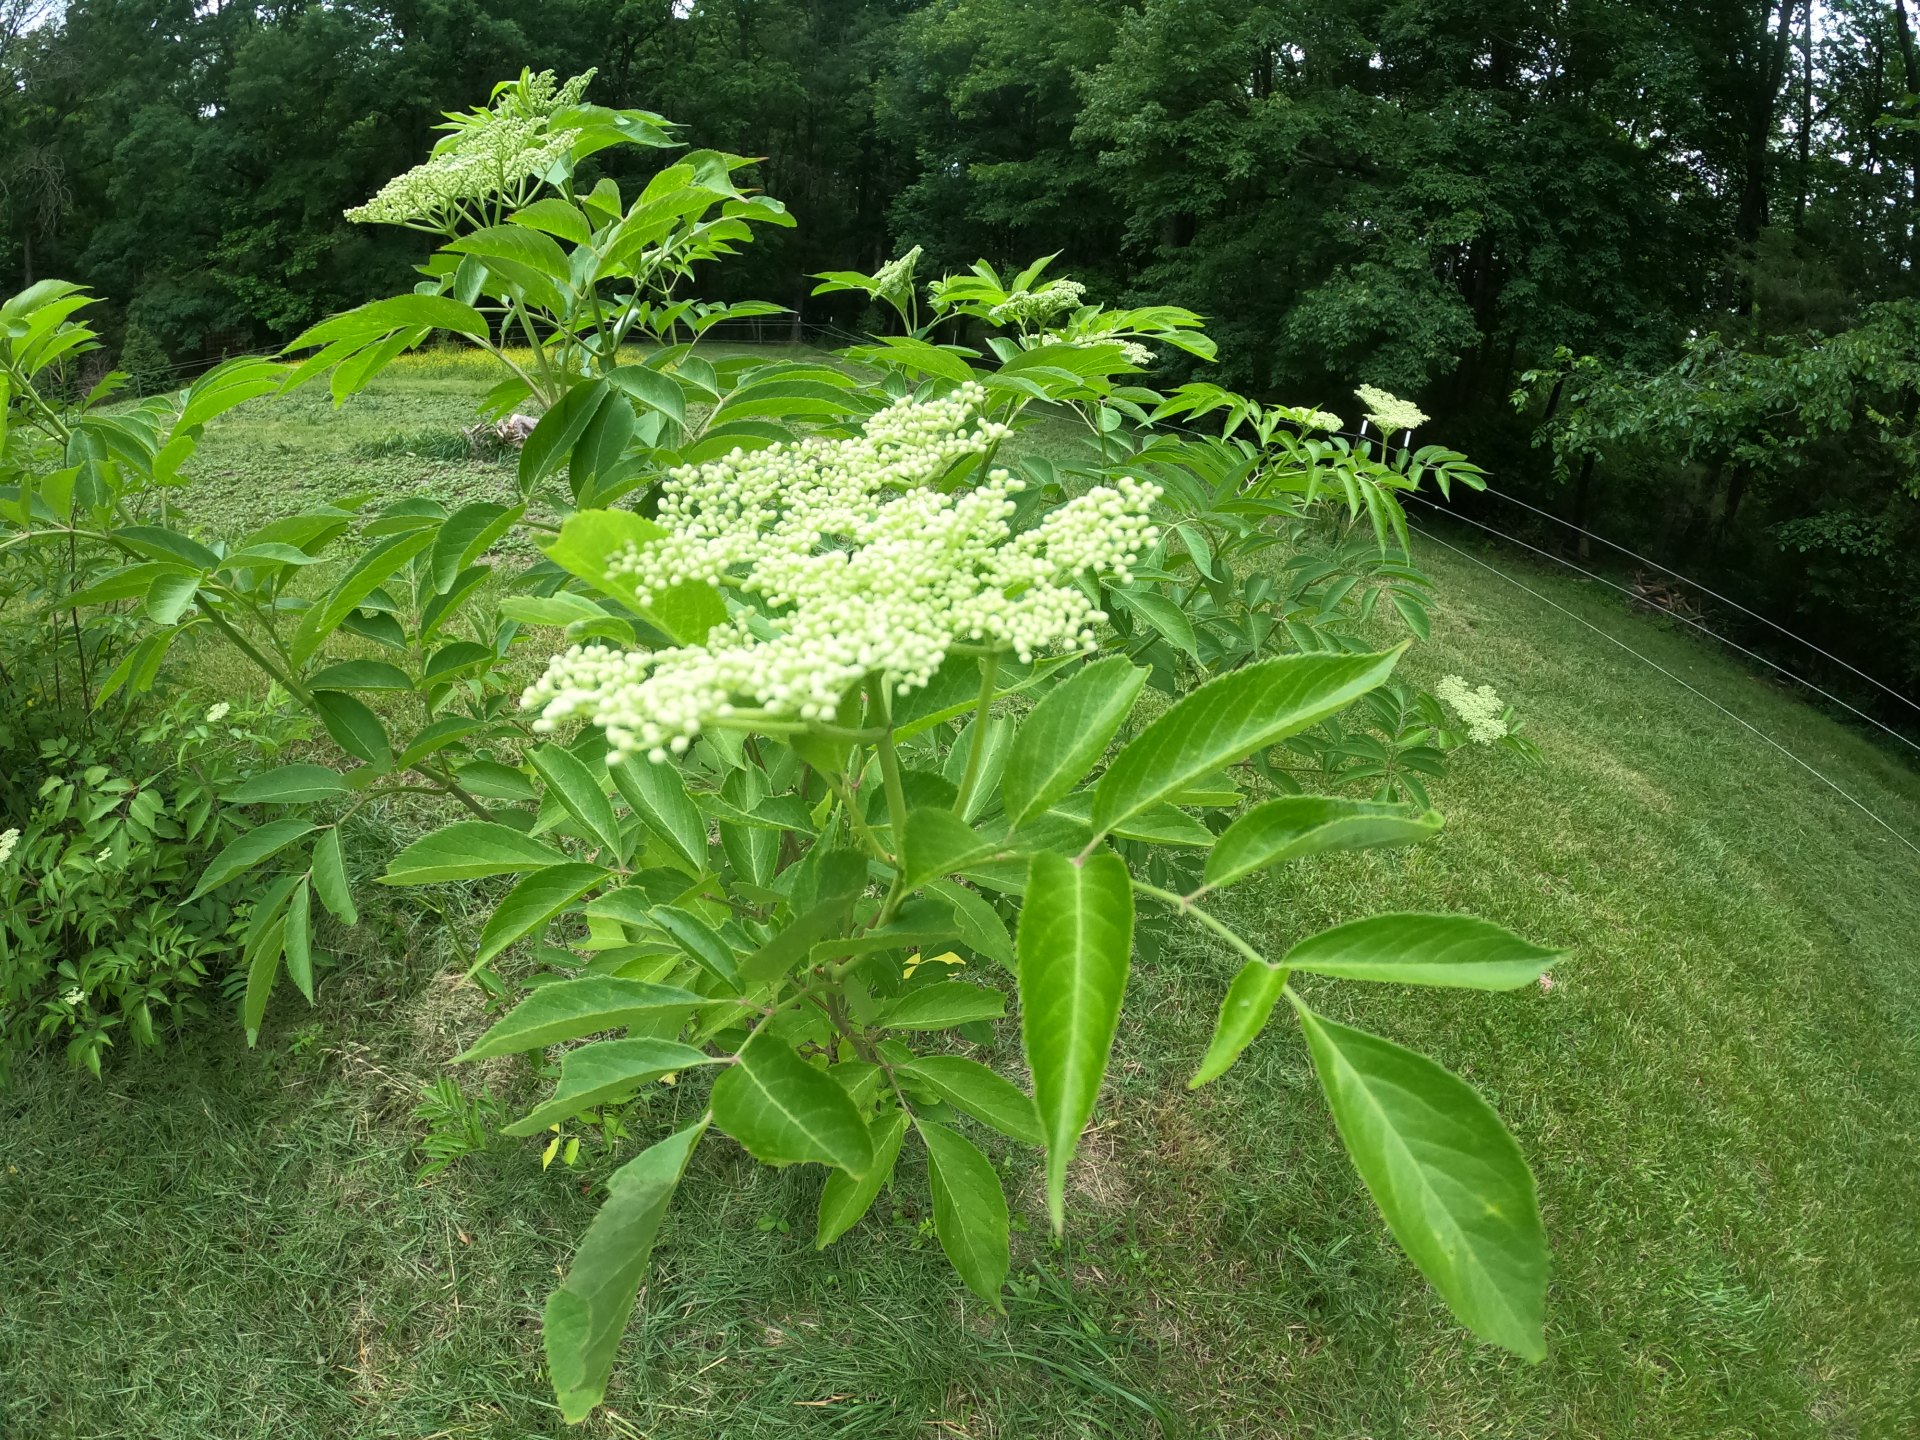
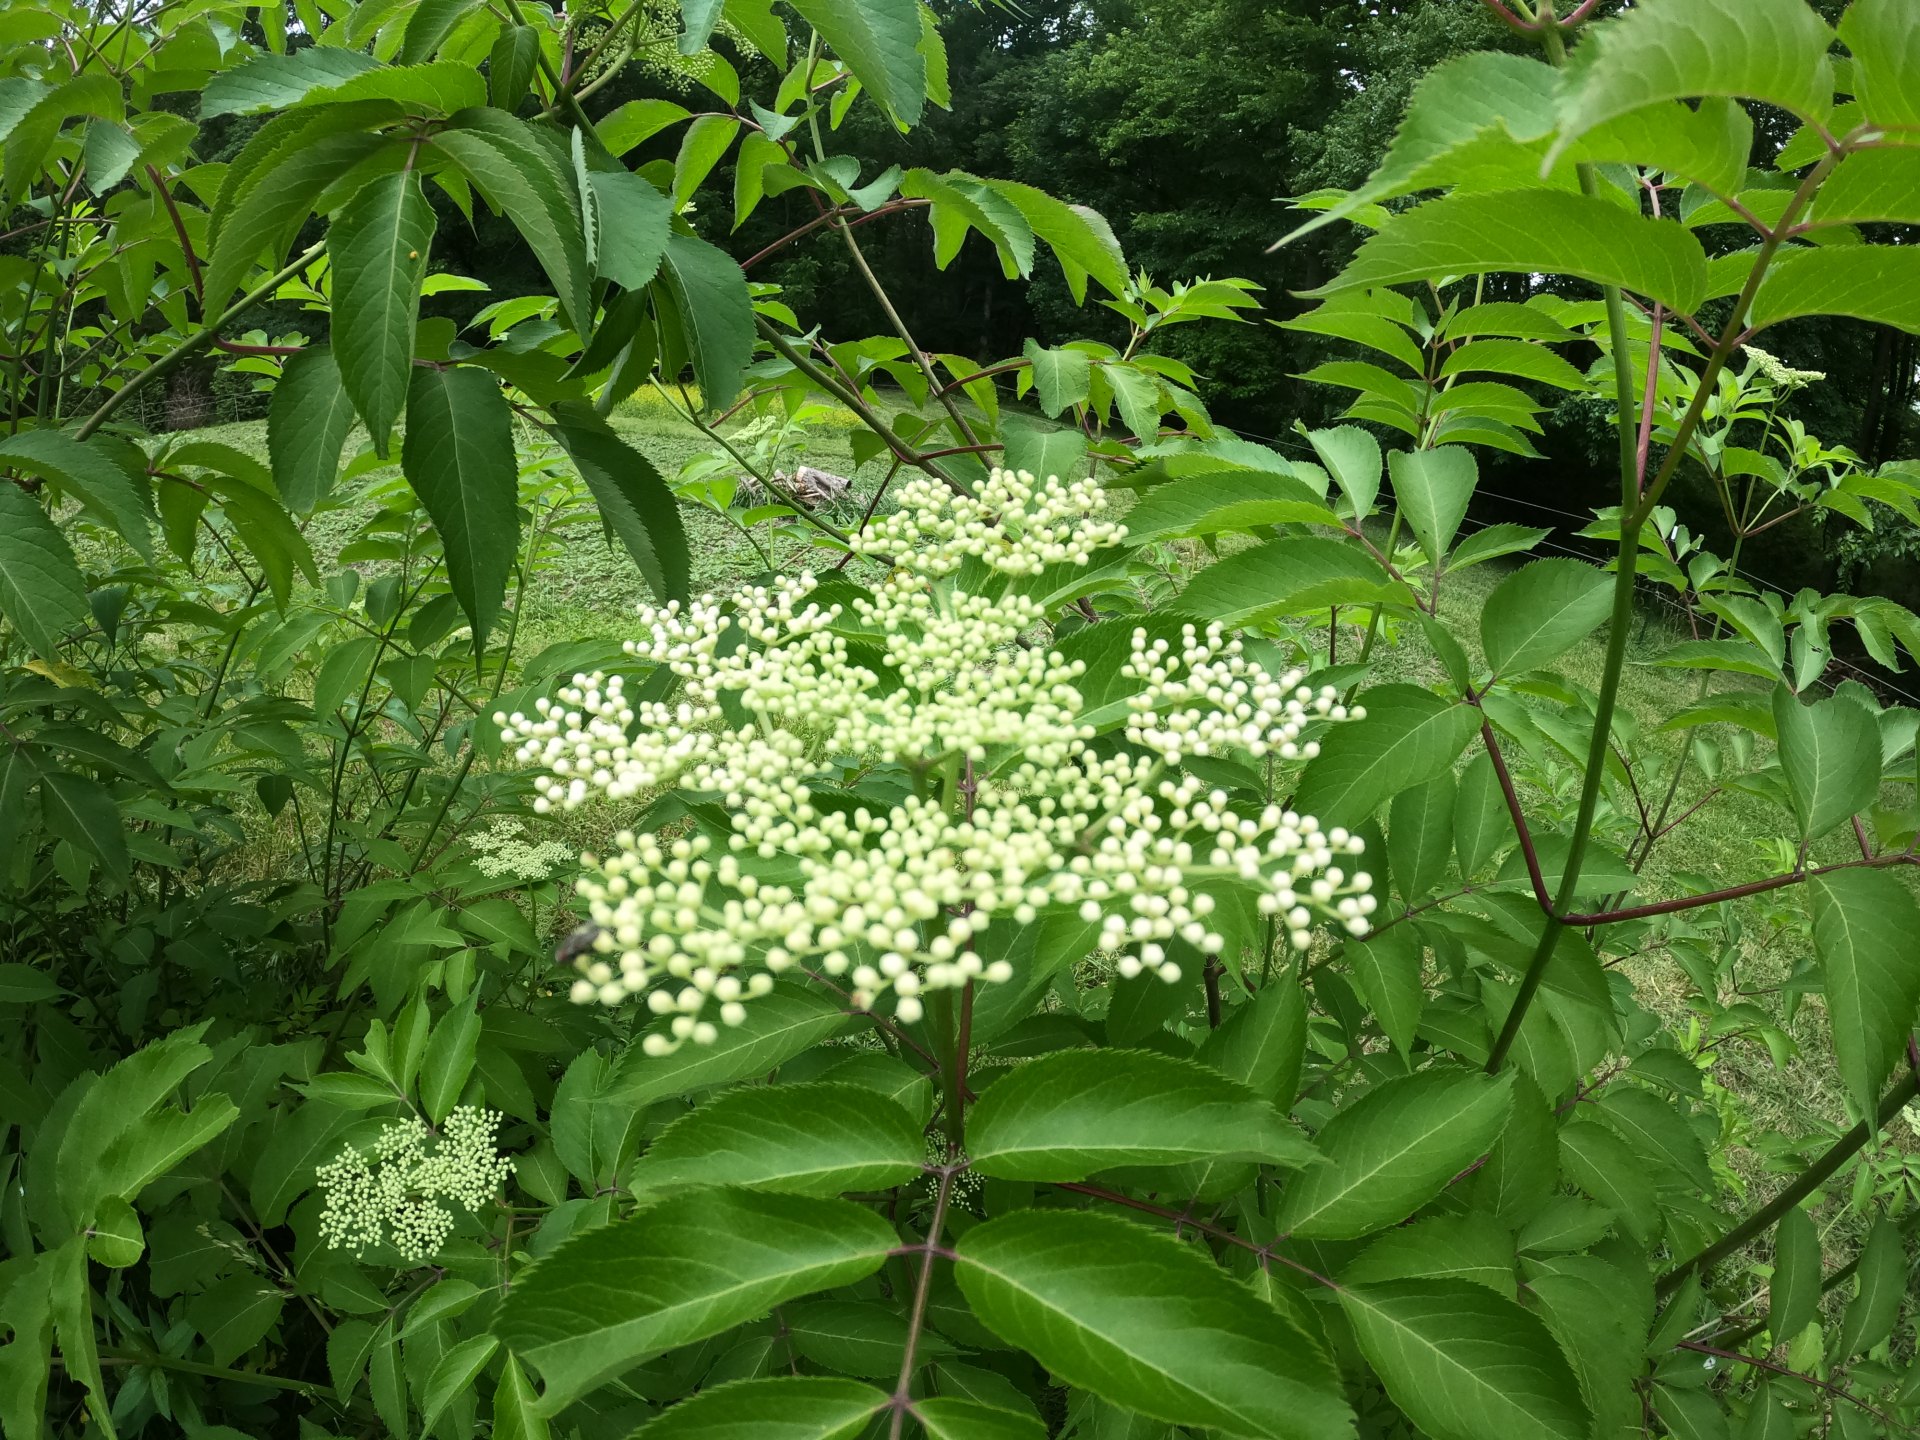
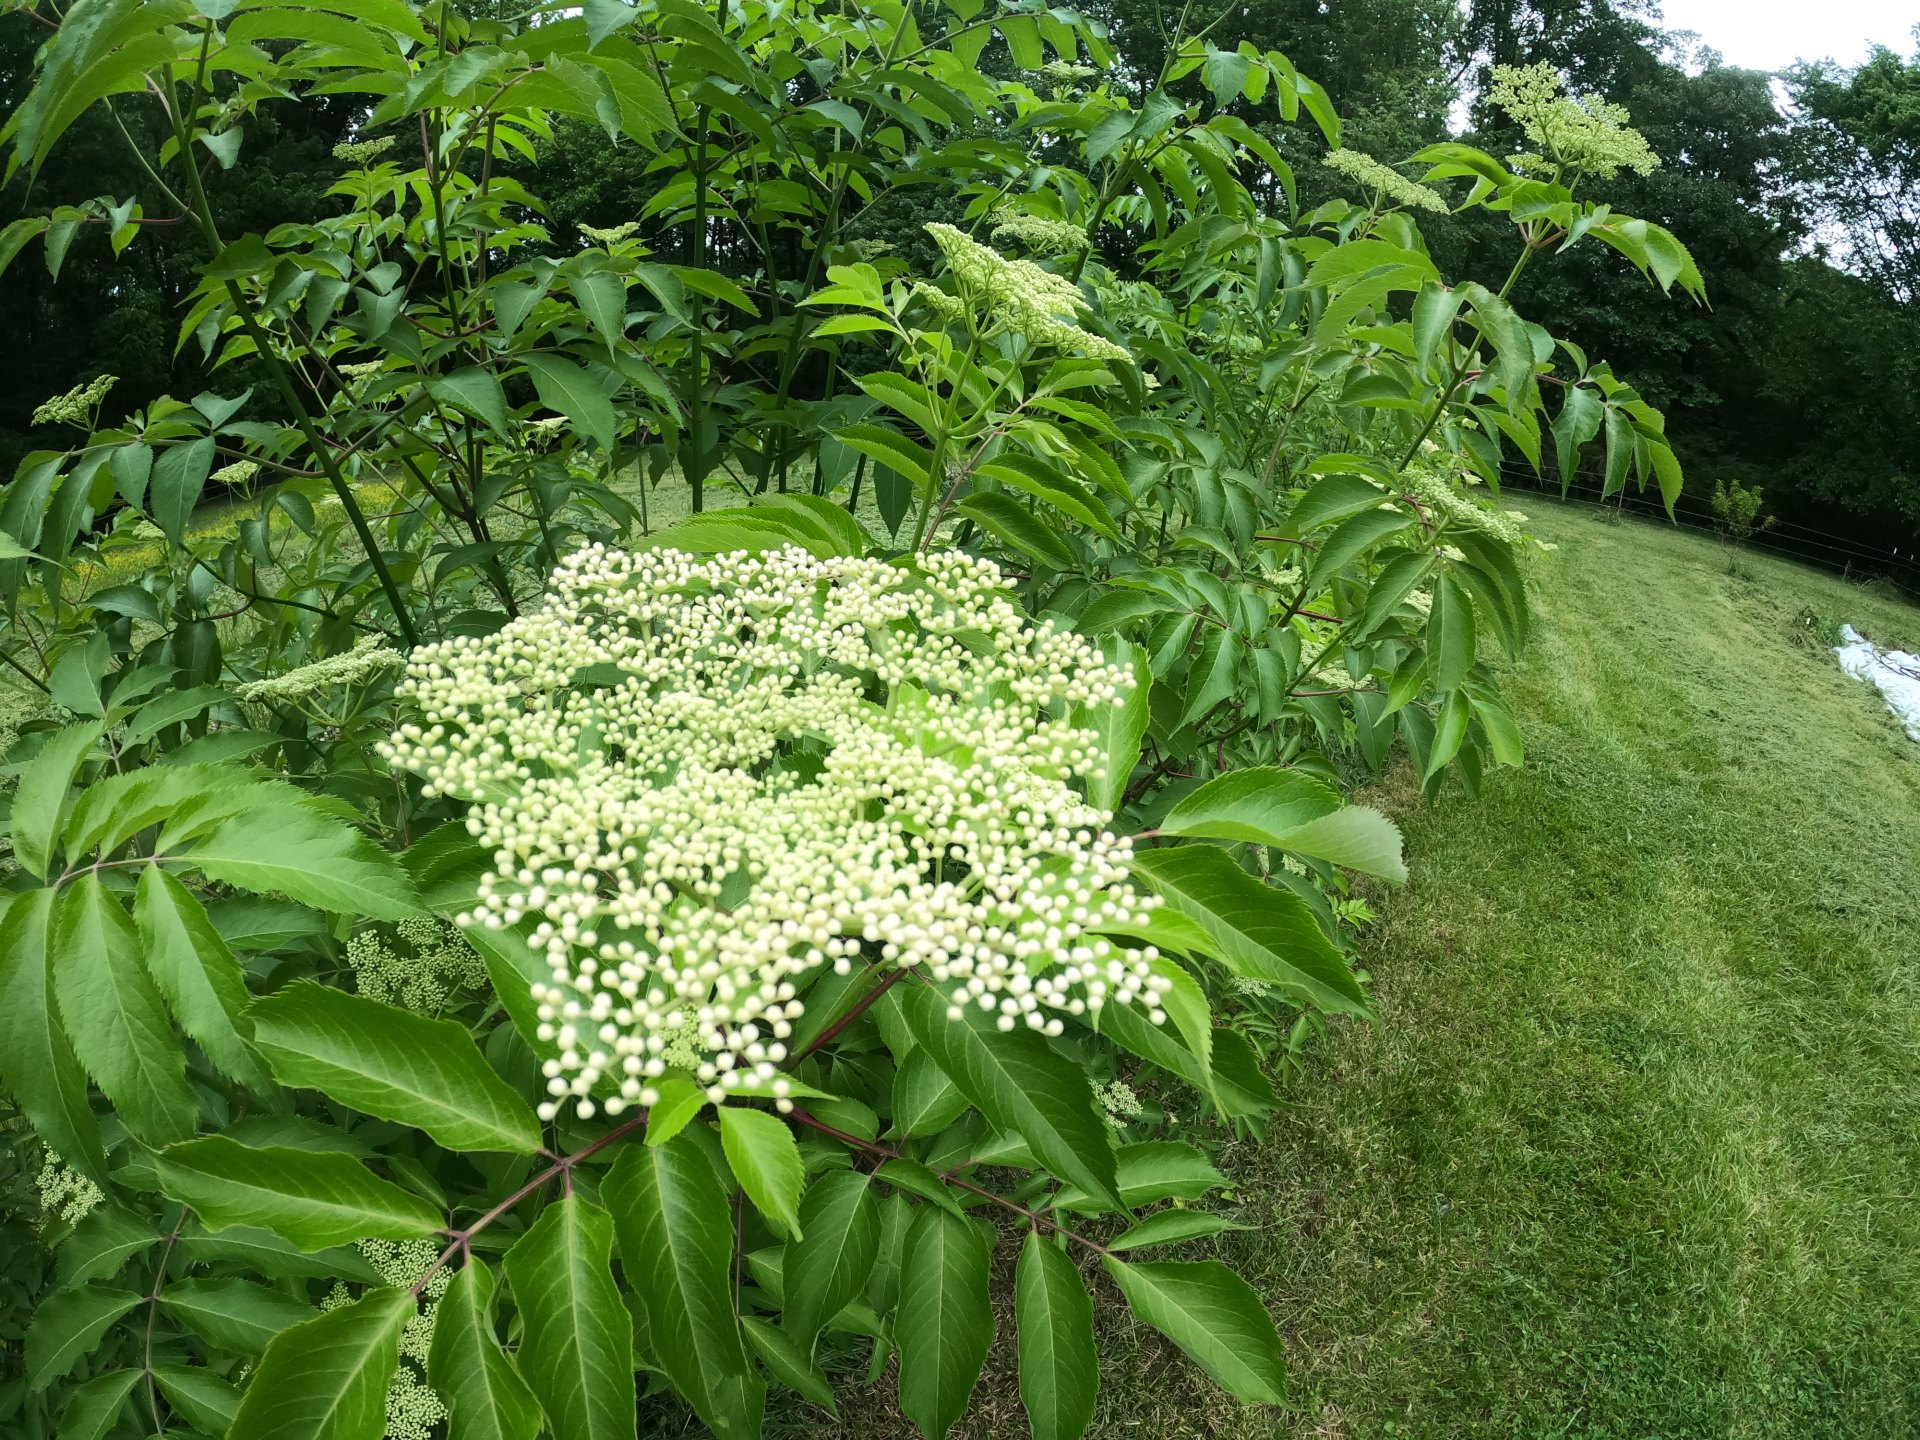
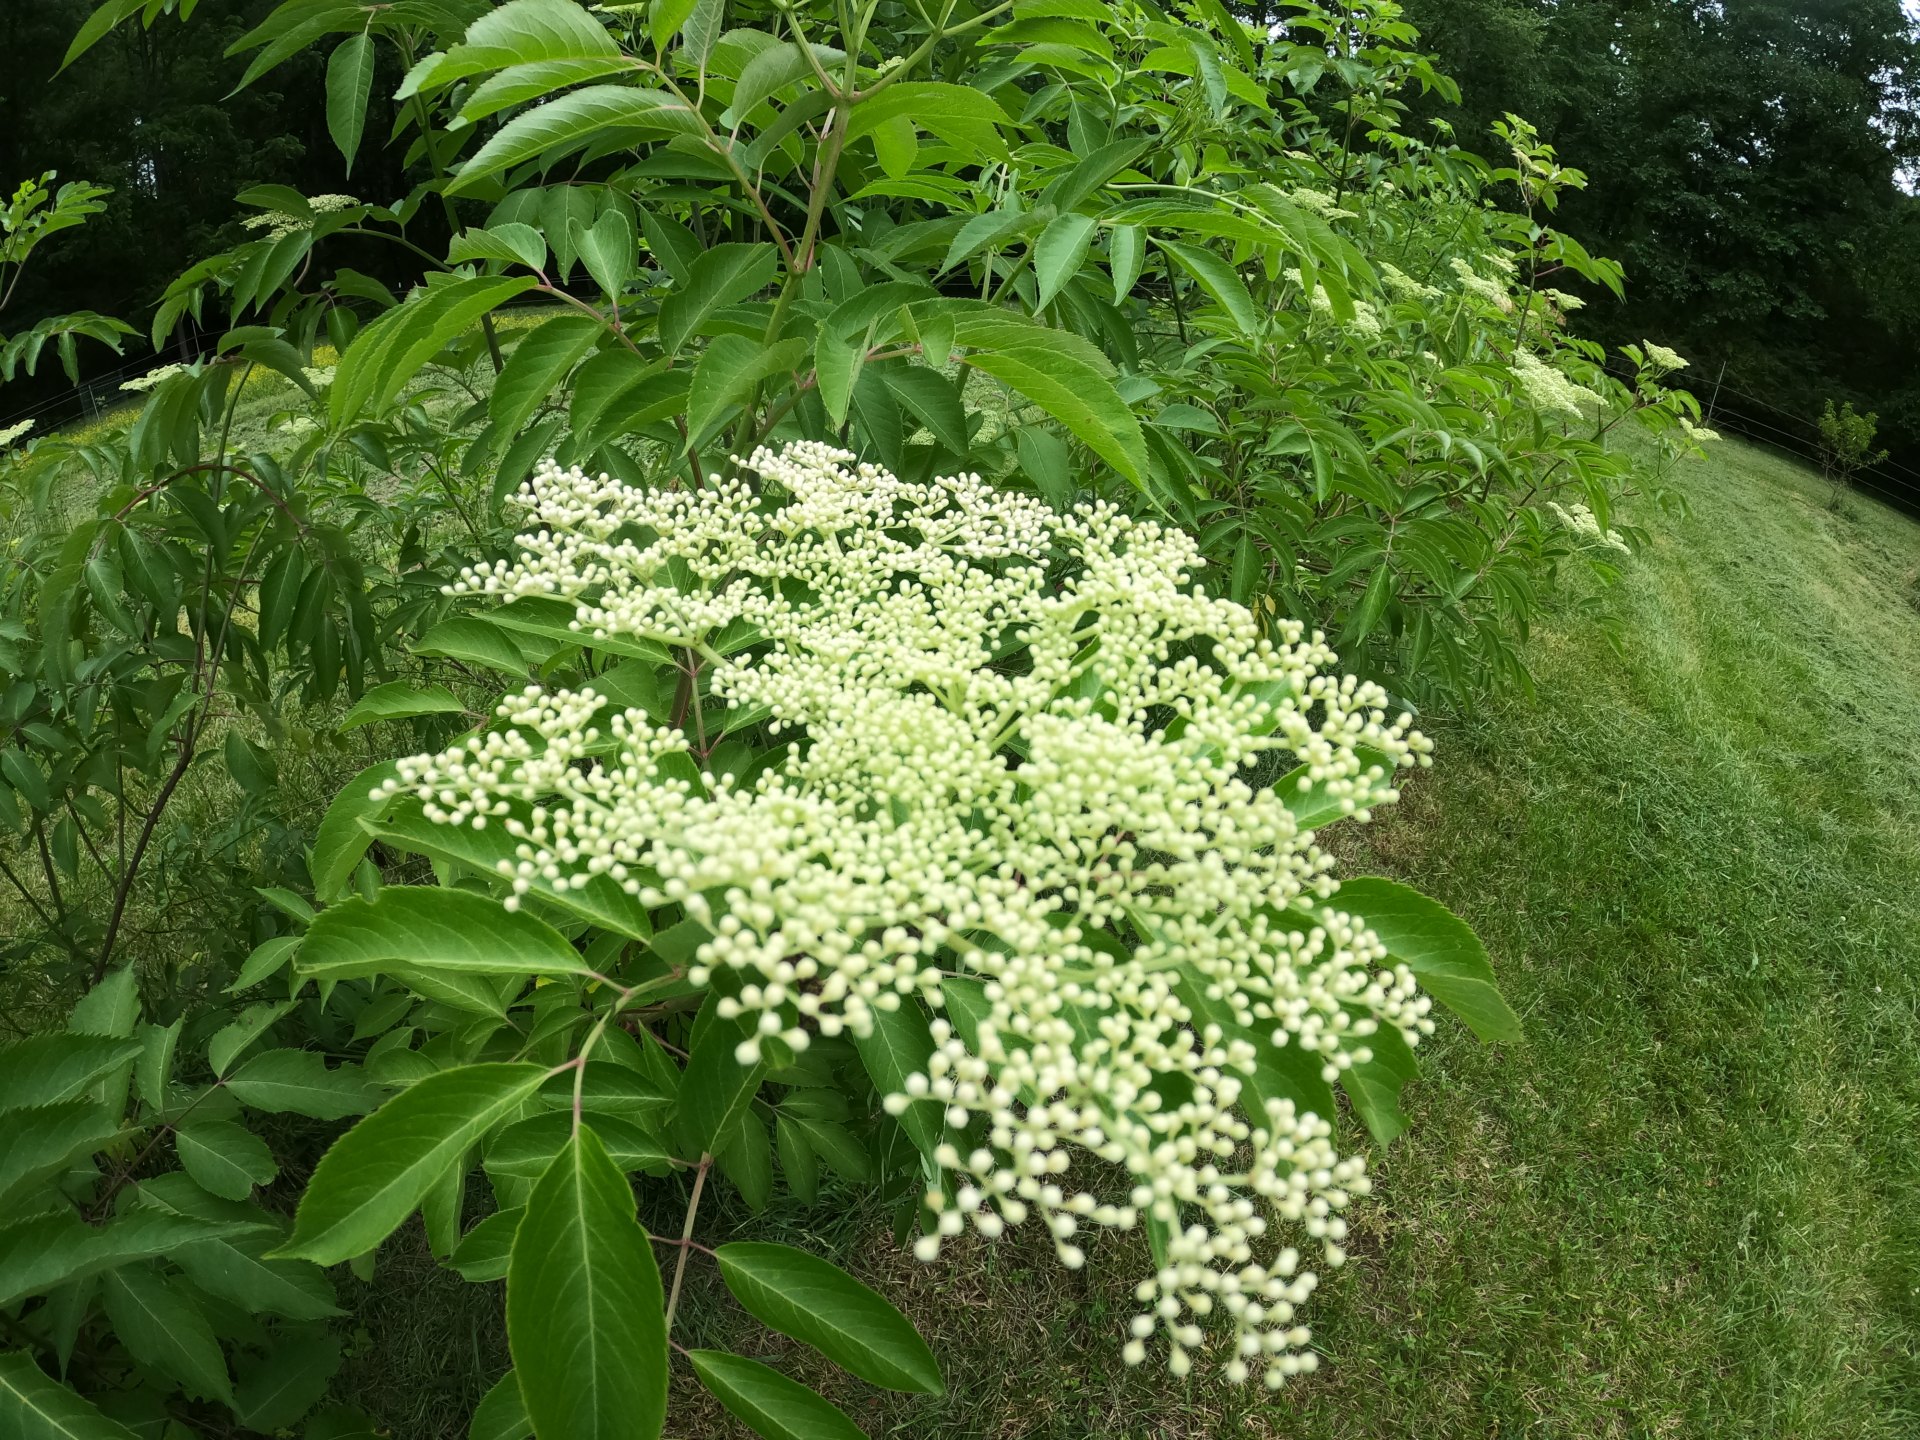
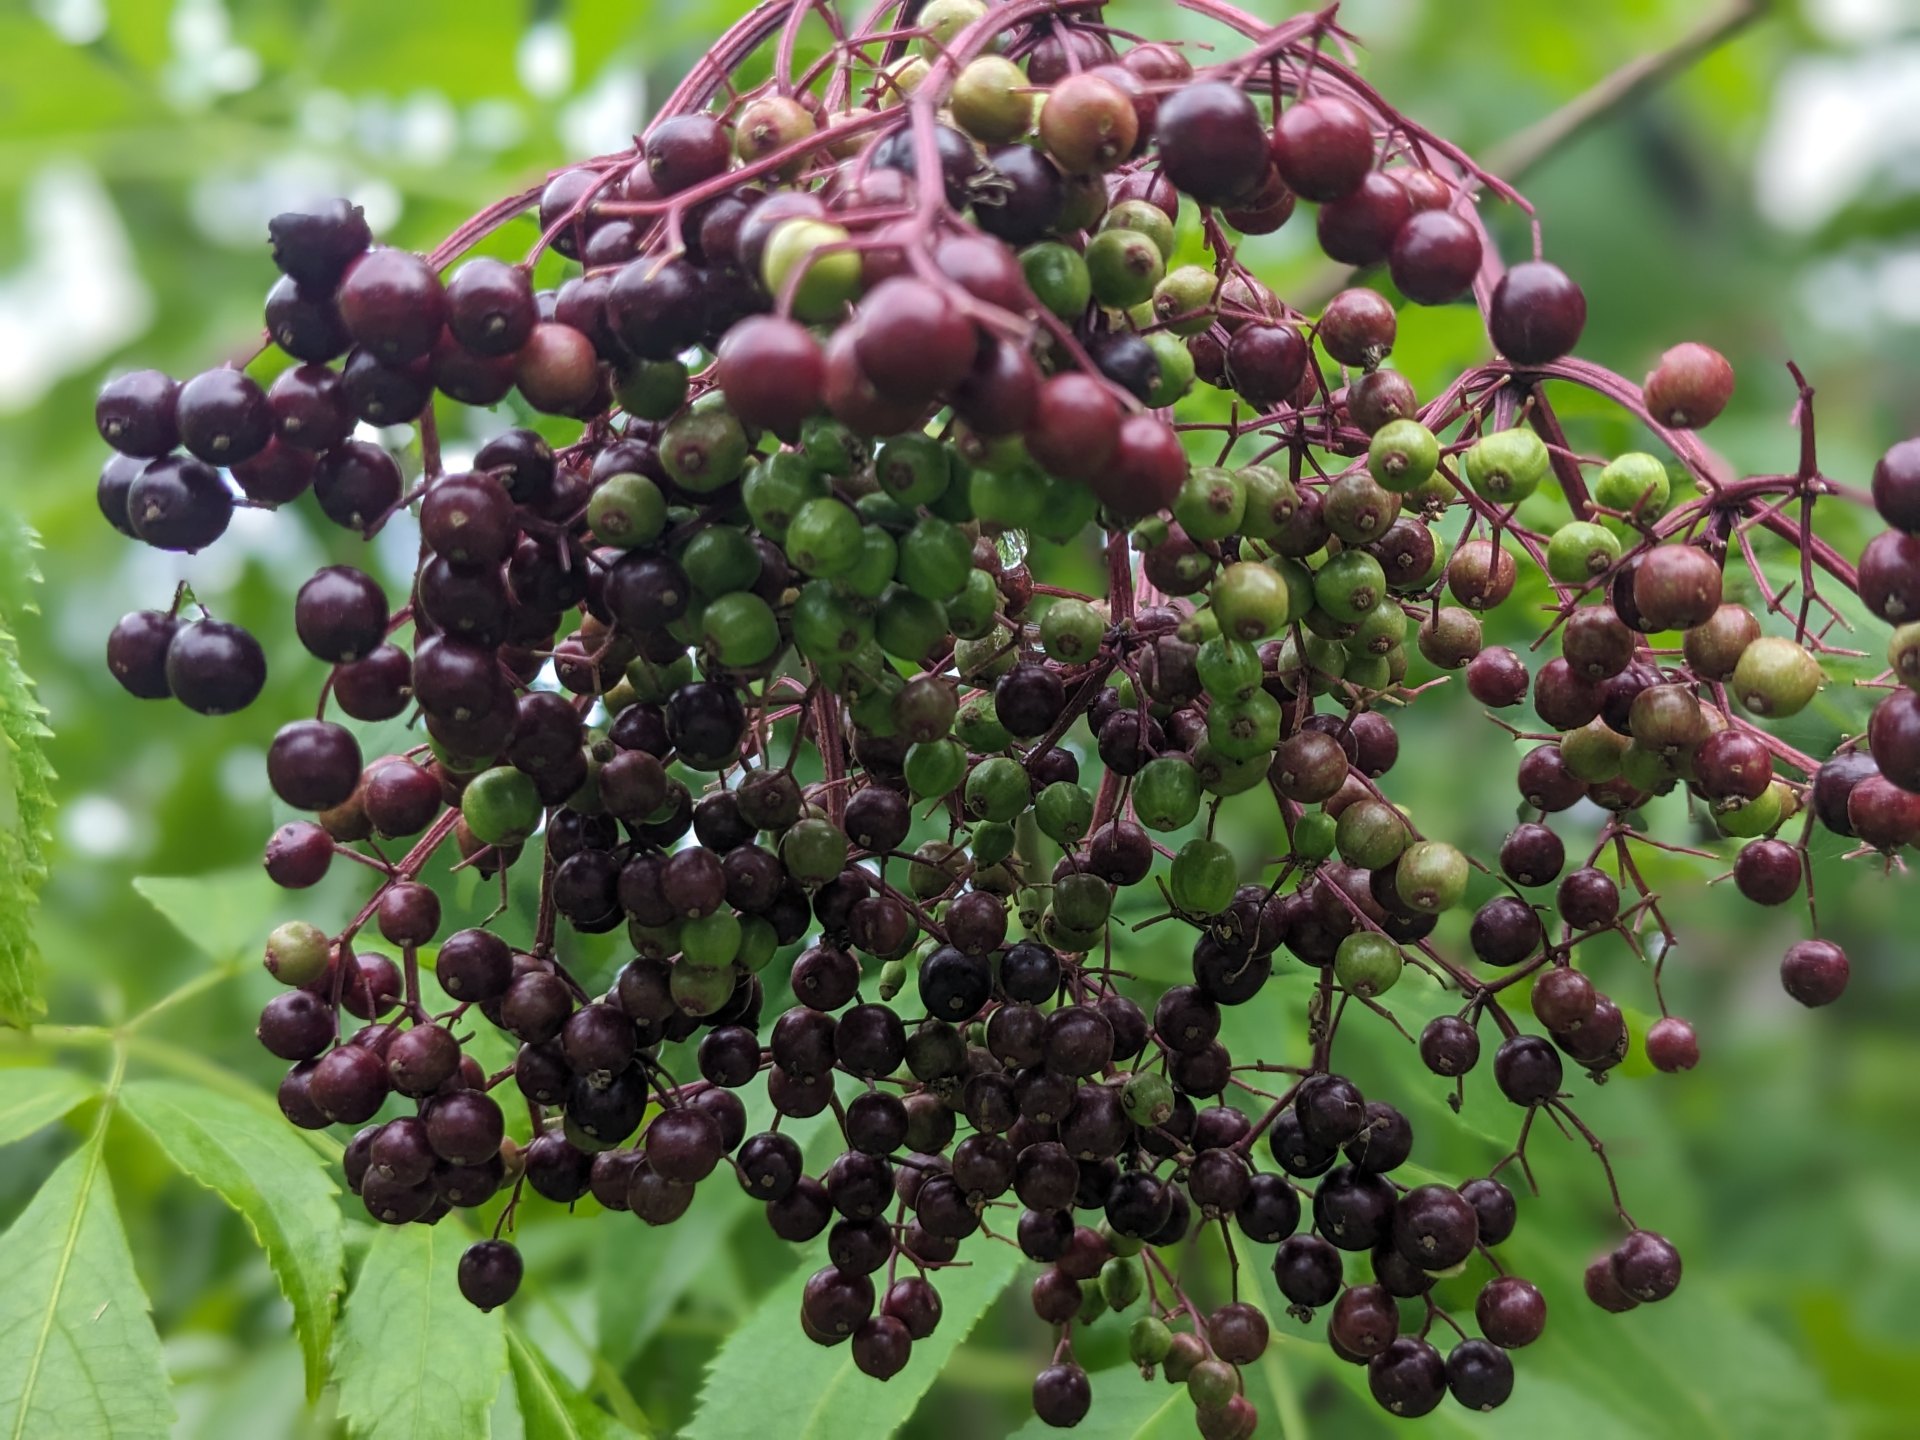
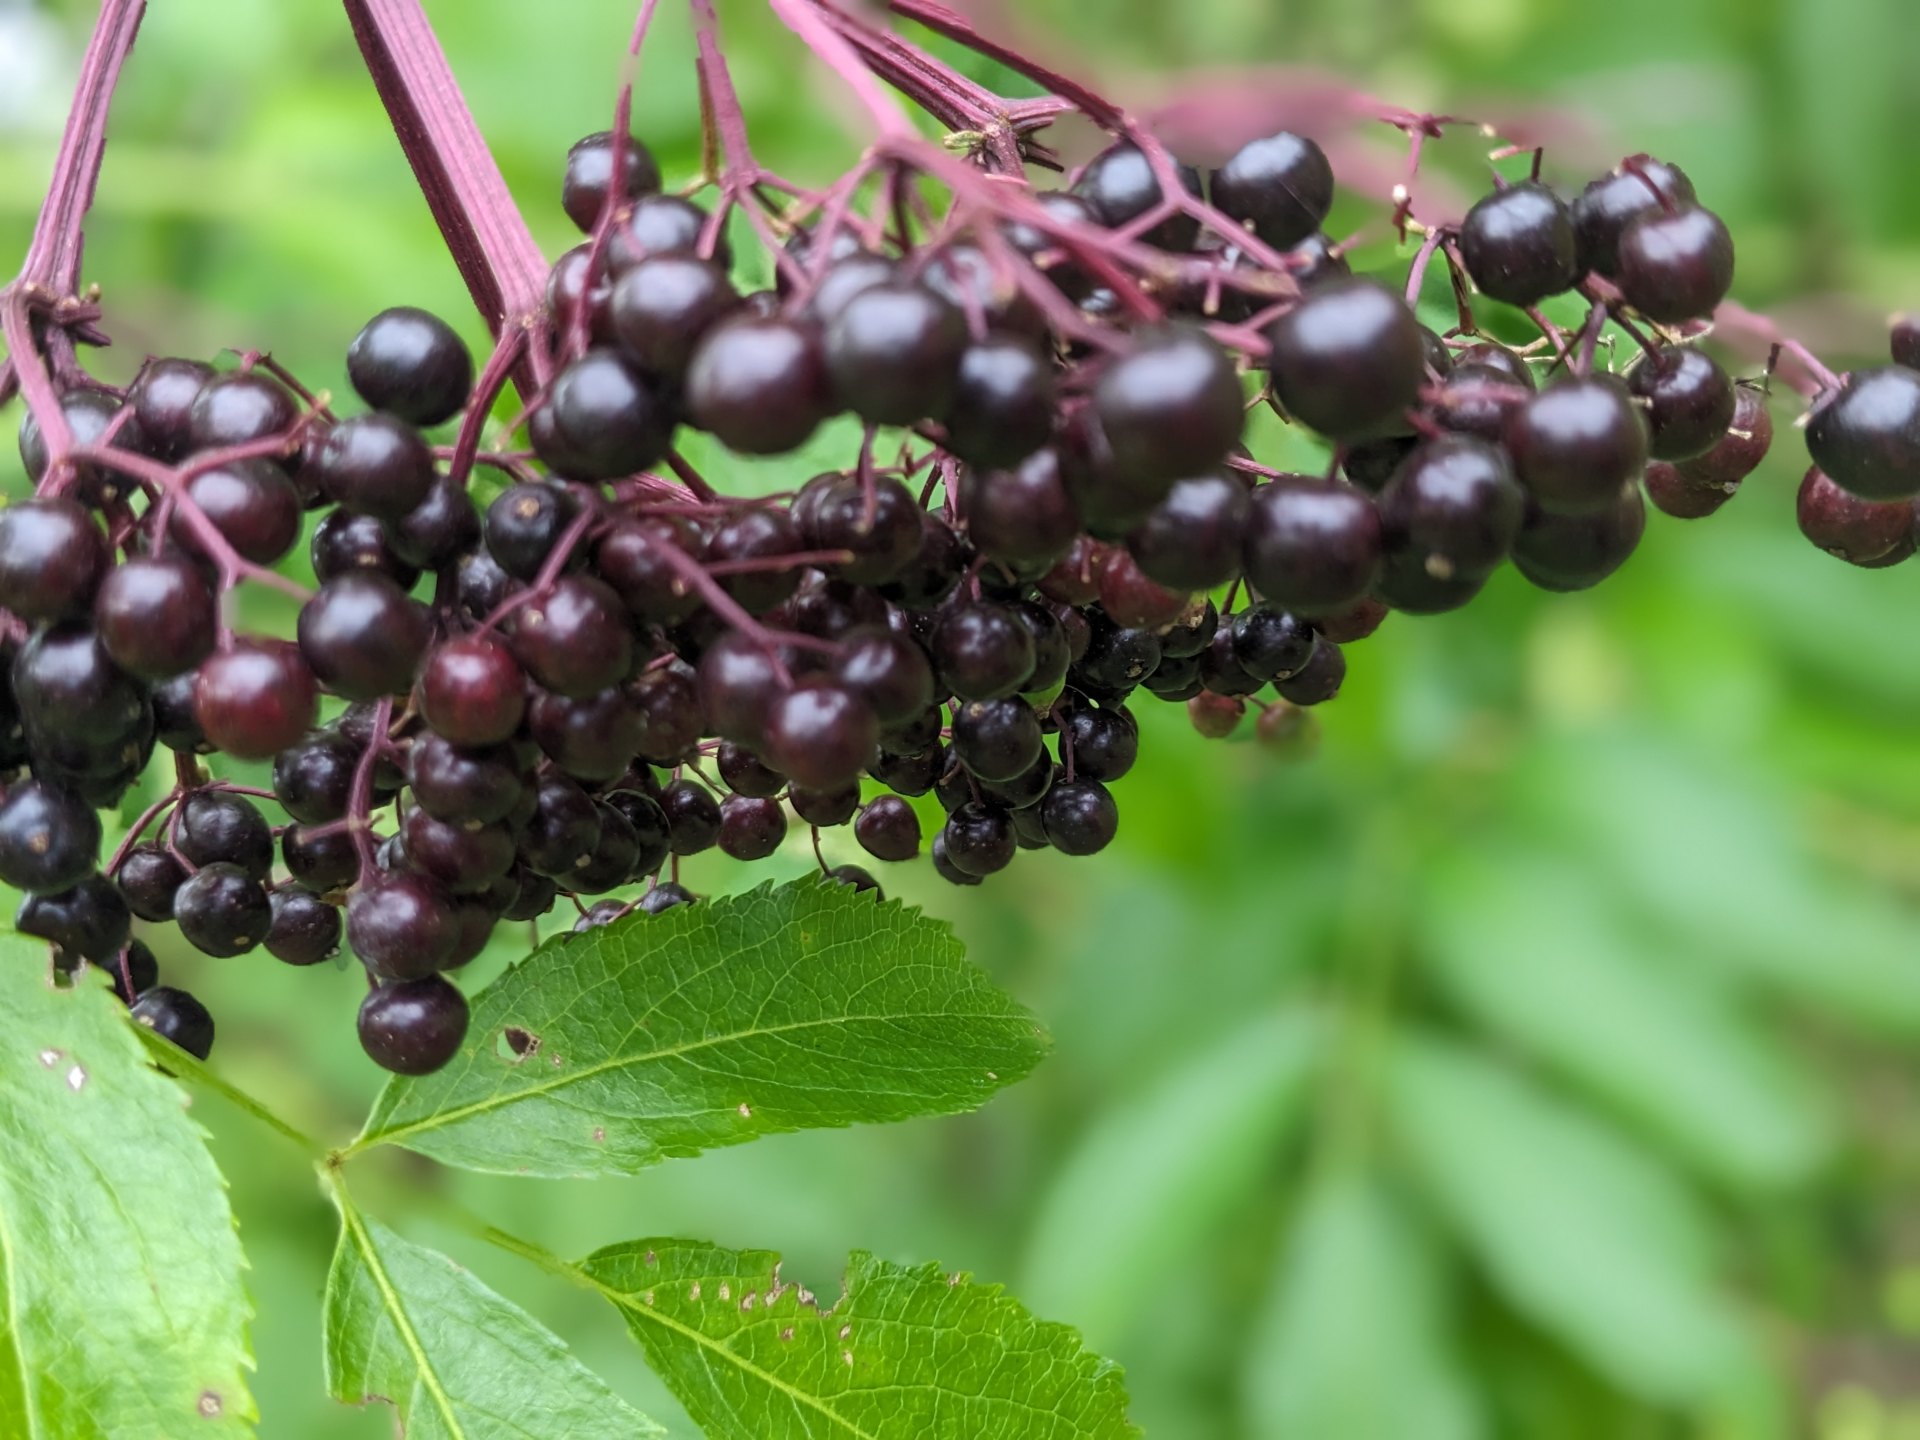
Happy to see that the berries are here
This umbral is weighing the branch down
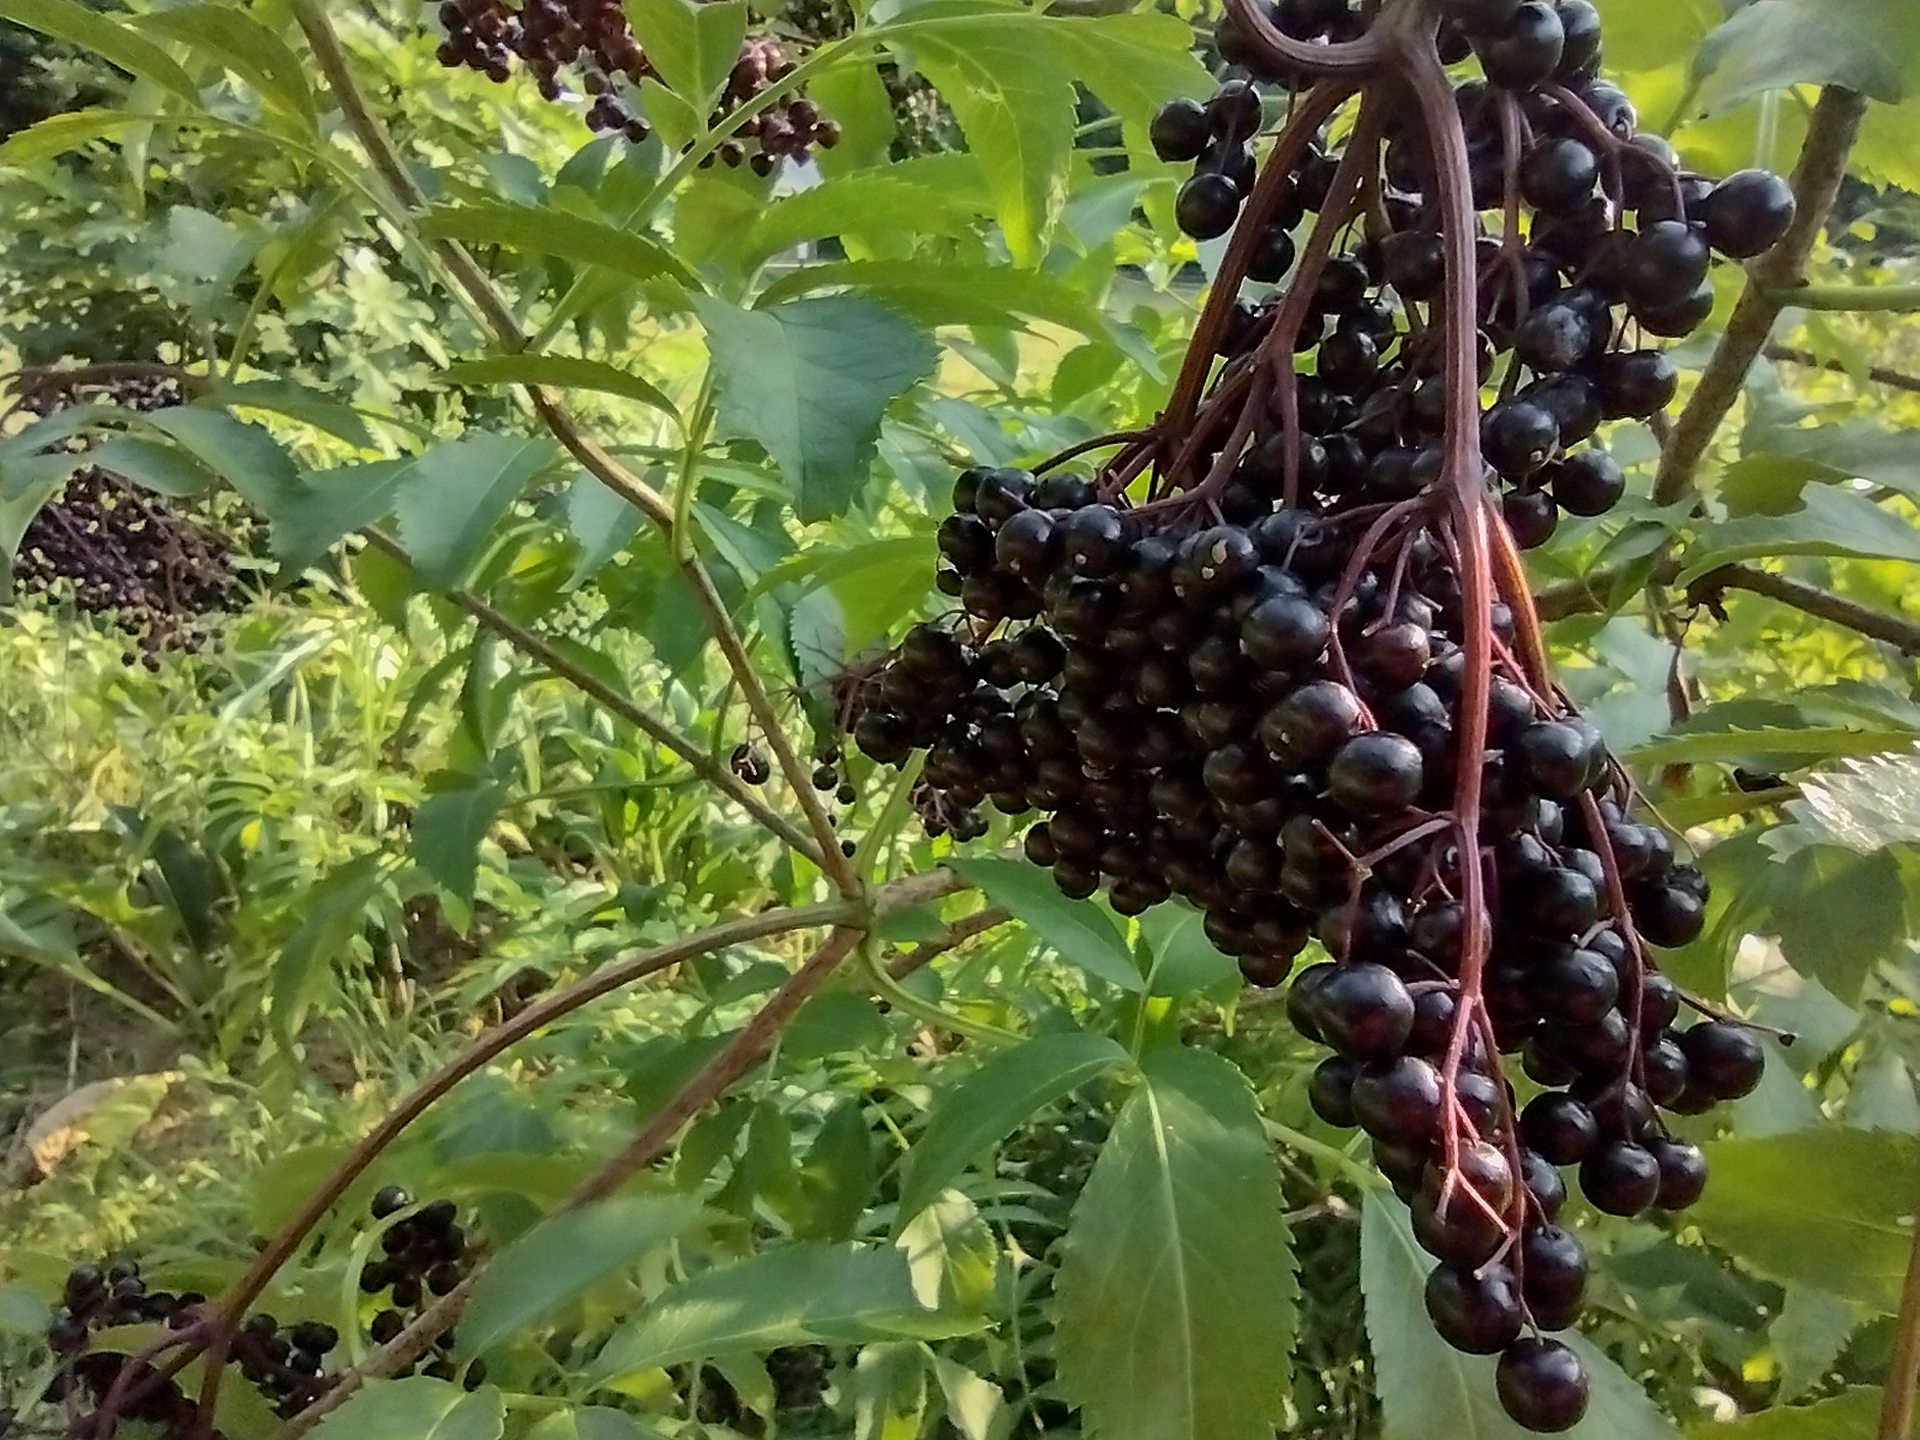
Loaded
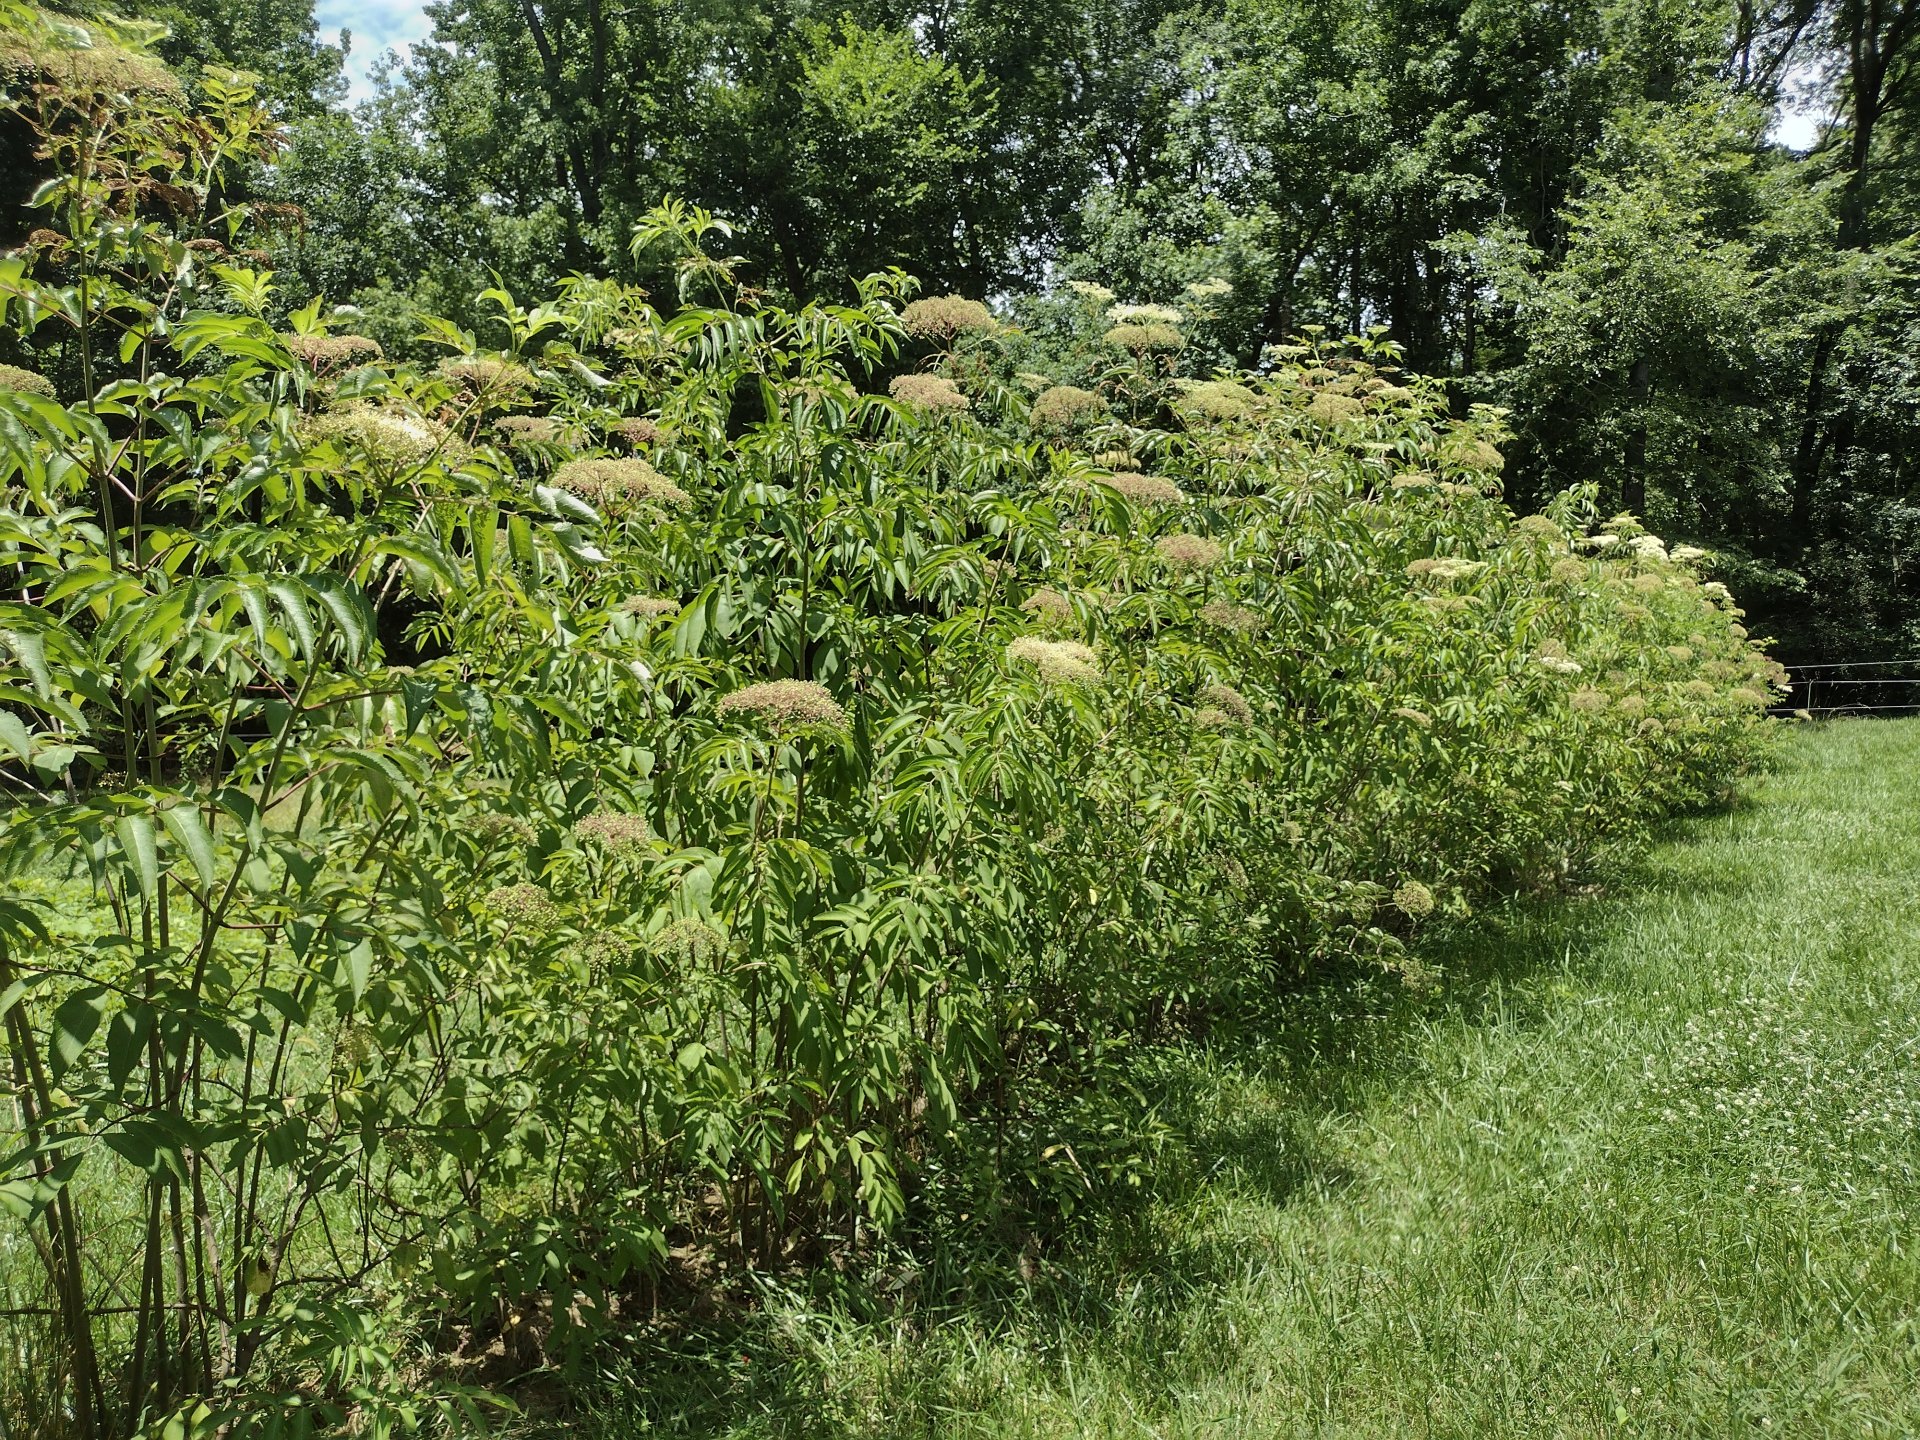
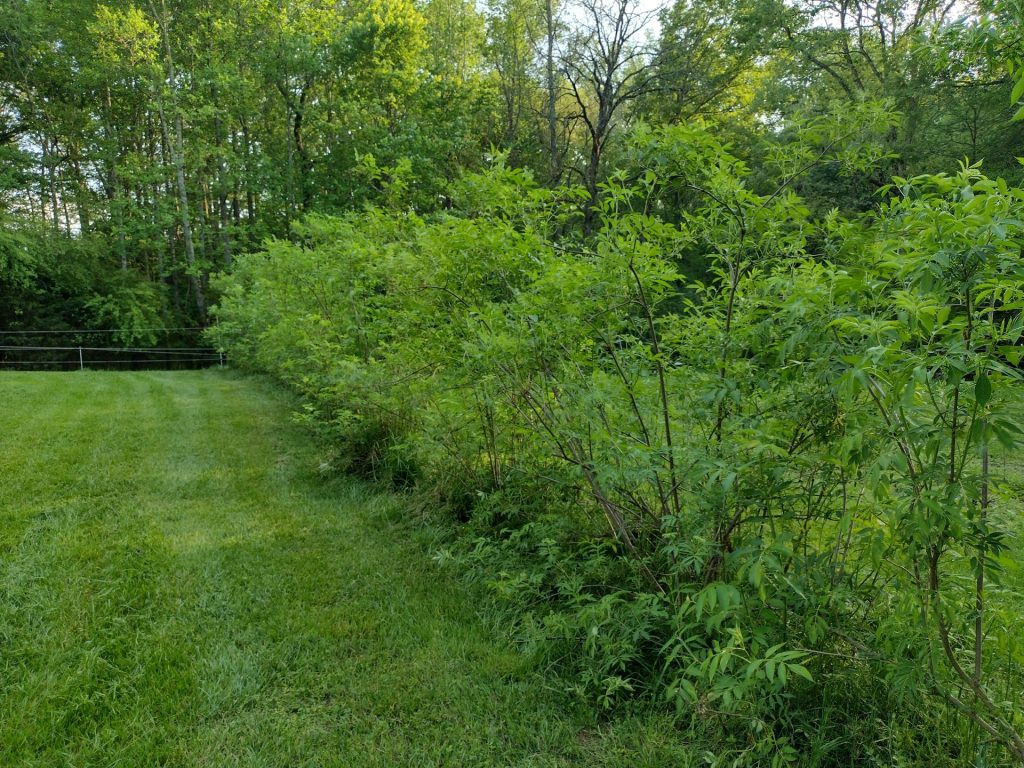
This bush is loaded with elderberries
Nice to see them again
Elderberries are ripe in places
It is that time. Join us as we prune our elderberries. We’ll have a great morning learning to prune elderberries and also learning to plant the cuttings. The cost of the class includes a 1/2 lb of honey from the farm and cuttings so you can plant your own elderberries. Please sign up below so we know how many people to expect.
Event Schedule on Saturday, March 8th
Take Aways from the Event
You’ll learn how to
prune elderberries and make cuttings to plant
plant elderberries
Experience
pruning elderberry plants
planting elderberry cuttings
Bring home (included in the ticket cost)
enough elderberry cuttings to start your own elderberry patch
1 lb of honey from the farm
Agenda on Saturday
9:00 AM – Welcome
9:15-Noon Demonstration – how to prune elderberry bushesPractical – prune elderberries and take home elderberry cuttings so you can grown your own elderberry plants.
Demonstration – how to plant elderberries Practical – plant elderberries and comfrey
We hope you have enjoyed the news and pictures from the farm in 2024. We’re going to take a break from the blog for few weeks.
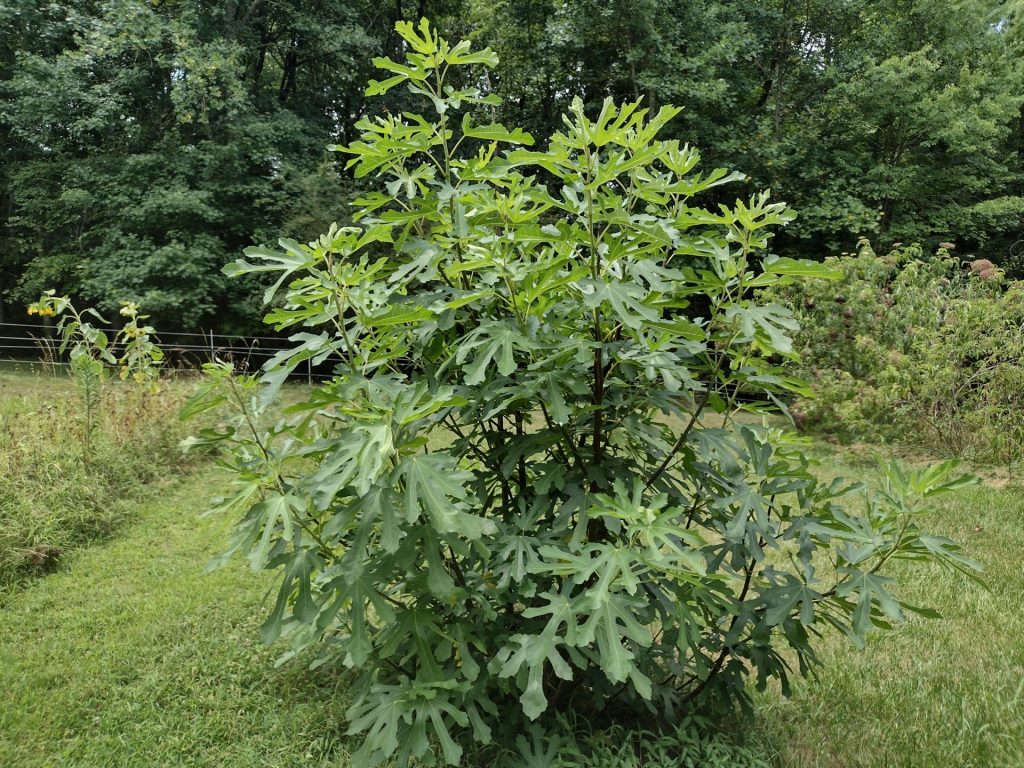
Expect to see more pictures when it is time to prune the elderberries, mulberry trees, fig trees and goji berries. If you want to learn to prune your berries and fruit trees, let me know and we’ll set up a class for late February or early March.
My wife and I love spending time outdoors. Having a farm and garden is a great way to do that. It also means we have more nutritious foods. Many of the people we have met on this journey like similar things and that makes it even better. I’m a mechanical engineer turned weekend farmer, so I’m just smart enough to know that there is a lot that I don’t know especially when it comes to farming, permaculture and food forests. Come on the learning journey with us!
We would love to share what we are learning so that you can grow at least part of your own food. It is within your grasp to grow part of the food that you eat. You can improve your food security and enjoy higher quality food in the process.
We also have limited opportunities for you to camp out on our farm, enjoying the serious peace and quiet. Sometimes we hold classes, usually on Food Preservation. Join us for those too.
Meet the Farmers
I’m a mechanical engineer turned weekend farmer, so I’m just smart enough to know that there is a lot that I don’t know especially when it comes to farming, permaculture and food forests. I’ve been heavily influenced in my love of farming and permaculture by my Mom and Dad and also by people like Jack Spirko (TSP) and Dan (Plant Abundance)
Connie has her certificate in Sustainable Agriculture from CCCC. She really enjoyed the classes at the community college and learned a lot. The program was a mixture of classes and work on the school farm. What she learned has really added to our technical proficiency on the farm.


 are growing")


")
 is growing quickly")
 is growing very quickly!")


 I’m a mechanical engineer turned weekend farmer, so I’m just smart enough to know that there is a lot that I don’t know especially when it comes to farming, permaculture and food forests. I’ve been heavily influenced in my love of farming and permaculture by my Mom and Dad and also by people like
  Connie has her certificate in Sustainable Agriculture from CCCC. She really enjoyed the classes at the community college and learned a lot. The program was a mixture of classes and work on the school farm. What she learned has really added to our technical proficiency on the farm.