Why – Cost of Food is Increasing, Availability is Decreasing
https://www.bloomberg.com/news/articles/2021-12-10/price-shock-at-the-meat-counter-worsens-u-s-inflation-jitters – as an example beef is up 20% this year
I’ve seen numbers from 6 to 20% for other sectors of the food supply.
Lets do the math. Here is one analysis:
- $1 product in 2020 became a $1.20 product in 2021 (using 20% inflation) – i.e. your overall grocery bill went up 20% from 2020
- becomes a $1.44 product in 2022 (using 20% inflation) – i.e. your overall grocery bill went up 44% from 2020
- becomes a $1.728 product in 2023 (using 20% inflation) – i.e. your overall grocery bill went up 73% from 2020
- becomes a $2.07 product in 2024 (using 20% inflation) – – i.e. your overall grocery bill went up 100.1% from 2020 (doubled in 3 years)
Maybe groceries prices will stabilize and maybe the supply chain issues will resolve themselves. I doubt it, but I obviously can’t predict the future. I can learn from history. The American empire is in decline and we have a few long decades ahead.
Thinking About The 2022 Growing Season
Looking forward to growing season, you can break the challenges down into 2 broad areas:
1) raising a surplus of food (planting, maintaining, harvesting)
2) preserving the food
One of the challenges in dealing with fresh food is preserving it in a timely basis. When veggies are ripe they have to be picked, maintained in a cool environment and then preserved within a few days. This is common knowledge, but as we’ve gotten better at gardening and preserved food, it becomes clearer how difficult and how much work it is to make that work within the time constraints.
Lets take a look at the steps to preserve food:
1) prep the food – wash, clean and cut it up into what ever sizes are needed, blanche or cook (if needed). This part of the process is the most labor intensive and has to be done soon after the items are picked (time sensitive). After this is done, many items can be frozen until it is time to can or preserve them. This is also the step the requires the least amount of equipment (at least until we run out of freezer space).
2) preserve the food – water bath can, pressure can, dehydrate, freeze dry, freeze, etc.
3) post process – for dehydrating this would mean putting it in jars with oxygen absorbers and evacuating the jar, for canning you let the jars sit and cool before putting them up for storage (the easy part)
Items to Consider Buying for Preserving Food this Year
I realize each one of you has different space limitations and budgets, but here is a list of items that you will keep and use for decades, some for the rest of your life. I’m not trying to push you into doing anything, just giving you information and encouraging you to use your own judgement to do what ever it is that you need to do.
If grocery prices continue to rise, then there will be a rapid increase in people gardening (or trying to garden) and a subsequent rise in people trying to purchase these items below. There was a period last year were you just couldn’t get jars, and if you could find them online then the prices were really high, even for off brand jars.
Also look at being able to preserve your food as a way to save money, especially as food prices go up. If you have trouble paying the bills now, could you live with your food prices doubling? Now is your chance to do something about it. Buy food when it is less expensive and plentiful (i.e. during the harvest) and save it for later.
General Things Needed
Freezer – no matter how you preserve your food, a freezer is important. It allows you to prep food and freeze it until you can get it preserved. Freezing is also a great way to store food.
I’ll break down the overall things you’ll need for each method of food preservation.
Canning
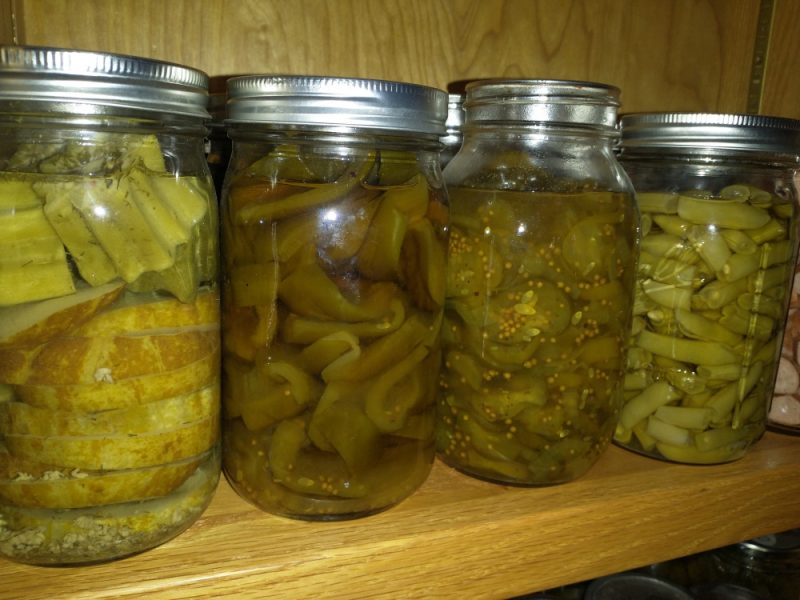
- 1 quart wide mouth Mason jars (either Mason or Ball or Kerr [least prerred], avoiding off brand jars) – maybe 100-200 jars, they last forever as long as they aren’t damaged, just buy a few every week, get the regular mouth if you can’t get wide mouth
- Lids and rings for the jars (brand name is preferred). You can also get resuable lids from Tattler (http://reusablecanninglids.com/)
- Pressure canner (used for everything from squash to potatoes to meat – bigger is much better, measure your stove to make sure it fits – one that doesn’t require a seal is best). Some stoves won’t work with or support the weight of a canner. If this is the case at your home, you may have to can outdoors using a propane stove or cooker.
https://www.lehmans.com/product/41-12-qt-high-quality-pressure-canner/
- Pot for water bath canning (high acidity things like tomatoes and pickles)
https://www.lehmans.com/product/black-enamelware-canner-215-qt/ – bigger is better, just measure your stove to make sure it fits
https://www.lehmans.com/product/enamelware-21-12-qt-canner-with-5-piece-tool-set/ – this one comes with jar grippers and funnels
Dehydrating
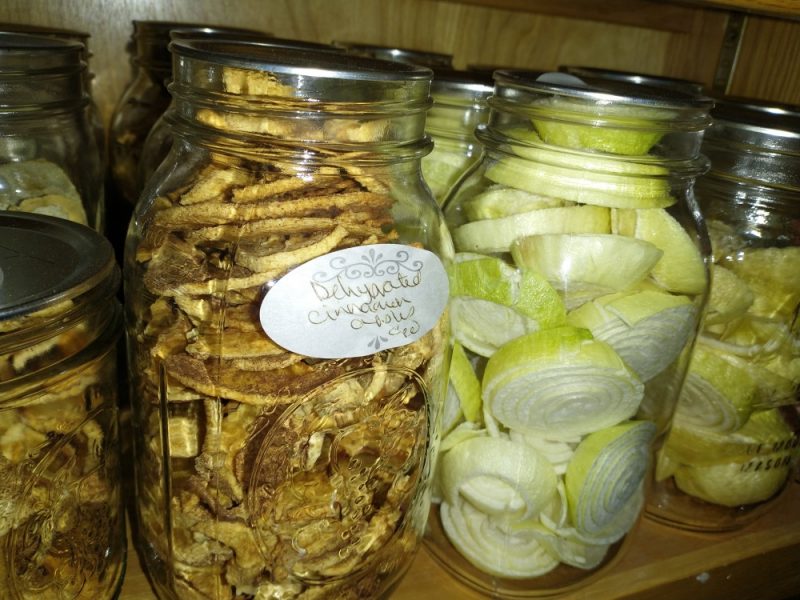
- One quart wide mouth mason jars (either Mason or Ball, avoiding off brand jars) – maybe 100-200 jars, they last forever as long as they aren’t damaged, just buy a few every week, get the regular mouth if you can’t get wide mouth. Look for them in your grocery store and buy a dozen every week, along with lids and rings
- 1 or 2 dehydrators – during peak harvest having more than one is a win
https://excaliburdehydrator.com/ – gets good reviews
https://www.nesco.com/product/fd-80-snackmaster-square-food-dehydrator/ – we have this one with 9 trays
Freeze Drying
- One quart wide mouth mason jars (either Mason or Ball, avoiding off brand jars) – maybe 100-200 jars, they last forever as long as they aren’t damaged, just buy a few every week, get the regular mouth if you can’t get wide mouth. Look for them in your grocery store and buy a dozen every week, along with lids and rings
NOTE: You maybe be able to find many of these things used, canners and jars. As long as jars aren’t chipped or broken they last forever. Often when someone stops canning they will give away their jars and pressure canners. If the pressure canner uses a gasket, you may be able to purchase a new one if the old one is unavailable or damaged.
Most grocery stores will have a limited supply of canning jars, just pick them up as they are available.
Use Your Judgment
Use your judgement and do what you can afford. I’m not suggesting in any way that you go in debt for these things. I am strongly suggesting that you buy jars / lids / rings and a dehydrator at a minimum. If you have the budget, then a freeze dryer would be an great investment. Freeze drying is the easiest process to do. Use your judgement. Hopefully that example inspires you to prosper in what could be a difficult few years.
audaces fortuna iuvat – fortune favors the bold
Parting thought – These links just products that I feel strongly enough to recommend. I have no relationship with any of these companies, other than being a customer.






 I’m a mechanical engineer turned weekend farmer, so I’m just smart enough to know that there is a lot that I don’t know especially when it comes to farming, permaculture and food forests. I’ve been heavily influenced in my love of farming and permaculture by my Mom and Dad and also by people like
  Connie has her certificate in Sustainable Agriculture from CCCC. She really enjoyed the classes at the community college and learned a lot. The program was a mixture of classes and work on the school farm. What she learned has really added to our technical proficiency on the farm.